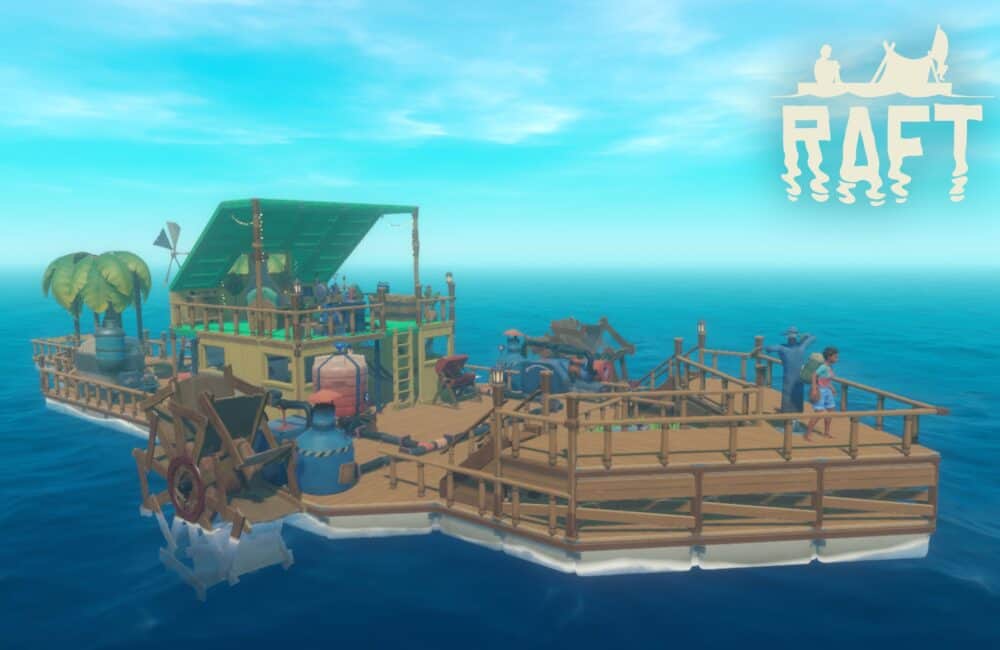
The two ocean-based adventurous chapters released earlier in the game Raft have entertained the gamers very well. The two chapters are based on a wild oceanic adventure of fighting sea creatures.
However, with the new chapter of the raft, there are many new enemies added to the list of creatures you will have to defeat in order to gain victory.
This article will guide you on everything you need to know about the temperance ice island, i.e., the third raft chapter.
Raft Temperance Ice Island Walkthrough
Temperance Ice island is the latest edition of the Raft game. Initially, this island seems like a little area of circular shape covered with ice and snow all over the land.
However, it has more to offer than just ice and snow once you enter it.
Following are the guidelines and instructions which will help you move forward on this island.
Entering The Temperance Island
with the initial look, you will get an idea about this snowy island. The land area of this island is accumulated in a circular shape which makes it look like A small Bay.
Initially, all you can see on this island is snow and ice unless you spot a radio tower.
This radio tower will be very significant once you find other major sports on the island, including the villages.
From this radio tower, you can collect electric cables that will help you to get your first snowmobile.
This snowmobile will be available at discrete locations on the island, including a little garage. The snowmobile might resemble a hangar.
Search For Igloo Village
Now, to find the igloo village on this island, you will have to take a circular round around the perimeter of the island. While you are on the round, make sure you collect all the electric wires you come across.
Once you collect all the electric wires lying around the island, you will land in a village inside the island itself. After reaching this village, start connecting all the power sources to the outlets with the help of collected electric wires.
Keep connecting the wires until you are able to light up the central area of the island and establish a system for electric supply.
In case the electric wires you collected finish in this cause, you can easily run around the island and collect some more from the radio towers. Make sure you properly establish an electric supply system in the center and middle lying area of the island.
Look For Blowtorch And Blueprints
After finding the village and settling down the electricity system on it, you have to enter the buildings. There are two major things you will have to look for in these buildings.
The first one is blueprints. In one of the buildings around the village, you will find the blueprints for the biofuel refinery.
Since this refinery requires titanium to be built, it is important to have appropriate blueprints and recipes. Once you get your hands on the blueprints, you can easily make a new biofuel refinery on your own.
The second component you must look for is a blowtorch. You will find a blowtorch on the second floor of any building inside the village.
Get both the components from the buildings of the village as they will be highly beneficial for you in the coming future.
Search For Observatory
After completely roaming around the village and collecting the essentials, you can exit from there and head to West. To commute, you can use a snowmobile easily. However, you must stay in the snowy region and ignore the ice area.
Once you reach a certain point or location on the West side, you will easily spot a ball-shaped structure. This is your observatory where you have to visit the next. You will notice a huge open area in front of the observatory.
You can not enter the observatory directly. Therefore, move around the perimeter and search for a spot where the snow is removed or scratched to make a pathway.
This path will get you to the underground path reaching the observatory. Moving on this way, in the end, you need to directly jump in the water and swim your way out through a congested tunnel.
On crossing this tunnel, you will see the entrance to the observatory through a ladder. Reach the observatory, and you will face a puzzle.
This puzzle can be completed by collecting different picture notes with four different pictures stamped on them and pairing them with similar ones. After you arrange them appropriately based on the stars it has, it will display a code.
This code will be the key to the observatory safe. You can now get your hands on the essentials, i.e., the blueprint that will help you with the advanced stationary anchor as well as the key to unlocking the reactor or directly the radiation station.
Go To The Radiation Station
The final stop on this walkthrough is the radiation station you need to reach. You can easily reach the radiation station with the help of the keys you found earlier.
Upon unlocking the doors of the radio station, you will notice two glowing objects hanging in the sky from the radiation station.
In order to melt the ice and make your way through this path, you can use the blowtorch and carve a path for yourself. Afterward, simply use the Selene key to open the entrance gate to the radiation station.
Once you successfully enter the radiation center, you will notice a central control panel surrounded by three different cylinders.
You will have to submit or provide various components here to progress. Search through the room to get yourself a Hazmat suit that will help you from saving yourself from the harmful radiation in the radiation station.
But, these hazmat suits are only available for a fixed and limited period. Make sure you check the timer attached to these suits regularly and change them often to stay protected.
Now, wear the hazmat suit and head towards lab two for the next puzzle to begin.
On entering the radiation station lab 2, you will find yourself in front of three different computers where you need to insert a code.
This code is easy to find. Simply note the character attached to each system and run to the posters pasted throughout the walls of the laboratory and note down the code digits written on them.
While filling the codes on the computers, make sure you keep a close check on your hazmat suit timer as well because this lab is full of radiations that might affect you.
Once the codes are accurately inserted into the three computers of this lab, a new door that leads you to the back area will open. Once it does, spring to this door and change your hazmat suit on the way.
On this path, you will get to a room full of harmful radiation, and you will require to switch the valve you must notice here.
However, while you are on this mission, look out for a huge spider that might attack you. Switch the valve to open the next door.
The next door will take you to a separate room filled with radiations and, most importantly, a laser maze. Now, use your skills and align the laser beams such that the lock is burnt and you are out of here.
After this, sprint back to the room where you found cylinders and pull the crank. This will get you a key to the radiator room.
Enter the radiator room with this key and with a new Hazmat suit and defeat all the spiders in your way. Once you defeat all the spiders and turn off the reactor, the new doors to another mission will open for you.
Also Read:
Conclusion
The temperance island in chapter 3 of the Raft is an exciting mission that offers you different aspects.
You need to use your speed, mind, and active senses to go through with this mission.
The gigantic spiders are the villain in this chapter, and you must defeat them to turn off the radiator. Turning off the radiator is your ultimate goal.
However, you will have to follow the whole procedure to get there.


