Are you wondering how to request time off in Paylocity? Managing your time off should be a straightforward process, and Paylocity offers a user-friendly platform to help you do just that.
Whether you’re planning a vacation, need to take a sick day, or have another important reason to request time off, understanding the steps to do so in Paylocity is essential.
In this blog, we’ll walk you through the simple process of requesting time off using Paylocity’s platform, ensuring that you can effectively manage your time away from work.
How To Request Time Off In Paylocity?

Requesting time off through Paylocity is an essential task to ensure your time away from work is properly scheduled and approved.
Doing so helps maintain clear communication with your employer about your absence and ensures that your time off is accurately recorded for payroll purposes. It is a straightforward process that can be done either through the Paylocity web portal or mobile app.

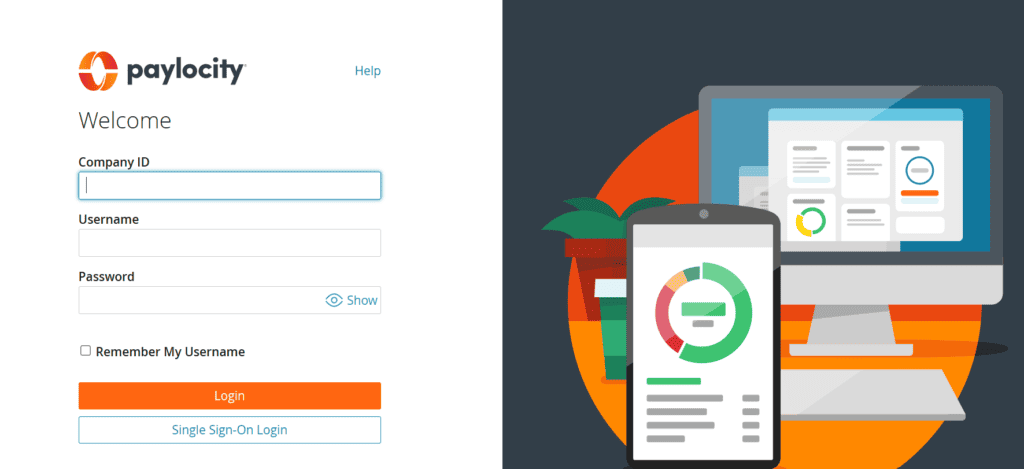
- Log In to Your Paylocity Account: Start by accessing the Paylocity website or mobile app. Enter your company ID, username, and password to log in to your account.
- Navigate to the Time-Off Request Feature: Once logged in, locate the ‘Time & Attendance‘ menu. Within this menu, you should find an option for ‘Time Off‘. Click on this to proceed with your time-off request.
- Access the Time-Off Request Form: In the Time Off section, you will typically see a calendar view and an option to ‘Request Time Off‘ or a similar button that allows you to create a new time-off request.
- Fill Out the Time-Off Request Form: Click on the ‘Request Time Off‘ button, and a form should appear. Here, you will need to:
- Select the Type of Leave: Choose the appropriate type of leave from the options provided (e.g., vacation, sick leave, personal day).
- Specify Dates and Details: Enter the start and end dates for your time off. If you’re requesting a partial day, you might need to specify the hours you will be absent.
- Include a Reason (if required): Some organizations may require you to provide a reason for your absence. There might be a text box where you can type in the reason for your request.
- Attach Documents (if necessary): If your company policy requires documentation for certain types of leave (like a doctor’s note for sick leave), look for an option to attach files.
- Review Your Request: Double-check the dates and details to ensure everything is correct. Mistakes can delay approval or affect your leave balance.
- Submit Your Request: Once you’ve filled out all necessary fields and reviewed your request, look for the ‘Submit‘ button to send your time-off request to your manager or HR department for approval.
- Confirmation: After submitting, you should receive a confirmation that your request has been sent. You may also receive an email confirmation, depending on your company’s settings in Paylocity.
- Wait for Approval: Your request will be sent to your manager or the designated approver for review. You will be notified once your time off request has been approved or if further action is required.
- Check Your Time Off History: To keep track of your requests, you can view your Time Off History by selecting ‘Time Off History‘ then ‘Show All‘ to see past and pending requests
- Monitor the Status: Keep an eye on your request by checking the status in the ‘Time Off‘ section of Paylocity. You will see whether it is pending, approved, or denied. If your request is approved or denied, you should also receive a notification, which may come through email or a notification within the Paylocity platform.

