Roblox is a popular gaming platform that allows users to create and play games developed by other users.
However, it has stopped supporting 32-bit Windows devices, including Windows 7, 8, and 10.
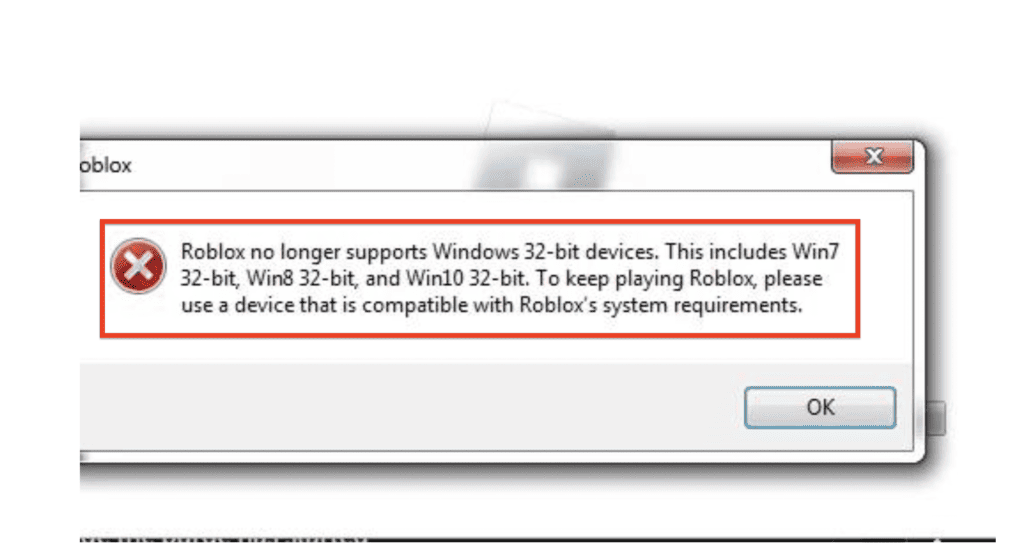
The error message reads “Roblox no longer supports Windows 32-bit devices, This includes Win7 32-bit, Win8 32-bit, and Win10 32-bit, To keep playing Roblox, please use a device that is compatible with Roblox’s system requirements.”
This article provides a comprehensive guide on how to fix Roblox no longer supports Windows 32-bit devices and continue enjoying Roblox on your device.
Understanding The 32-bit And 64-bit System
A 32-bit system can access 2^32 memory addresses, which is equivalent to 4 GB of RAM. While it can theoretically access more than 4 GB of RAM using techniques like Physical Address Extension (PAE), it’s still limited in comparison to a 64-bit system.
On the other hand, a 64-bit system can access 2^64 memory addresses, amounting to 18 exabytes (18 quintillion bytes) of RAM. This vast memory addressing capability allows 64-bit systems to efficiently handle large amounts of memory, significantly improving performance and stability when running modern applications and games, like Roblox.
How To Fix Roblox No Longer Supports Windows 32-bit Devices
1. Checking Your Windows Version
To determine whether your device is running a 32-bit or a 64-bit Windows version, follow these steps:
- Open the File Explorer by clicking the folder icon on your taskbar.
- Locate and right-click on This PC or My Computer in the left-hand panel.
- Select Properties from the context menu.
- Under the System section, find the System type entry. It will display your Windows version, either 32-bit or 64-bit.
2. Upgrading To A 64-bit Windows Version
If you have a 32-bit Windows version, you need to upgrade to a 64-bit version to play Roblox. Here’s a step-by-step guide on how to do that:
Step 1: Backup Your Data
Before upgrading, ensure you back up your important files to avoid any data loss during the process.
Step 2: Download The 64-bit Windows Installation Media
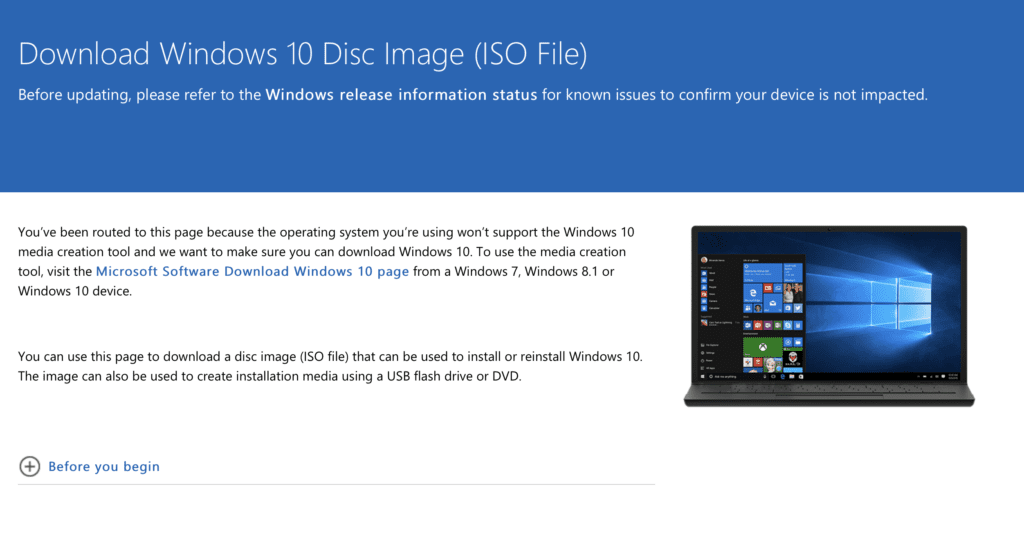
- Visit the official Windows download page.
- Choose the Windows version you want to install, such as Windows 10 or 11.
- Download the installation media for the 64-bit version.
Step 3: Create A Bootable USB Drive
- Insert a USB drive (minimum 8 GB) into your computer.
- Run the downloaded installation media tool.
- Follow the on-screen instructions to create a bootable USB drive.
Step 4: Install The 64-bit Windows Version
- Restart your computer and boot from the USB drive. You may need to change the boot order in your BIOS settings.
- When the Windows installation screen appears, choose the 64-bit (x64) option.
- Follow the installation process to upgrade your Windows version.
3. Installing Roblox On Your Upgraded Device
After upgrading to a 64-bit Windows version, you can now install and play Roblox without any issues. To do this, follow these steps:
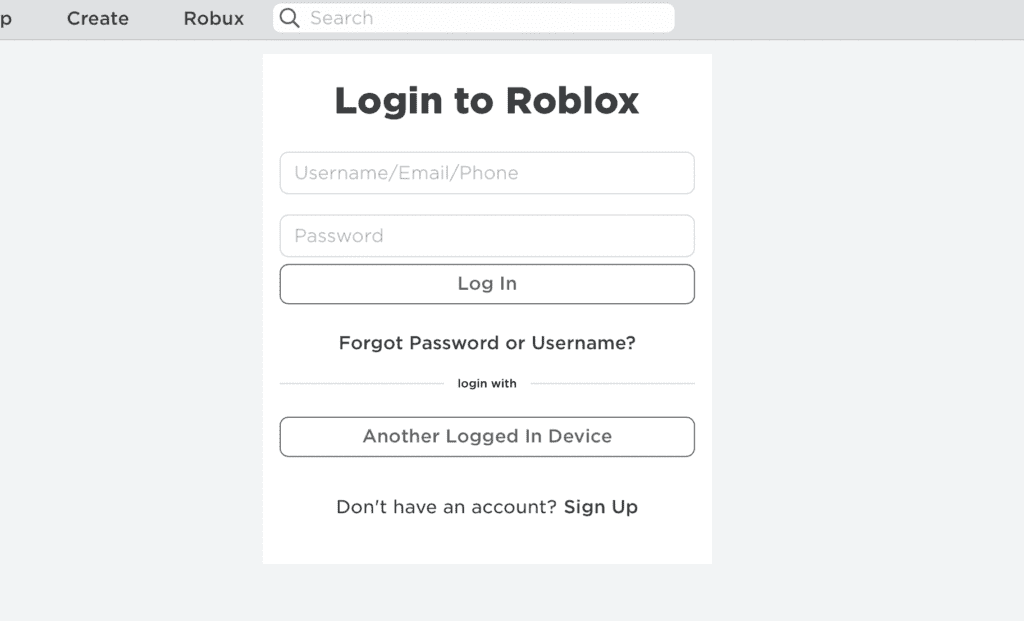
- Visit the official Roblox website.
- Create a new account or log in to your existing account.
- Browse and select a game you want to play.
- Click the Play button. If you haven’t installed Roblox yet, the website will prompt you to download and install the Roblox Player.
- Follow the on-screen instructions to install the Roblox Player on your 64-bit Windows device.
- After the installation is complete, the game will automatically launch in the Roblox Player.
Now that you’ve successfully upgraded to a 64-bit Windows version and installed Roblox, you can enjoy a seamless gaming experience on the platform.
Remember to keep your Windows and Roblox software up to date for optimal performance and security.


