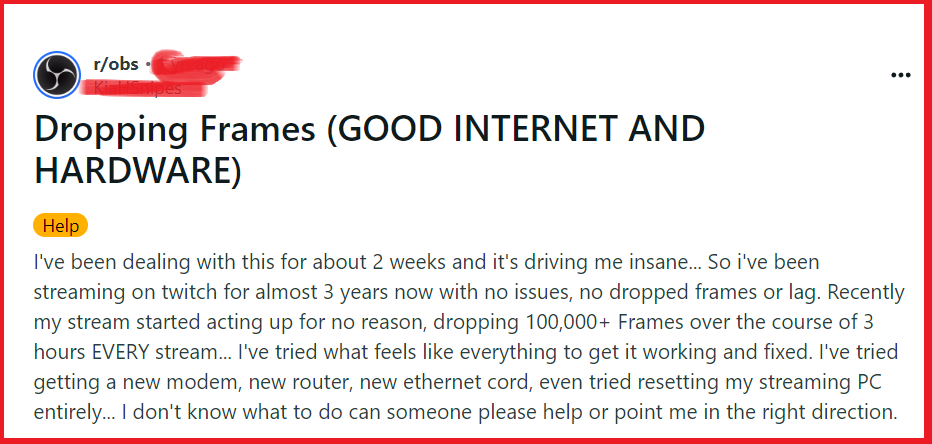
Are you experiencing frustration due to dropped frames while using OBS (Open Broadcaster Software) for streaming or recording?
Dropped frames can significantly impact the quality of your content and leave your audience feeling disconnected.
However, there’s no need to worry, as there are several effective solutions to address this issue and ensure a smooth streaming or recording experience.
In this blog, we will explore practical steps and techniques to fix OBS dropping frames, allowing you to deliver seamless and uninterrupted content to your viewers.
How To Fix OBS Dropping Frames?

To fix OBS dropping frames, you can check your network connection, lower your bitrate, and update your network driver. Additionally, you can enable network optimizations, and set Bind to IP.
1. Check Your Network Connection
Dropped frames in OBS typically indicate a problem with your network connection.
A stable connection is crucial because if your upload speed is insufficient or unstable, your stream won’t be able to maintain a consistent flow of data, leading to dropped frames. Improving your connection can provide a more stable stream.
- Use an online speed test tool to check your upload speed.
- Connect your computer directly to your router using an Ethernet cable to ensure a more stable connection than Wi-Fi.
- Ensure no other programs are consuming bandwidth on your network.
2. Lower Your Bitrate
Lowering the bitrate can help alleviate the issue of dropped frames by reducing the amount of data that needs to be sent over your network.
This is particularly useful if your internet connection cannot handle the current bitrate.
- Navigate to the settings in OBS.
- Look for the ‘Output‘ tab.
- Lower the ‘Bitrate‘ value under the ‘Streaming‘ section. Start with a small reduction and test the stream to see if it improves the situation.
3. Update Your Network Driver
Outdated or corrupted network drivers may cause connection issues leading to dropped frames. Ensuring you have the latest network driver can improve overall connectivity.
- Go to ‘Device Manager‘ and find your network adapter.
- Visit the manufacturer’s website and check for the latest driver updates.
- Follow the instructions provided by the manufacturer to download and install the new drivers.
4. Enable Network Optimizations
Enabling network optimizations in OBS can potentially help to reduce dropped frames by allowing OBS to manage network traffic more effectively.
This can be particularly beneficial if your network is congested or if you’re experiencing quality-of-service issues.
- Go to ‘Settings‘ in OBS.
- Click on the ‘Advanced‘ tab.
- Find the ‘Network‘ section.
- Check the box next to ‘Enable Network Optimizations‘.
- Click ‘Apply‘ to save your changes and then restart OBS for the changes to take effect.
5. Set Bind To IP
Configuring the ‘Bind to IP’ setting in OBS can help with dropped frames by ensuring that OBS is using the preferred network interface, which can be particularly useful for systems with multiple network connections.
- Access the settings within OBS by clicking on ‘File‘ and then ‘Settings‘.
- Select the ‘Advanced‘ tab from the options on the left.
- Scroll down to the ‘Network‘ section within the Advanced settings.
- Click on the dropdown menu next to ‘Bind to IP‘ and choose the specific IP or network interface you want OBS to use for streaming. If unsure, select ‘Default‘ to let OBS manage the selection automatically.
6. Adjust Networking Hardware
Ensuring that your networking hardware is functioning correctly and optimally configured is crucial for a stable streaming experience. Incorrect settings or failing hardware can lead to dropped frames in OBS.
- Make sure all network cables are securely connected and not damaged. A loose or faulty cable can cause intermittent connectivity issues.
- Unplug your router and modem, wait for a minute, and then plug them back in to reset them. This can clear up any temporary issues.
- If you’re using outdated networking equipment, consider upgrading to newer, more reliable hardware that can handle higher speeds and more connections.
7. Prioritize OBS In Task Manager
Setting OBS to a high priority in the Task Manager ensures that your computer allocates more resources to OBS, which can help maintain a stable stream and reduce dropped frames.
- Press Ctrl+Shift+Esc to open the Task Manager.
- Look for OBS in the list of processes.
- Right-click on OBS and set the priority to ‘High‘. Be cautious not to set it to ‘Realtime‘ as this could cause system instability.
8. Change OBS Settings
Certain settings within OBS itself can be adjusted to help reduce the likelihood of dropped frames by reducing the load on your CPU or GPU.
Adjusting these settings can prevent your hardware from being overutilized, which can cause dropped frames during streaming.
- In OBS, go to ‘Video‘ settings and reduce the ‘Output (Scaled) Resolution‘.
- If you’re using software (x264) encoding, try switching to hardware (NVENC or AMD) encoding if your graphics card supports it.
- In the ‘Video‘ settings, lower the ‘Common FPS Values‘ to reduce the processing load.
9. Contact OBS Support

If all else fails and you’re still experiencing dropped frames in OBS after trying the aforementioned fixes, reaching out for support can provide you with additional assistance.
Support teams can offer more personalized troubleshooting based on your specific situation.

