GeForce Experience, made by NVIDIA, improves gaming for NVIDIA graphics card users. It updates drivers, optimizes games, and records gameplay.
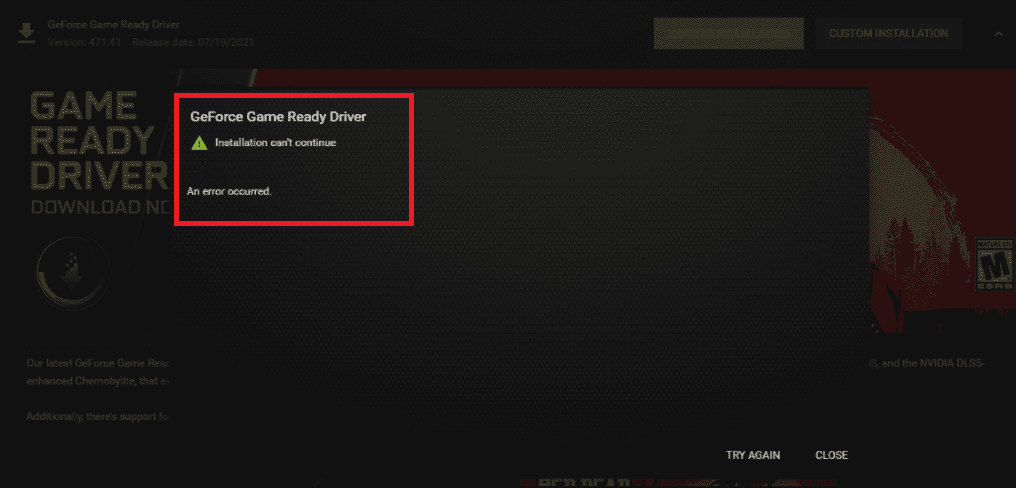
Yet, it can have problems, like the “Installation Cannot Continue An Error Occurred” message.
The full error message reads: “Installation can’t continue An error occurred”
In this article, we’ll explore why this happens and give you fixes in this article.
What Causes “Installation Cannot Continue An Error Occurred” On GeForce Experience?

Getting the “Installation Cannot Continue An Error Occurred” message when installing GeForce Experience can be caused by a few things.
Outdated or corrupted graphics drivers might stop the installation of new drivers and GeForce Experience.
Failed past installation tries of GeForce Experience can also cause issues.
Corrupted installation files for GeForce Experience might be the reason the installation can’t finish.
How To Fix “Installation Cannot Continue An Error Occurred” On GeForce Experience?
Here are some fixes that might help resolve the issue for you:
1. Update GeForce Drivers
If you spot this on NVIDIA GeForce Experience, it could mean your PC’s NVIDIA GeForce Experience driver is old.
Try updating the driver, then see if the problem is fixed.
To update GeForce Experience drivers, follow these steps:
- Get it from the official NVIDIA website and install it.
- Launch the software after installation.
- In the top left corner of the window.
- Click “Check for updates” and hit “Download” if updates are available.
- After downloading, click “Express Install” and let it complete.
- This ensures the new drivers are properly installed.
2. Install Older Version And Update
A workaround that could resolve the ‘ Installation Cannot Continue An Error Occurred’ issue can be found in the ‘Install Older Version and Update’ method.
Here are the steps for the “Install Older Version and Update” method:
- Go to your C drive, enable the hidden files view, and open the “ProgramData” folder.
- Locate and enter the “NVIDIA Corporation” folder.
- Inside, find the “Downloader” folder.
- Look through subfolders for the version you want to install (e.g., “497”).
- Run the setup file in the identified folder to install the older software version.
- Restart your computer to apply changes.
- Open GeForce Experience, go to “Drivers,” and click “Express” or “Custom” installation for the driver update. This should avoid the error.
3. Install Drivers From Nvidia Website

As recommended, you can uninstall GeForce Experience and install the driver straight from Nvidia’s website.
This might prevent problems with the GeForce Experience installation.
4. Run DDU In Safe Mode
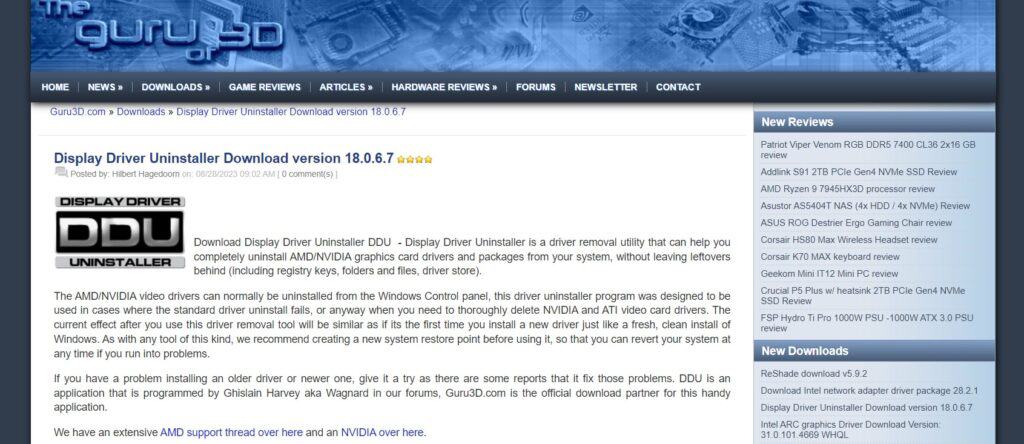
The suggested method, mentioned by the Reddit user suggests using DDU (Display Driver Uninstaller), a tool that completely removes old graphics drivers from your computer.

Here are the steps to run DDU in safe mode:
- Download Display Driver Uninstaller (DDU) from the official website.
- Save the DDU file to your desktop or another easily accessible location.
- Restart your computer and repeatedly press F8 to access Advanced Boot Options.
- Choose “Safe Mode” and press Enter.
- In Safe Mode, double-click the DDU file to open it.
- Choose your GPU manufacturer (Nvidia or AMD) from the menu.
- Click “Clean and Restart” to remove old drivers and reboot.
- Install new drivers for your GPU after the restart.
5. Contact GeForce Support

If the earlier solutions didn’t help, reach out to GeForce NOW support for further assistance.
They’re experts and can guide you to fix the problem.
