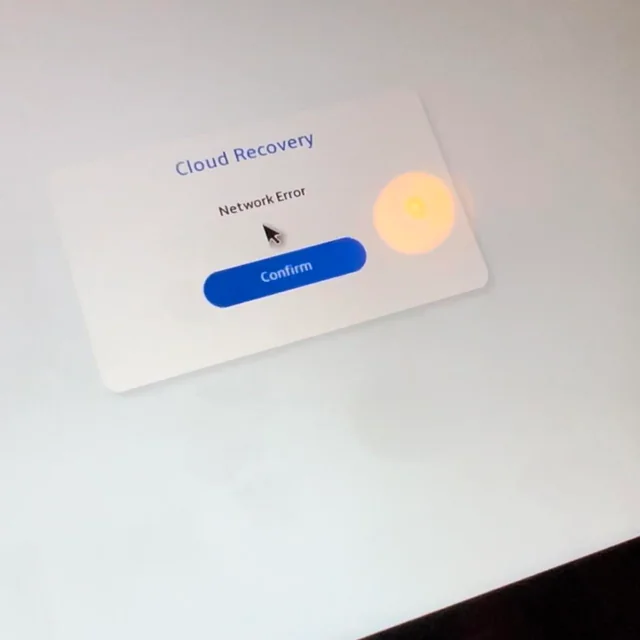
Are you encountering the frustrating “ASUS Rog Ally Cloud Recovery Network Error“? You’re not alone.
Many users have experienced this issue, but fear not, as there are solutions available to resolve it.
In this blog, we will provide step-by-step instructions on how to fix Cloud Recovery Network Error.
How To Fix ASUS Rog Ally Cloud Recovery Network Error?

To fix ASUS Rog Ally Cloud Recovery network error, you can check the date and time settings, check your internet connection, update your BIOS. Additionally, you can reset network settings, and use ASUS cloud recovery tool.
1. Check The Date And Time Settings
Incorrect date and time settings on your device can interfere with network-related operations, including Cloud Recovery, as they may prevent proper communication with the servers.
Ensuring that your date and time are accurate is a crucial step for fixing the ASUS ROG Ally Cloud Recovery network error.
- Go to the BIOS settings by restarting your computer and pressing the key that enters the setup (commonly F2, F10, DEL, or ESC).
- Navigate to the Date and Time settings.
- Verify that the date and time are correct. If not, adjust them to the current date and time.
- Save the changes and exit the BIOS.
- Try running the Cloud Recovery process again.
2. Check Your Internet Connection
A stable internet connection is essential for Cloud Recovery to work correctly. If there’s a problem with your connection, it could lead to a network error during the recovery process.
- Restart your router and modem by unplugging them, waiting for a minute, and plugging them back in.
- Connect your computer directly to the modem with an Ethernet cable to ensure a stable connection.
- Disable any VPN or proxy that might interfere with your connection.
- Run a network troubleshooter on your operating system to detect and fix connectivity issues.
- Attempt the Cloud Recovery process once your internet connection is stable.
3. Update Your BIOS
An outdated BIOS can cause compatibility issues with Cloud Recovery. Updating your BIOS can resolve these issues and potentially fix the Cloud Recovery network error.
- Visit the official ASUS support website and download the latest BIOS version for your specific ROG Ally model.
- Back up your current BIOS settings.
- Follow the instructions provided by ASUS for updating the BIOS, which typically involves using a USB drive and the BIOS utility.
- After updating, restart your computer and try the Cloud Recovery process again.
4. Reset Network Settings
Sometimes, resetting your computer’s network settings to their default can solve network errors, as this clears any corrupt settings that could be causing the issue.
- Open the Settings app in Windows.
- Navigate to Network & Internet > Status.
- Click on ‘Network reset‘ at the bottom of the page.
- Follow the on-screen instructions to reset your network settings.
- Once complete, reconnect to your network and try the Cloud Recovery again.
5. Use ASUS Cloud Recovery Tool
Using the ASUS Cloud Recovery tool can help restore your system to its factory settings, which is particularly useful if you’re experiencing the network error during the recovery process.
It’s designed to help you download and recover your system when you cannot do so directly from the device.
- Download the ASUS Cloud Recovery Tool from the ASUS support website.
- Install the tool on a working computer.
- Launch the tool and input your device’s serial number.
- Follow the instructions to create a recovery drive.
- Boot your ROG device from the recovery drive.
- Proceed with the system recovery.
6. Contact ASUS Support

If none of the above solutions work, there might be a specific issue with your device that requires professional assistance. Contacting ASUS support can provide you with more personalized troubleshooting.
- Visit the ASUS support page.
- Find the contact information or live chat option.
- Provide the support team with details about the Cloud Recovery network error you’re experiencing.
- Follow any additional steps they recommend to resolve the issue.
