Are you ready to take your Mac experience to the next level with the latest macOS update?
Have you been considering upgrading your device from macOS Ventura to macOS Sonoma? If so, you’ve come to the right place.
In this blog, we will explore the exciting new features and guide you through the seamless process of upgrading from macOS Ventura to macOS Sonoma.
How To Upgrade MacOS Ventura To MacOS Sonoma?

To upgrade macOS Ventura to macOS Sonoma, you can check compatibility, backup your data, and prepare your Mac. Additionally, you have to update, prepare and install macOS Sonoma, follow the setup assistant, check for software updates, and explore new features.
1. Check Compatibility

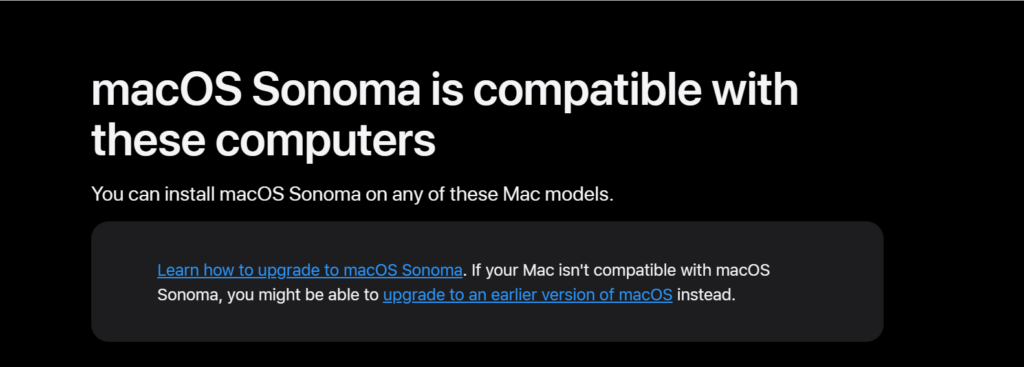
Before you begin, ensure that your device is compatible with macOS Sonoma.
Apple provides a list of supported devices for each new operating system.
To confirm that your model is eligible for the upgrade, check the list for devices compatible with macOS Sonoma.
2. Backup Your Data
It’s crucial to back up your Mac before performing any major update.
Use Time Machine or your preferred backup method to secure your personal files, applications, and system settings.
This way, if anything goes wrong during the installation, you can restore your system to its previous state.
3. Prepare Your Mac
Make sure your Mac is ready for the upgrade by tidying up your hard drive, deleting unnecessary files, and ensuring you have enough free space for the update.
macOS Sonoma might require more space than Ventura, so aim for at least 20GB of free space to be on the safe side.
4. Update Your MacOS

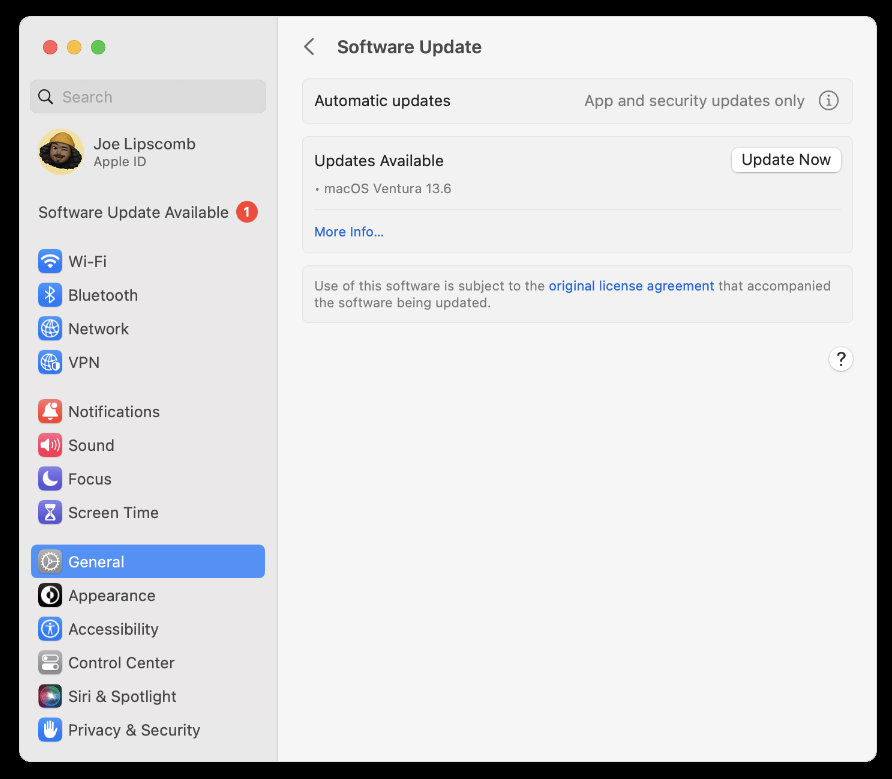
To upgrade from macOS Ventura to macOS Sonoma, follow these steps:
- Click on the Apple logo in the menu at the top of your screen.
- Choose “System Settings” from the dropdown menu.

- Select “General” from the sidebar.
- Click on “Software Update.“
If an update is available, you should see the option to install macOS Sonoma.
5. Download And Install MacOS Sonoma
Click “Upgrade Now” or “Download” to start the process.
The download can take some time, depending on your internet connection.
Once the download is complete, an installer will open automatically.
Follow the on-screen instructions to install macOS Sonoma.
Your Mac may restart several times during the installation process, and the screen might be blank or show a status bar indicating progress.
6. Follow The Setup Assistant
After installing macOS Sonoma, your Mac will restart with a setup assistant.
If you’re using a MacBook, make sure it’s plugged into a power source to prevent any interruptions.
The setup assistant will guide you through the final steps, which may include logging into your Apple ID, setting up Siri, and enabling location services.
7. Review Privacy And Security Settings
With each new macOS release, Apple often introduces new privacy and security features.
Take the time to review these settings and adjust them according to your preferences.
You can find these settings under System Settings > Privacy & Security.

This is especially important to ensure that you’re taking full advantage of the new protections and controls provided in macOS Sonoma.
8. Check For Software Updates
Once you’ve installed macOS Sonoma, check for additional software updates.
Some applications may require updates to be compatible with the new OS.
Navigate to the App Store and click on the “Updates” tab to see if there are any pending updates for your applications.

