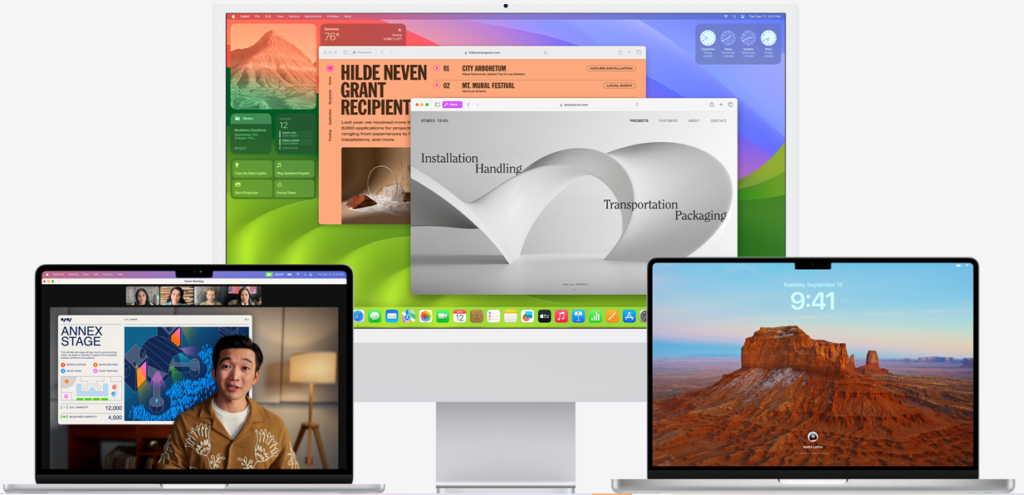
Time Machine is a backup software application distributed with the Apple macOS computer operating system. It was introduced in the Mac OS X Leopard (10.5) release and has been a valuable tool for Mac users to back up their files automatically to an external drive or a supported network drive.
With macOS Sonoma, Apple has continued to offer Time Machine with both automatic and manual backup options.
In this article, we will be discussing all the steps that you will have to take to turn on/off the Time machine in your Apple macOS system.

How To Turn ON Time Machine In MacOS Sonoma?
To turn on Time Machine in macOS Sonoma, follow these steps:

- Connect an External Drive: First, you’ll need an external storage device where Time Machine can save your backups. Connect this to your Mac via USB, Thunderbolt, or FireWire.
- Open System Preferences: Click on the Apple menu at the top left corner of your screen and select ‘System Preferences’.
- Select Time Machine: In System Preferences, find the Time Machine icon and click on it to open the Time Machine settings.
- Choose Backup Disk: Click on ‘Select Backup Disk…‘ to choose the external drive you connected as your backup disk. If you want your backups encrypted, check the ‘Encrypt backups‘ box.
- Turn ON Time Machine: After selecting your backup disk, Time Machine will ask if you want to use the disk for backup. Confirm your choice and the Time Machine slider should move to the ‘ON’ position, indicating that Time Machine will start backing up your data automatically.
- Backup Options: You can further customize your backup by clicking on ‘Options…’ Here, you can exclude certain folders from the backup, decide whether to back up when on battery power, and more.
How To Turn OFF Time Machine In MacOS Sonoma?
If you decide to turn off Time Machine, perhaps because you want to pause backups or use a different backup solution, here’s how you do it:
- Open System Preferences: As before, click on the Apple menu and select ‘System Preferences’.
- Go to Time Machine: Click on the Time Machine icon.
- Stop Automatic Backups: In the Time Machine settings, you can uncheck the box for ‘Back Up Automatically’. This will stop Time Machine from performing automatic backups.
- Remove Backup Disk: If you want to stop using a disk for Time Machine backups entirely, you can select the disk and then click on ‘Remove Disk‘. Confirm your choice, and Time Machine will no longer use that disk for backups.
Note: It’s important to note that turning off Time Machine will prevent your Mac from creating regular backups, which could put your data at risk in case of a hardware failure, accidental deletion, or other data loss scenarios. If you intend to turn off Time Machine temporarily, make sure to turn it back on or have an alternative backup strategy in place.
