Dart Charge is a new way to pay tolls at the Dartford Crossing in the UK. It uses electronic payments, so there’s no need for cash.
This makes crossing the River Thames faster and more convenient for commuters.
In this article, we’ll guide you on how to set up your Dart Charge account for a smooth and simple travel experience.
How To Setup Dart Charge Account?
If you are wondering how to set up your Dart Charge account, below are the steps to do so:
Step 1: Visit The Dartford Crossing Charge Website
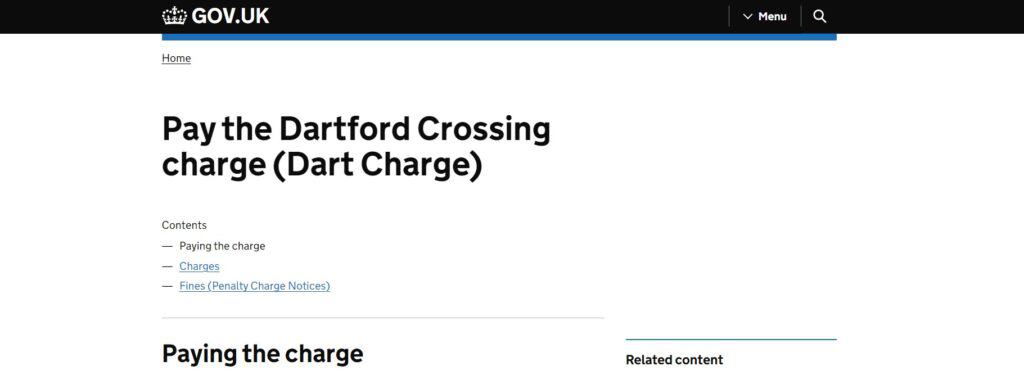
Open your preferred web browser and navigate to the official Dartford Crossing Charge website.
Step 2: Click On “Start Now”

On the homepage, look for the prominent green button labelled “Start Now” and click on it.
Step 3: Choose “Sign In Or Set Up A Dart Charge Account”
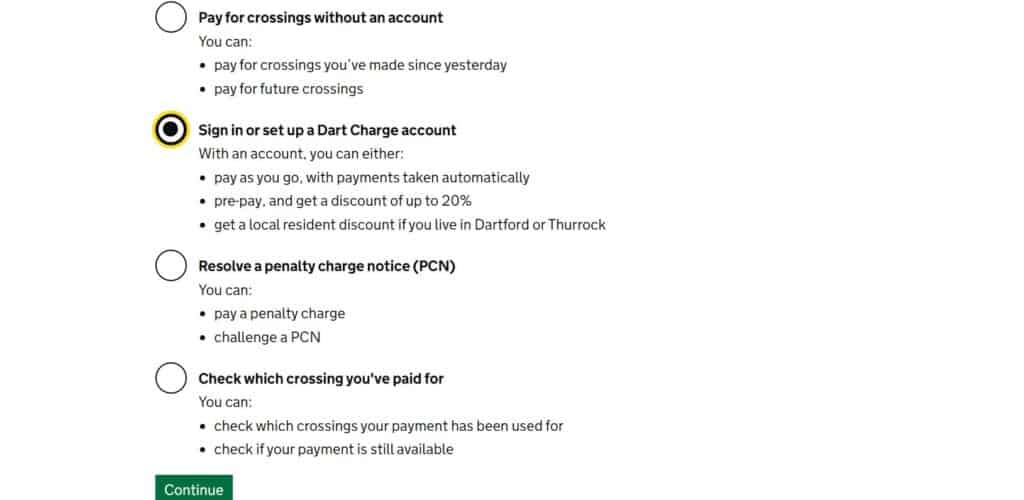
On the next page, you will see several options listed. Look for and select the one that says “Sign in or Set Up a Dart Charge Account” and click on “Continue.”
Step 4: Opt For “Create An Account”
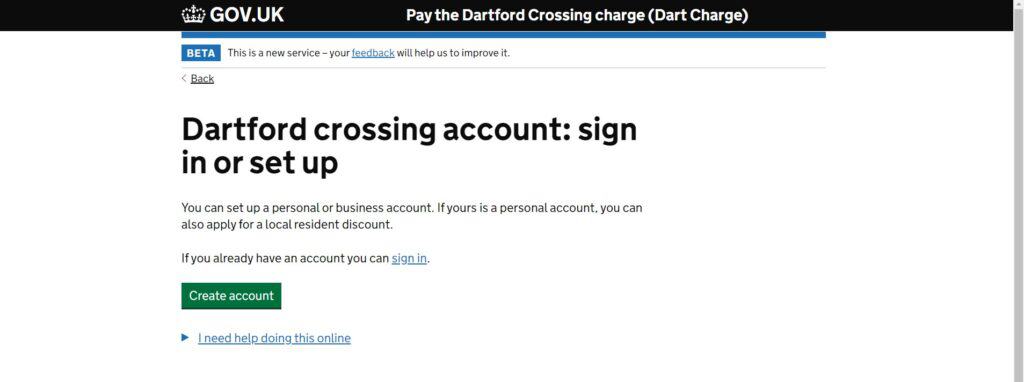
After clicking on “Continue,” you’ll be presented with two choices: “Sign in” or “Create an Account.” Since you’re setting up a new account, click on “Create an Account.”
Step 5: Select Account Type

Now, you’ll need to specify the type of Dart Charge account you want to create. You can choose between a Personal Account or a Business Account. Select the appropriate option based on your needs.
Step 6: Enter Personal Details

Next, you’ll be asked to provide some personal information. Enter your first name, last name, postcode, and address details as accurately as possible. Ensure that the information matches your official records to avoid any issues later on.
Step 7: Choose Account Type
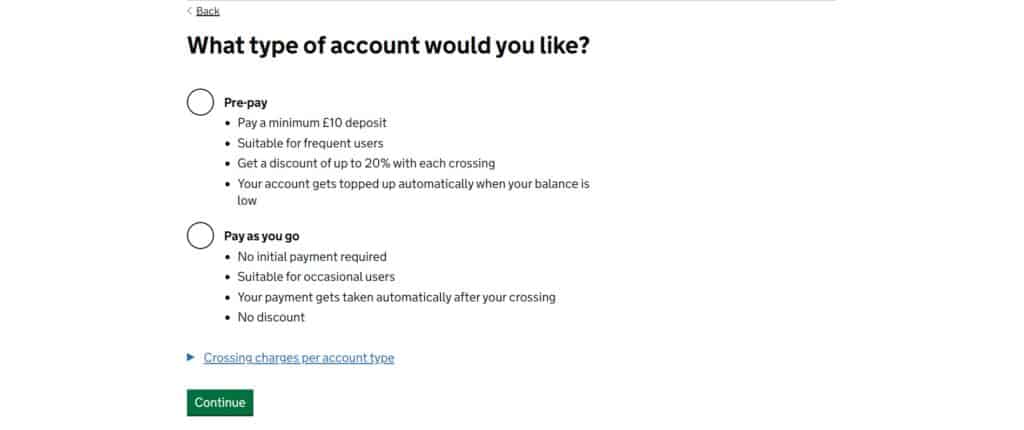
On the following page, you will need to choose the type of Dart Charge account you prefer: Pre-pay or Pay as you go.
- Pre-pay Account: This option is suitable for frequent users. You’ll need to make a minimum deposit of £10 to your account. You’ll receive a discount of up to 20% for each crossing, and your account will be automatically topped up when the balance is low.
- Pay as you go: If you’re an occasional user, this option may be more suitable. No initial payment is required, but there are no discounts available. The toll charges will be automatically deducted from your chosen payment method after each crossing.
Select the account type that best fits your usage pattern.
Step 8: Enter Your Email Address

Now, you need to provide an email address to link to your Dart Charge account. This email will be used for account-related communications and notifications.
Step 9: Verify Your Email
After entering your email address, you’ll receive a verification code. Check your email inbox, find the code, and enter it on the website to verify your email address.
Step 10: Create A Password
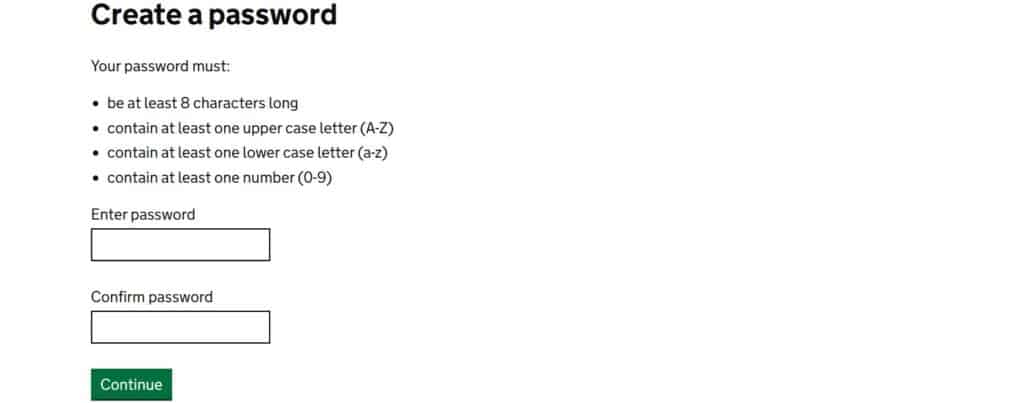
Lastly, create a strong password for your account. The password should be at least 8 characters long and contain a mix of letters, numbers, and special characters. This will help keep your account secure.
How To Set Up A Dartford Auto Pay Account?
Here are the steps to set up the auto-pay account on Dartford:
Step 1: Access The Official Website
Visit the official UK government website or simply go to Dartford
Step 2: Choose “Set Up An Account”
On the website’s homepage, look for the option to “Set Up an Account” and click on “Next” to proceed.
Step 3: Select Account Type
There are two types of accounts available:
- Pre-Pay: Saves money for regular Dartford Crossing users. Set up with at least £10. Use the crossing once a year to keep the account open.
- Pay as You Go: For occasional users. Automatic payments from your credit/debit card. No initial payment, but no discounts.
Choose the account that matches how often you use the Dartford Crossing and what you prefer. Then click “Next” to continue.
Step 4: Provide Your Information
You need to provide your email address and create a strong password for your account. Don’t forget to read and agree to the terms before moving forward.
Step 5: Register Your Vehicle
Next, you have to give the registration number of the vehicle you plan to use for crossing the Dartford Crossing.
Step 6: Add Payment Method
To make automatic payments, add your favourite credit or debit card to the account. This card will be used to deduct the toll charges whenever you use the Dartford Crossing.
Step 7: Review And Confirm
Before you finish, review all the information you entered to make sure it’s correct. When you are happy with it, click “Confirm” to complete the setup process.
