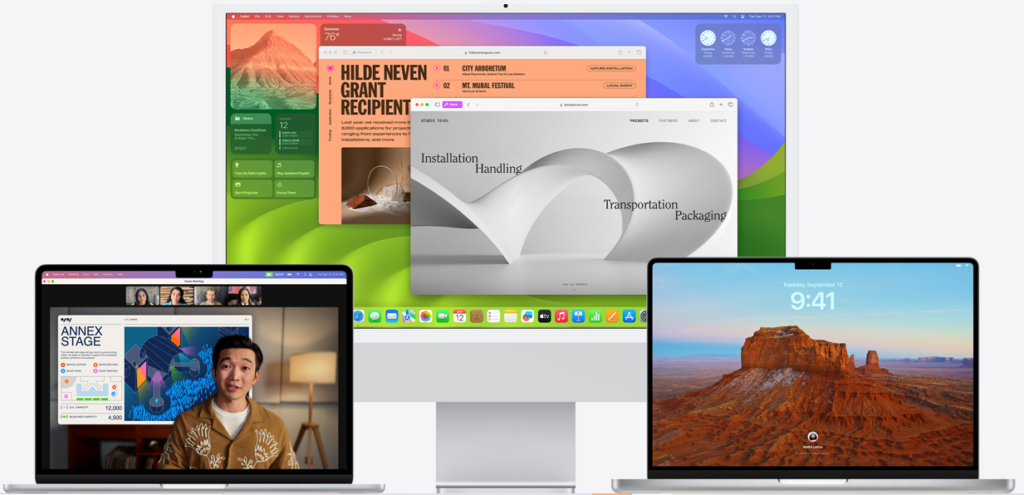
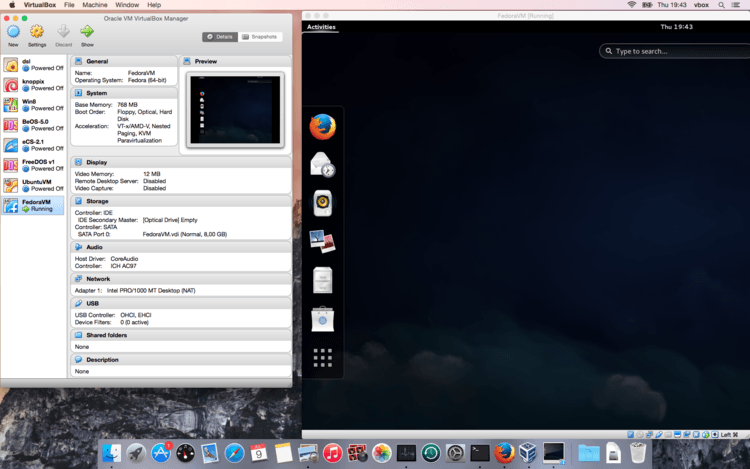
Installing macOS on a Windows PC can be a useful way to test applications or to experience the macOS environment without the need for Apple hardware.
You can achieve this by using virtualization software like VirtualBox, which allows you to run macOS Sonoma as a virtual machine on your Windows 11 system.
In this article, we will be discussing the steps that will help you to install macOS Sonoma on VirtualBox on Windows 11 with ease.

What Are The Prerequisites To Install MacOS Sonoma On VirtualBox On Windows 11?
Before you start, make sure you have the following:
- A Windows 11 PC with at least 8GB of RAM and a multi-core processor.
- The latest version of Oracle VirtualBox.
- macOS Sonoma ISO file.
- VirtualBox Extension Pack (for USB 3.0 support and other features).
What Are The Steps To Install MacOS Sonoma On VirtualBox On Windows 11?
Step 1: Install VirtualBox On Windows 11
Download VirtualBox from the official website and install it on your Windows 11 PC. During installation, you may encounter a network interface setup; this is normal and required for VirtualBox to function properly.

Step 2: Download MacOS Sonoma ISO
You will need a macOS Sonoma ISO file to install the operating system in VirtualBox. Apple does not provide ISO files for macOS, so you will need to create one yourself or find a reputable source online.
Step 3: Create A New Virtual Machine
- Open VirtualBox and click on “New” to create a new virtual machine.
- Name your virtual machine and select “Mac OS X” for the type and “Mac OS X (64-bit)” for the version.
- Allocate memory (RAM) to the virtual machine. It is recommended to allocate at least 4GB (4096 MB) for a smooth experience.
- Create a new virtual hard disk. Choose VDI for the hard disk file type and allocate at least 50GB of space. It is recommended to select “Dynamically allocated” for the storage.
Step 4: Configure The Virtual Machine
- With the virtual machine selected, click on “Settings”.
- Under System, uncheck “Floppy” in the Boot Order and ensure that the chipset is set to ICH9.
- In the Processor tab, allocate at least two CPU cores.
- In the Display settings, increase the video memory to 128 MB and enable 3D acceleration.
- In the Storage settings, click on the “Empty” CD icon under the “Controller: IDE” section, then on the right side, click on the CD icon next to “Optical Drive” and select “Choose a disk file…“. Locate and select the macOS Sonoma ISO file you have.
- Go to the USB section and enable USB 3.0 (xHCI) Controller. This step requires the VirtualBox Extension Pack to be installed.
Step 5: Edit Virtual Machine Configuration File
VirtualBox needs to be configured to bypass certain checks that are in place for macOS virtual machines. These edits involve using command-line instructions to modify the virtual machine’s settings.
- Close VirtualBox completely (ensure it’s not minimized to the system tray).
- Open Command Prompt as an administrator.
- Navigate to the VirtualBox installation directory by typing
cd "C:\Program Files\Oracle\VirtualBox\"and hit Enter. - Enter the following commands, replacing “YourVMName” with the name of your virtual machine:
VBoxManage.exe modifyvm "YourVMName" --cpuidset 00000001 000106e5 00100800 0098e3fd bfebfbff
VBoxManage setextradata "YourVMName" "VBoxInternal/Devices/efi/0/Config/DmiSystemProduct" "iMac11,3"
VBoxManage setextradata "YourVMName" "VBoxInternal/Devices/efi/0/Config/DmiSystemVersion" "1.0"
VBoxManage setextradata "YourVMName" "VBoxInternal/Devices/efi/0/Config/DmiBoardProduct" "Iloveapple"
VBoxManage setextradata "YourVMName" "VBoxInternal/Devices/smc/0/Config/DeviceKey" "ourhardworkbythesewordsguardedpleasedontsteal(c)AppleComputerInc"
VBoxManage setextradata "YourVMName" "VBoxInternal/Devices/smc/0/Config/GetKeyFromRealSMC" 1
These commands will help mimic an environment that macOS expects to be installed on, which is necessary for the installation to proceed without errors.
Step 6: Install MacOS Sonoma
- Open VirtualBox and start the virtual machine you configured.
- If everything is configured correctly, the virtual machine will boot from the macOS Sonoma ISO. You will see the Apple logo and the installation process will begin.
- Once the macOS Utilities menu appears, select “Disk Utility” and click Continue.
- In Disk Utility, select your virtual hard drive from the sidebar (it’s often named “VBOX HARDDISK”).

- Click “Erase” at the top of the Disk Utility window.
- Set the name to “Macintosh HD” (or another name if you prefer), choose “APFS” for the format, and “GUID Partition Map” for the scheme. Then click “Erase”. Close Disk Utility once the process is complete.
- Back at the macOS Utilities menu, select “Install macOS” and click Continue. Follow the on-screen instructions to begin the installation.
- The installation process may take some time, and the virtual machine might reboot several times. Be patient and wait for the installation to complete.
Step 7: Complete MacOS Setup
After the installation is complete, the virtual machine will boot into macOS Sonoma and prompt you to complete the setup process:
- Choose your country or region and click Continue.
- Select a keyboard layout and click Continue.
- At the “Data & Privacy” screen, read the information and click Continue.
- Decide whether to transfer any information to your new macOS installation; typically, for a virtual machine, you’ll select “Not Now”.
- Sign in with your Apple ID if you want to, or skip this step.
- Agree to the terms and conditions.
- Create a computer account by entering a full name, account name, password, and a password hint.
- Customize the Express Set Up options or use the default settings.
- Wait for the setup to complete, and you will be taken to the macOS desktop.
