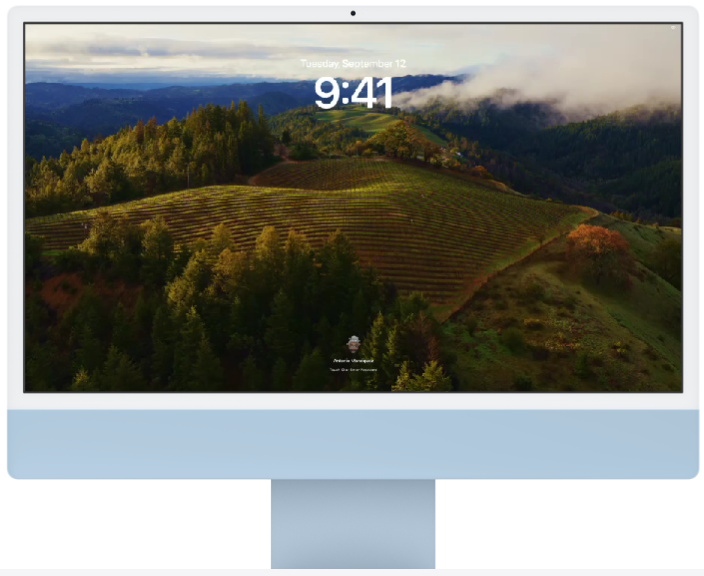
Want to see something cool when your MacBook isn’t in use?
With macOS Sonoma, your screen can show amazing moving pictures called Motion Screen Savers.
They make your screen look great, even when you’re not working on it.
Whether you have the light MacBook Air or a big iMac Pro, these screen savers are easy to set up and fun to watch.
In this blog, we’ll show you how to get started with these new Motion Screen Savers and make your Apple computer’s downtime colorful and exciting.
How To Use The New Motion Screen Savers On MacOS Sonoma?

To use the new motion screen savers on macOS Sonoma follow these steps:
1. Access System Settings:
- Click on the Apple menu at the top left corner of your screen.
- Choose “System Settings” from the dropdown menu.

2. Navigate To Wallpaper Settings:
- In the System Settings window, scroll down in the sidebar and click on “Wallpaper.”

3. Select A Motion Screen Saver:

- Look through the available screensaver options.
- Identify the Motion Screen Savers by finding ones with a Play symbol on them.
4. Customize Your Screen Saver:
- Once you’ve selected a Motion Screen Saver, you can decide if you want it to also be your desktop background or just your screen saver.
- Set options for your screen saver, which may vary based on the one you choose. Options can include:
- Turning on a still aerial for your wallpaper, using the slow-motion aerial of your screen saver.
- Choosing how often to shuffle through aerials.
- Selecting a style to shuffle through your images.
5. Choose A Screen Saver Category:
- macOS Sonoma offers several categories of Motion Screen Savers, including:
- Landscape
- Cityscape
- Underwater
- Earth

- You can also select “Shuffle Aerials” to have slow-motion images change at an interval you set.
6. Set Screen Saver Shuffle Options:

- If you choose to shuffle, decide how often you want the screen saver to change. Options include every 12 hours, day, two days, week, month, or continuously.
- Note that shuffling is limited to locations within the same category.
7. Configure Lock Screen And Screen Saver Start Settings:

- To change how long your Mac can be inactive before the screen saver starts, go back to System Settings and click “Lock Screen” in the sidebar.
- Adjust the idle time as desired.
8. Start Or Stop The Screen Saver:
- The screen saver will start automatically after the set period of inactivity.
- You can also start the screen saver immediately by choosing Apple menu > “Lock Screen.”
- To stop the screen saver and return to your desktop, simply press any key, move the mouse, or touch the trackpad.
9. Enhance Security (Optional)
- If you desire additional security, you can set your Mac to require a password after the screen saver is deactivated. This can be configured in the “Lock Screen” section of System Settings.
10. Utilize Hot Corners (Optional):
- For quick access to your screen saver, you can set up a hot corner. This allows you to start the screen saver by moving your cursor to a designated corner of your screen.
- To set up a hot corner, go to System Settings and search for “Hot Corners” to configure your preferences.
11. Enjoy Your New Motion Screen Saver
- After following these steps, your selected Motion Screen Saver will be set up.
- Sit back and enjoy the dynamic and beautiful slow-motion imagery that brings your Mac’s lock screen and desktop to life.
