Microsoft Office is a widely used suite of productivity applications that includes Word, Excel, PowerPoint, Outlook, and more.
However, like any software, Office is not immune to occasional errors. One such error that users may encounter is the Unable to Start Office error code 147-0.
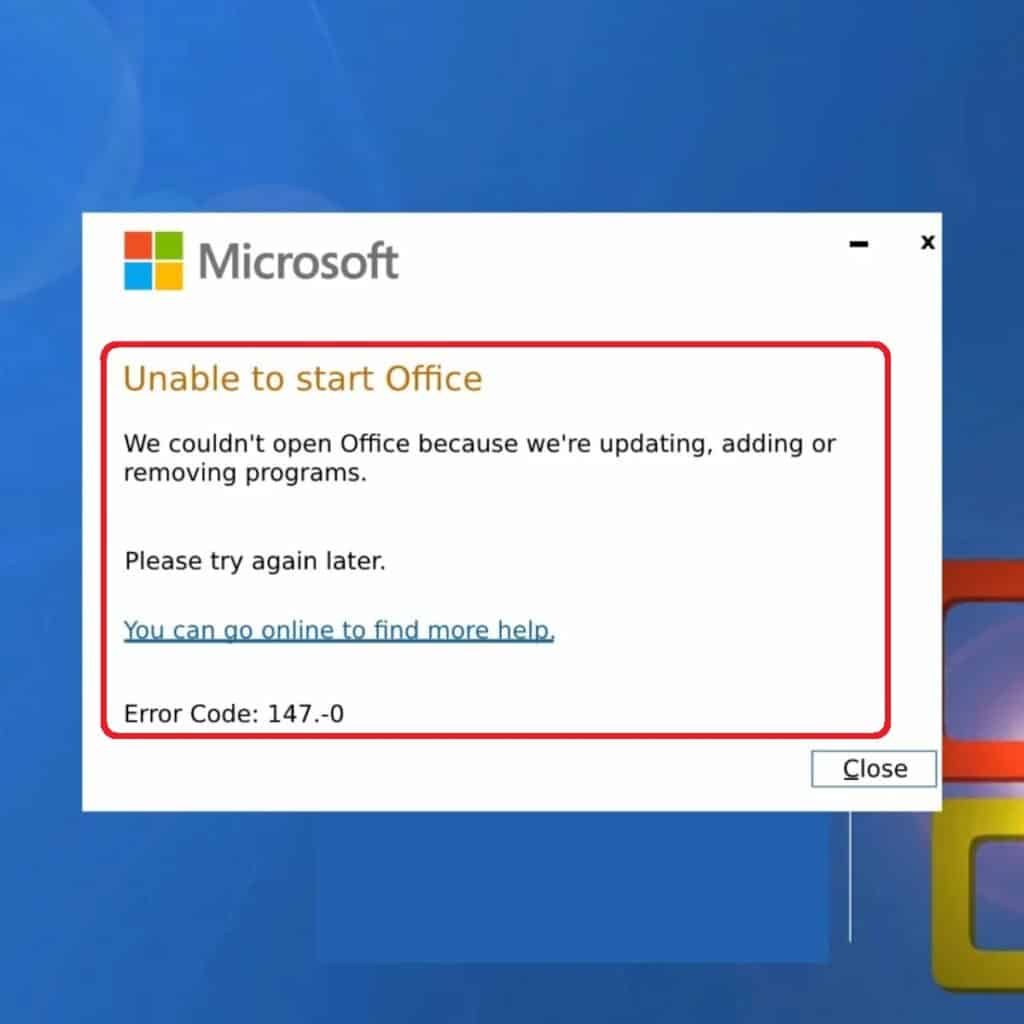
The error message usually states: “Unable to start Office We couldn’t open Office because we’re updating, adding or removing programs. Please try again later. You can go online to find more help. Error Code: 147.-0.“
In this article, we will explore the causes behind this error and provide effective solutions to resolve it.
What Causes “Unable To Start Office Error Code 147-0”?

The error code 147-0 can occur due to various reasons, including corrupt system files, faulty installations caused by Firewall restrictions, outdated Office versions, or compatibility issues with the operating system.
These common causes often lead to errors, making it difficult to launch Microsoft Office applications.
However, regardless of the underlying cause, there are several troubleshooting solutions available to resolve the issue efficiently.
By implementing these solutions, users can successfully overcome the error and regain access to their Office suite without further hassle.
How To Fix “Unable To Start Office Error Code 147-0”?

Now that we understand the potential causes, let’s explore some effective solutions to resolve the “Unable to Start Office error code 147-0.”
1. Check For Microsoft Updates
Regularly checking for and installing Microsoft updates ensures that your software is up to date with the latest improvements and bug fixes. These updates often address known issues and provide solutions to errors encountered in Microsoft Office.
To check for Microsoft updates and ensure that your software is up to date, follow these steps:
- Open the Windows Settings app by pressing the Windows key + I on your keyboard.
- In the Windows Settings window, click on “Update & Security.”
- On the left sidebar, click on “Windows Update.”
- In the main window, click on the “Check for updates” button.
- Windows will now search for available updates for your system.
- If updates are found, they will be listed, and you can click on the “Download” or “Install” button to initiate the update process.
- Wait for the updates to download and install. This may take some time, depending on the size and number of updates.
- Once the updates are installed, restart your computer if prompted to complete the update process.
- After restarting, check for updates again to ensure that all available updates have been installed.
2. Repair Microsoft Office
Repairing Microsoft Office allows the software to fix any missing or corrupt files that may be causing the error.
By accessing the “Programs and Features” menu and choosing the Quick Repair or Online Repair option, the Office suite undergoes a diagnostic process to identify and resolve any issues with its installation.
To repair the Microsoft Office app, follow these steps:
- Open the Windows Settings page by clicking on the Start menu and selecting the gear icon, or by pressing the Windows key + I on your keyboard.
- In the Windows Settings window, click on “Apps.”
- On the left sidebar, click on “Apps & Features.”
- Scroll down and locate the Microsoft Office app in the list of installed apps.
- Click on the Microsoft Office app to expand its options.
- Click on “Advanced options” below the app name.
- In the Advanced options window, you will find the Repair and Reset buttons.
- Click on the “Repair” button to initiate the repair process. Allow the repair to proceed and complete it.
- If the repair does not resolve the issue, you can also try clicking on the “Reset” button. Keep in mind that resetting the app will remove any custom settings or preferences.
- After the repair or reset is complete, restart your computer.
3. Delete Office Registry Subkeys
Deleting specific registry subkeys related to Microsoft Office helps remove any remnants or corrupted entries that could be interfering with the proper functioning of the software.
By removing these keys, the Office suite can start fresh and resolve any conflicts that may have been causing the error.
To delete Office registry subkeys and resolve issues related to the “Unable to start Office error code 147-0,” follow these steps:
- Press the Windows key + R on your keyboard to open the Run dialogue box.
- Type “regedit” in the Run dialogue box and press Enter or click OK. This will open the Registry Editor.
- In the Registry Editor window, navigate to the following paths:
- HKEY_LOCAL_MACHINE\SOFTWARE\Microsoft\Office\ClickToRun
- HKEY_LOCAL_MACHINE\SOFTWARE\Microsoft\AppVISV
- HKEY_CURRENT_USER\Software\Microsoft\Office
- Once you are in the desired path, right-click on the registry key within that path and select Delete.
- Confirm the deletion by clicking Yes or OK when prompted.
- Repeat steps 4 and 5 for each of the registry keys you need to delete within the specified paths.
- After deleting the registry keys, close the Registry Editor.
- Restart your computer to apply the changes.
- Launch Microsoft Office again to check if the error code 147-0 still persists.
4. Uninstall And Reinstall The Microsoft Office
Reinstalling Microsoft Office involves completely uninstalling the software and then reinstalling it from scratch.
This process eliminates any faulty installations, corrupt files, or configuration issues that may be contributing to the error code 147-0.
By starting with a clean installation, you give Microsoft Office a fresh chance to function properly.
