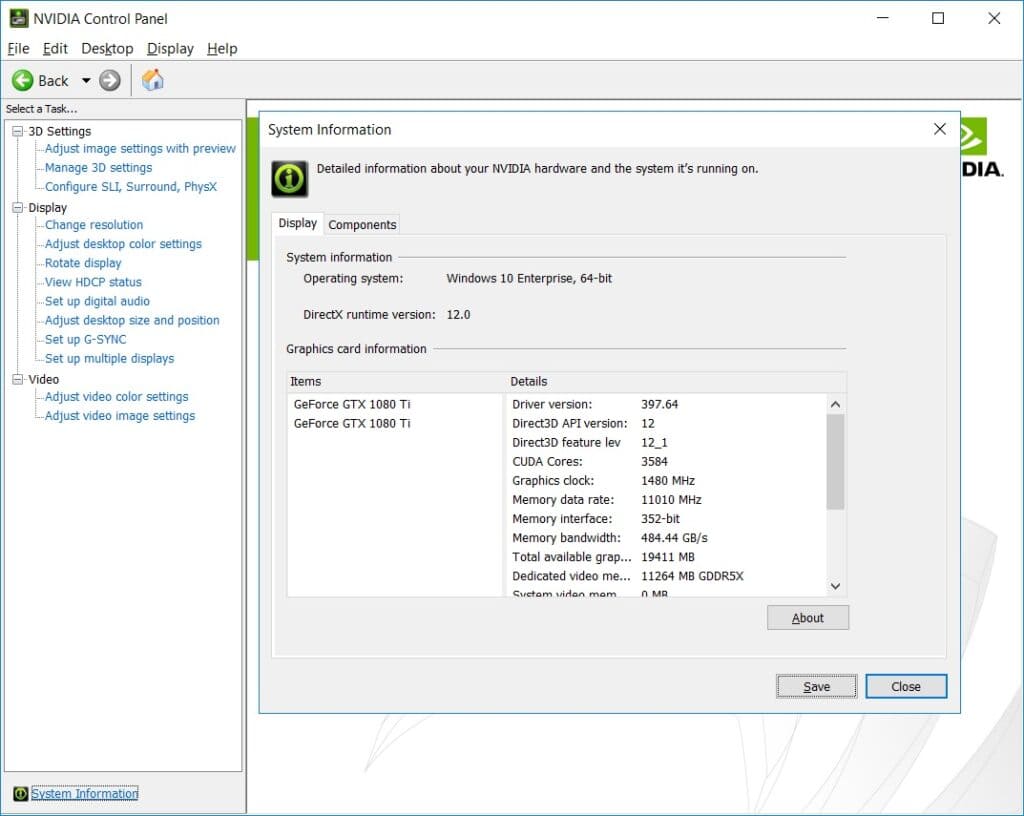
NVIDIA Control Panel is important for people with NVIDIA graphics cards to make their games and graphics work better.
But sometimes, you might open it and not see all the settings you need; this can be annoying.
In this article, we’ll explain why this happens and give you ways to fix it, so your graphics card works its best.
Why Does Nvidia Control Panel Not Showing All Options?
When the NVIDIA Control Panel fails to display all of its settings, this issue can occur for various reasons.
Outdated or corrupted graphics card drivers can lead to problems with the graphics card, potentially resulting in automatic disabling.

Additionally, unknown glitches or technical issues can also contribute to these problems.
How To Fix The Nvidia Control Panel Not Showing All Options?
If the control panel is not showing all the options, here are some fixes that might be able to resolve the issue for you:
1. Update Your Graphics Card Driver
If graphics drivers are outdated or incompatible, the Control Panel may malfunction due to compatibility and performance issues.
Here are the steps to update your GPU Drivers:
- Open the Control Panel, and select “Device Manager.”
- Expand “Display adapters,” right-click your graphics card, and choose “Update Driver Software.”
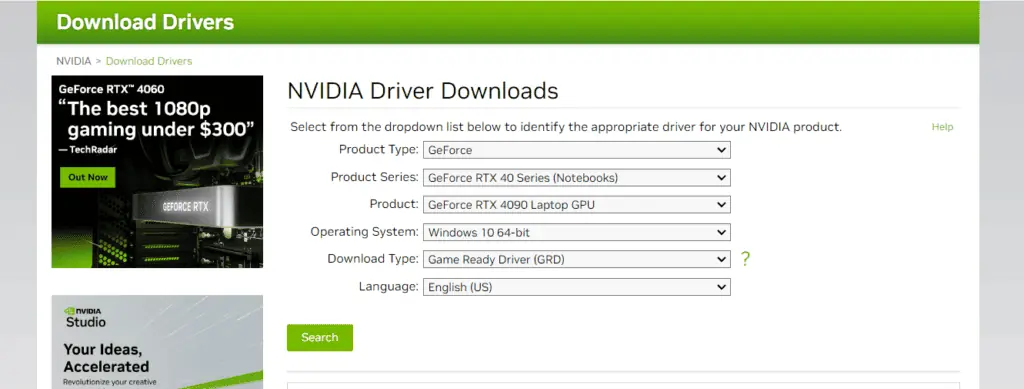
- Opt for automatic online updates or locate your model on the manufacturer’s website for manual download.
- Follow the provided instructions to install the latest driver and restart your computer.
2. Set NVIDIA Control Panel Service On Automatic
Occasionally, the NVIDIA Control Panel service is not set to start automatically with Windows, resulting in it not loading properly.
Follow these steps to ensure that it runs smoothly:
- Press
Win + Rto open the Run dialog box. - Type “services.msc” and press Enter to open the Services window.
- Scroll down and locate “NVIDIA Display Container LS.” Right-click on it and select “Properties.”
- In the “Startup type” dropdown menu, select “Automatic.”
- Click on “Apply” and then “OK” to save the changes.
- Restart your computer to apply the setting.
3. Disable And Re-Enable The Graphics Card
You can fix this problem by turning off and then turning on your graphics card.
After you turn it back on, see if the issue is gone or not.
Here are the steps to disable and re-enable the graphics card:
- Press the Windows key + X and select Device Manager from the menu.
- Expand the Display adapters category and find your graphics card.
- Right-click on the graphics card and select Disable device. Confirm the action if prompted.
- Right-click on the graphics card again and select Enable device. Confirm the action if prompted.
- Restart your computer to apply the changes.
4. Uninstall And Reinstall The Graphics Card Driver
If nothing else, try completely uninstalling from your device and then installing the graphics card driver from the official website, this usually helps fix the problem.

here are the steps for uninstalling and reinstalling the graphics card driver:
- Open the Device Manager by pressing Win+R and typing “devmgmt.msc” in the Run box.
- Double-click on “Display adapters” to view the devices in the category.
- Right-click on the graphics card name, and select “Uninstall device“.
- On the Uninstall confirm dialog box, click the “Delete the driver software for this device” option, then click “Uninstall“.
- Go to the NVIDIA website and download the latest driver for your graphics card.
- Run the downloaded driver file and follow the on-screen instructions to install the driver.
- Restart your computer
