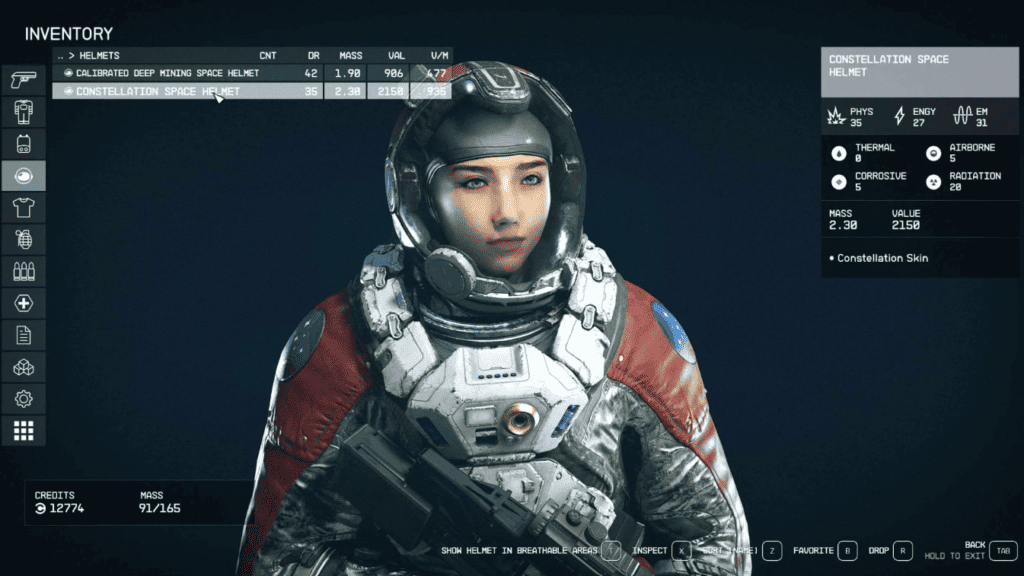
Is the StarUI Inventory module not working on your PC? The StarUI Inventory mod is one of the recent additions to the Starfield game.
If you use a PC to play Starfield, the StarUI Inventory enhances your gameplay with the redesigned inventory display.
It has a compact display style, more details in sortable columns, item category icons, category as the left sidebar, and many more such amazing features! These features make it more convenient than the standard inventory display on Starfield.
If the StarUI Inventory mod is not working on your PC, do not worry, as other players have encountered this issue as well.
This article will help you understand why the StarUI Inventory mod may not be working on your PC and what steps you can take to fix the issue.

Why Is Starfield Starui Not Working?
If the StarUI Inventory Mod is not working for you it could be due to saving the file with the wrong extension, installing mod files under incorrect folders, or making incorrect changes under the archive section.
1. Wrong File Extension
It is very likely that you have saved the file name with the “.txt” extension accidentally. This will pose an obstacle for the StarUI to operate properly.
2. Incorrect Archive Invalidation Changes
You need to add the lines “bInvalidateOlderFiles=1” and “sResourceDataDirsFinal=” under the archive section. If you have entered these lines incorrectly, the StarUI will not work for you.
3. Mod Files Not Installed In The Correct Path
You need to install the mod files under the “Starfield install directory” and “documents/mygames/starfield” folder. If you have installed the files under some other path than these folders, the StarUI will not function properly as it should.

How To Fix Starfield Starui Not Working?
If the StarUI Inventory Mod is not working for you, check the file name, enable archive invalidation, edit the Starfield install folder, install mod files, and enable hardlink deployment on Vortex to fix the issue.
1. Check The File Name
When you create the StarfieldCustom.ini file on your device, make sure that you have the file name extensions viewable in Windows.
It is highly possible that your file may appear to be correct but in reality, it is actually named StarfieldCustom.ini.txt by accident. Check the file name on your device and change the extension if necessary.
Ensure that you correctly name the file “StarfieldCustom.ini“. Your issue should be fixed now. If not, do not worry as there are other fixes to try.
2. Enable Archive Invalidation
Use an advanced text editor such as Notepad++ for editing to ensure that your archive invalidation changes don’t have special hidden characters. Also, make sure that the accessibility large text option is turned off.
Ensure there is only one archive section. If you already have an archive section, do not add another one. Under the archive section, add the lines “bInvalidateOlderFiles=1” and “sResourceDataDirsFinal=”. Your Starfield game is now ready for modding.
3. Edit Starfield Install Folder
Ensure that you have first edited your starfieldcustom.ini with the lines “bInvalidateOlderFiles=1” and “sResourceDataDirsFinal=”. If it still doesn’t work, edit your Starfield install folder.
Go to your Starfield install folder. Edit the starfield.ini with the exact same lines as you have done under the archive section, “bInvalidateOlderFiles=1” and “sResourceDataDirsFinal=”.
4. Install Mod Files
Try to install the mod files manually if your mod manager such as Vortex or Mod Organizer 2 is not working and doing its job. Install your mods in both the Starfield install directory and documents/mygames/starfield folder.
Copy the folder Interface\ from the zip to your Starfield\Data\ folder (where the ba2 files are). If this does not work for you, copy the files to your Documents\My Games\Starfield\Data\ folder in that case.
The StarUI Inventory mod should work perfectly now.
5. Enable Hardlink Deployment
If you are using a mod manager such as Vortex to install the mods, ensure that you have enabled the hardlink deployment on Vortex.
When Vortex is deployed, it adds your modules to the mod install route and creates a hard link to your mod install site. Every deployment will inspect and rebuild all hard links.
Follow these steps to enable Hardlink Deployment:
- Go to the Vortex app.
- Click on Settings on the menu from the left-hand side.
- Click on the Mods tab.
- Under the Deployment Method, choose Hardlink Deployment and then click on the Apply button to save the changes.
