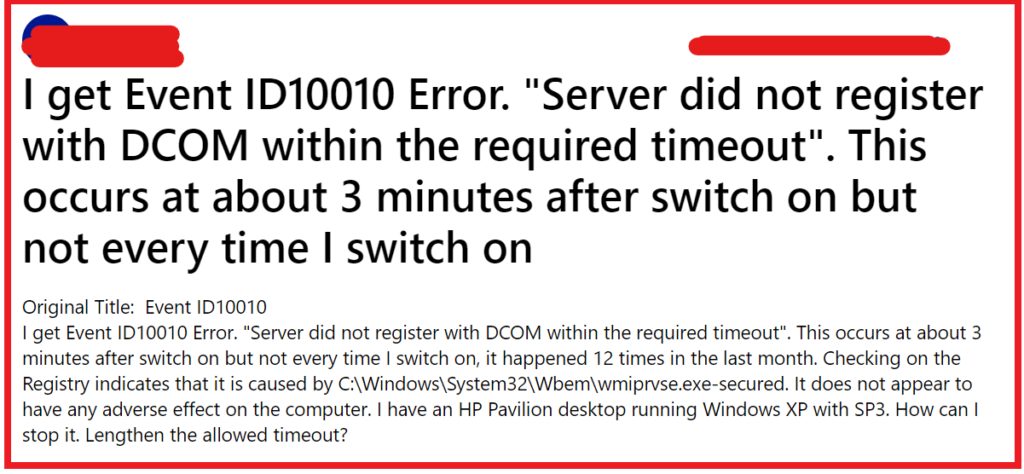
Are you encountering the frustrating “Server Did Not Register with DCOM Within the Required Timeout” error on your Windows system?
This error can be a source of annoyance, but fear not! In this blog, we will explore effective solutions to resolve this issue and get your system running smoothly again.
How To Fix Server Did Not Register With DCOM Within The Required Timeout?

To fix “Server did not Register with DCOM within the required timeout”, you can reset default DCOM permissions, change the startup type of function discovery resource publication, and update security patches. Additionally, you can turn off updates from more than one place.
1. Reset Default DCOM Permissions
Resetting the default DCOM permissions can resolve issues where the server did not register with DCOM within the required timeout by ensuring that the necessary permissions are correctly set, which allows the DCOM server to register properly.
Incorrect DCOM permissions can prevent servers from registering within the required timeframe, leading to this error.
- Press Windows Key + R to open the Run dialog box.
- Type dcomcnfg and press Enter to open the Component Services window.
- In the console tree, navigate to Component Services > Computers > My Computer > DCOM Config.
- Right-click on My Computer and select Properties.
- Go to the COM Security tab.
- Under Access Permissions, click Edit Defaults and ensure that the correct permissions are set for the system and administrators.
- Under Launch and Activation Permissions, click Edit Defaults and verify that the system and administrators have the appropriate permissions.
- Click OK to apply the changes and close all windows.
- Restart your computer and check if the error is resolved.
2. Change The Startup Type Of Function Discovery Resource Publication
Changing the startup type of the Function Discovery Resource Publication service to Automatic (Delayed Start) can help fix the issue because this service publishes the computer and resources so they can be discovered over the network.
If it’s not starting correctly, it might cause the server to fail to register with DCOM in time.
- Press Windows Key + R to open the Run dialog box.
- Type services.msc and press Enter to open the Services window.
- Scroll down and find the Function Discovery Resource Publication service.
- Right-click on it and select Properties.
- In the Startup type dropdown menu, select Automatic (Delayed Start).
- Click Apply and then OK.
- Restart your computer and check if the error persists.
3. Update Security Patches
Applying the latest security updates can address underlying issues that may be causing the DCOM registration errors.
Security updates often contain fixes for system bugs and improvements that can enhance the stability and performance of DCOM operations.
- Open the Settings app by pressing Win + I.
- Click on Update & Security.
- Select Windows Update.
- Click Check for Updates to search for any available updates.
- If updates are found, click Install now to begin the update process.
- Follow any on-screen instructions to complete the installation.
- Restart your computer after the updates have been installed to ensure all changes take effect.
4. Turn Off Updates From More Than One Place
Turning off the feature ‘Updates from more than one place’ can help resolve the DCOM timeout error by preventing Windows Update delivery optimization, which can sometimes interfere with DCOM communication.
Disabling this feature ensures that updates are downloaded only from Microsoft servers, reducing the complexity of the update process.
- Open the Settings app by pressing Windows Key + I.
- Click on “Update & Security.“
- Select “Advanced options” under the “Windows Update” section.
- Click on “Delivery Optimization.“
- Toggle off the option that says “Allow downloads from other PCs.“
- With this option turned off, your PC will no longer send or receive updates to and from other PCs on the Internet or your local network.
- Restart your computer and check if the DCOM error has been resolved.
5. Uninstall And Reinstall, Repair, Or Reconfigure The Faulty Software
Reinstalling, repairing, or reconfiguring software that’s causing the DCOM error can resolve the issue by restoring the software to its default state or correcting any misconfigurations.
If the software involved in the DCOM operation is faulty or improperly configured, it may prevent the server from registering with DCOM within the required timeout.
- Check event logs to identify the problematic software.
- Open Control Panel, go to “Programs and Features.“
- Find and select the software from the list.
- Choose “Repair” if available and follow prompts, or “Uninstall” if not.
- Restart your computer after uninstalling.
- Reinstall the software from the official site or original media.
- Configure software settings appropriately post-installation.
