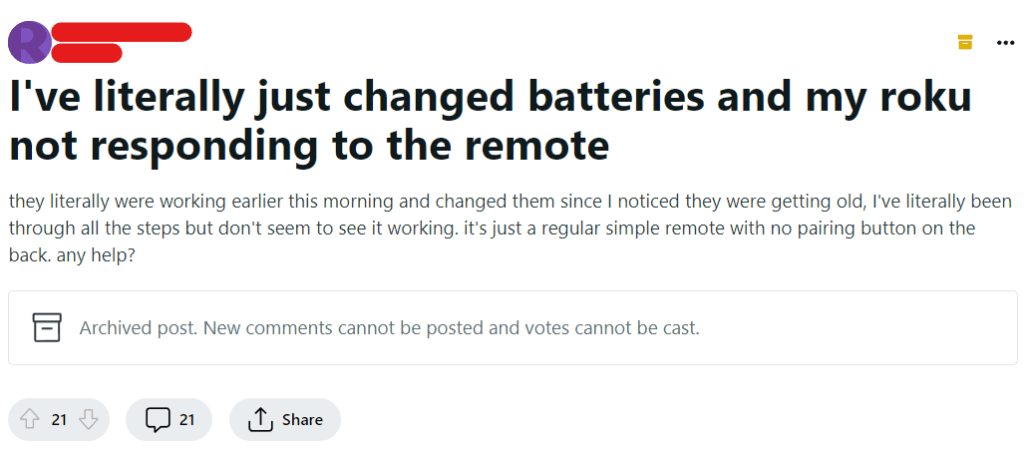
Are you having trouble with your Roku remote not working even after replacing the batteries?
This is a common issue faced by many Roku users, and it can be frustrating when you can’t control your streaming device.
Fortunately, there are several solutions you can try to get your Roku remote working again.
In this article, we will explore some of the most effective methods to fix a Roku remote that is not working with new batteries.
How To Fix Roku Remote Not Working With New Batteries

1. Battery Orientation
Make sure that the batteries are inserted in the correct orientation. The positive and negative ends of the batteries should be aligned with the markings in the battery compartment.
2. Check The Batteries
Make sure that the batteries are inserted correctly and are not dead. You can test the batteries by using a battery tester or by replacing them with new ones.
3. Clean The Remote
Sometimes, the remote may not work due to dirt or debris inside the remote. In this case, you can clean the remote by following these steps:
- Remove the batteries from the remote.
- Use a soft, dry cloth to clean the remote.
- Use a toothbrush or cotton swab to clean the buttons and crevices of the remote.
- Reinsert the batteries and try using the remote again.
4. Re-pair The Remote
Sometimes, the remote may lose its connection to the Roku device. In this case, you can re-pair the remote to the device by following these steps:
- Press and hold the pairing button located in the battery compartment of the remote for 3 seconds.
- Wait for the pairing process to complete, which may take up to 30 seconds.
- Once the pairing is complete, the remote should work as expected.
5. Reset The Remote
If re-pairing the remote does not work, you can try resetting the remote by following these steps:
- Remove the batteries from the remote.
- Unplug the Roku device from the power source.
- Wait for 5-10 seconds, then plug the Roku device back in.
- Wait for the device to restart, then reinsert the batteries into the remote.
- Try using the remote again.
6. Infrared Light Test
Check if the remote is emitting infrared (IR) signals by using a smartphone camera or a digital camera. Point the remote towards the camera lens and press any button on the remote.
If the remote is working, you should see a flashing light on the camera screen. If you don’t see any light, the remote may be faulty.
7. Use The Roku App
If your Roku device is connected to the same Wi-Fi network as your smartphone or tablet, you can use the Roku app as a remote control.
Download the Roku app from the App Store or Google Play, and follow the on-screen instructions to connect it to your Roku device. Once connected, you can use the app to control your Roku device instead of the physical remote.
8. Bluetooth Remote
If your Roku device supports Bluetooth, you can try pairing a Bluetooth remote with the device.
To do this, go to Settings > Remotes & devices > Pair a new remote and follow the on-screen instructions.
9. Reset Your Roku Device
If none of the above solutions work, you can try resetting your Roku device to its factory settings.
This will erase all the settings and data on your device, so make sure to back up any important data before resetting.
To reset your Roku device, go to Settings > System > Advanced system settings > Factory reset and follow the on-screen instructions.
10. Contact Roku Support Team
If none of the above solutions work, you can contact the Roku support team for assistance.
They may be able to provide you with further troubleshooting steps or send you a replacement remote if your current remote is faulty.
