OnlyFans is a great platform where creators share their content and make big money out of it. Here, you can connect with your favorite creators for a minimal subscription fee.
However, many players have reported running into errors while making payments for subscriptions or sending tips.
While this could be frustrating for you, don’t worry! You are not alone in this.
Here, in this article, we will cover the potential reasons why OnlyFans won’t let you pay and cover some troubleshooting tips to help you fix this issue.
Why OnlyFans Won’t Let You Pay?
Before diving into solutions, let’s understand what might be causing this hiccup. The following could be the potential reasons why OnlyFans won’t let you pay:
1. Card-Related Issues
Problems with your card like not having enough funds or credit, your account being closed or flagged for fraud, your payment being past due, or your card has expired can be reasons for payment errors on OnlyFans.
2. Entering Inaccurate Details
If you enter invalid details like wrong CVV, mismatch in billing address, or other card details, then the payment gateway will reject the payment for obvious reasons.
3. Payment Method Issues
Outdated cards can lead to payment errors on the platform. In some countries, the banks have stopped the payment to OnlyFans. So, if you use a card declined by your bank then it causes payment errors.
4. Server Issues
In a rare case, if your bank or OnlyFans server is down, then the transaction might fail to process.
How To Fix OnlyFans Won’t Let Me Pay Error?
Now that we have identified the potential reasons for this error, let’s explore how to fix it. To fix the OnlyFans payment error ensure sufficient funds, update your card, resolve flagged payments, clear cache and cookies and, contact the OnlyFans Support Team.
Follow the fixes mentioned below and resolve your payment issues in no time.
1. Ensure You Have Sufficient Funds
One of the common reasons why payments might be declined is due to insufficient funds in your account. Login to your account and check if you have enough funds. Check the available credit on your card. If not, reload your card with funds to avoid this error.
Also, double-check your credit card information, CVV code, expiry date, and other details.
2. Update Your Card Details
If you’re making a payment with an expired or outdated card, then your payment will get rejected. So make sure that your card is updated.
If not, contact your bank to update any necessary information or request a new card if needed.
3. Resolve Flagged Payments
Your payment might get flagged on the platform due to security concerns. Usually, your bank or credit card company suspects the transaction is suspicious and stops it.
So, to address this problem, you should reach out to OnlyFans support promptly. When you contact them, be prepared to furnish any essential details they require to confirm your identity.
By doing so, you can facilitate the verification process and guarantee that your payment proceeds without any glitches.
4. Check Server Status

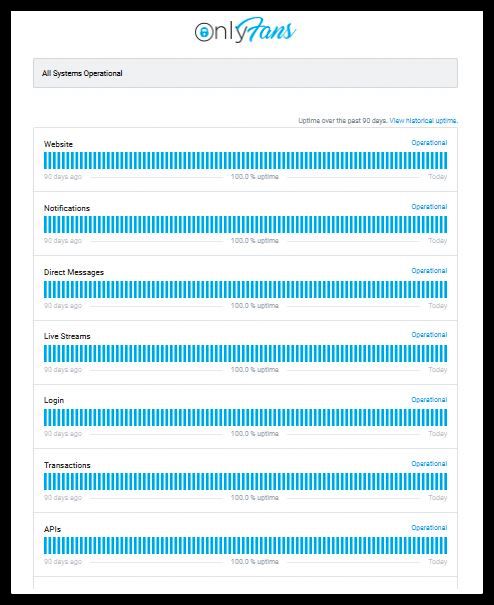
Sometimes, payment can get disrupted due to server issues. If the OnlyFans server is down, then navigate to the OnlyFans Status Page on your browser. Here, you can get real-time updates on the platform’s server status.
5. Clear Cache And Cookies For Browser
To resolve payment issues on OnlyFans, consider clearing your browser’s cookies and site data. This action can resolve conflicts caused by outdated or corrupted files, ensuring a smooth payment process.
Follow the steps mentioned below to clear Cached data and cookies:-
For Google Chrome
- Click on the three dots in the top right corner of your browser.
- Select Settings from the drop-down menu. Then click on “Privacy and security“.

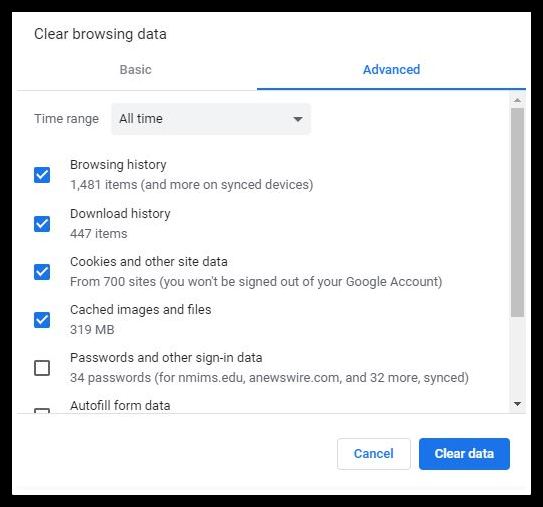
- Click on Clear browsing data. Ensure that the “cookies and other site data” and “Cached images and files” boxes are selected.
- Click “Clear Data“.
After clearing cookies, re-login to OnlyFans and attempt the payment again. Now one can experience a smoother payment process without any lingering issues.
For Firefox
- For Firefox on Mac, click History in the menu bar (top left of your screen)
- Click Clear Recent History
- Change the time frame to what you’d like
- Choose what data to remove
- Click OK
For Safari
- Go to Safari > Preferences > Privacy.
- Click Manage Website Data.
- Select Clear cookies and data or Clear Cookies and Clear Cache options.
- Confirm when prompted.
For Internet Explorer
- Click Tools, and select Delete Browsing History.
- Unselect Preserve Favorites website data, and select Temporary Internet files, Cookies, and History.
- Click on Delete.
6. Clear Cache And Cookies For The OnlyFans App
Make sure to clear the cache and data files of OnlyFans from your phone as they can also contain corrupt or junk files.
For Android
- Go to your Mobile Phone’s Settings.
- Tap on Apps.
- Search the OnlyFans App.
- Tap on Storage usage, now clear cache and clear data.
For IOS
- Go to iPhone settings.
- Go to General.
- Find the OnlyFans App and tap on that.
- Select the Offload App button.
- Again Reinstall the OnlyFans app.
7. Contact Support Team

If you still encounter problems while making payments on OnlyFans, then it’s time to contact their support team for assistance.
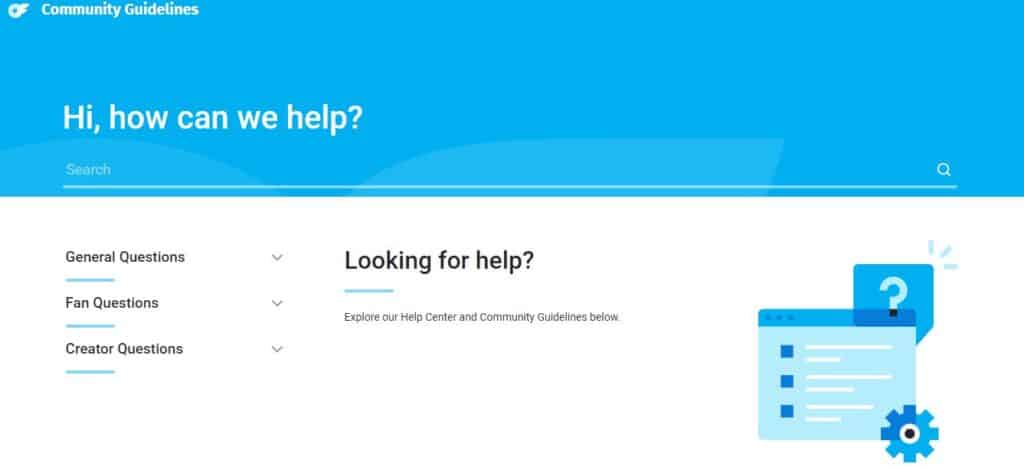
Simply navigate to the help section on their website and submit a formal request. They shall respond with tailored solutions for the payment issue.
However, know that the support team might take some time to come up with a solution. So, remain patient and keep checking your inbox for their forthcoming communications.

