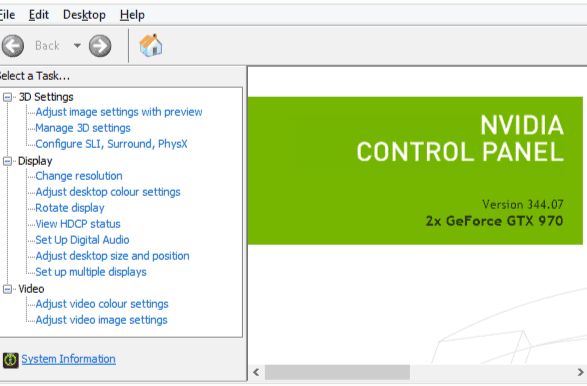
The NVIDIA Control Panel is like a special tool for making pictures on your computer screen look really good.
Sometimes, people find that some picture choices or sizes are missing in the tool.
This article explains why that happens and gives easy instructions to fix it.
What Causes Nvidia Control Panel Display Settings Missing Or Not Showing Resolution Or Not Available?
The NVIDIA Control Panel’s lack of display settings or resolutions can be attributed to a variety of factors.
Outdated or corrupted graphics card drivers are a common culprit, impacting the functionality of the Control Panel.

Improper display connections can also prevent the control panel from detecting the graphics card, which requires proper port connections.
Windows updates or third-party software installations can lead to the disabling, uninstallation, or corruption of the graphics card, affecting the performance of the Control Panel.
Moreover, the integrated control panels on laptops may override the NVIDIA Control Panel settings, and using them for display adjustments could be a solution.
Finally, complications from multiple monitors can contribute to these display problems.
How To Fix Nvidia Control Panel Display Settings Missing Or Not Showing Resolution Or Not Available?
Here are a few possible solutions you can explore to solve your problem:
1. Check The Display Connection
Check that your monitor is connected to the appropriate display port.
If the graphics card is connected to the wrong port, the NVIDIA Control Panel may not be able to detect it.
2. Update Your Graphics Card Driver
If graphics drivers are outdated or incompatible, the Control Panel may malfunction due to compatibility and performance issues.
Here are the steps to update your GPU Drivers:
- Open Control Panel, select “Device Manager.”
- Expand “Display adapters,” right-click your graphics card, and choose “Update Driver Software.”
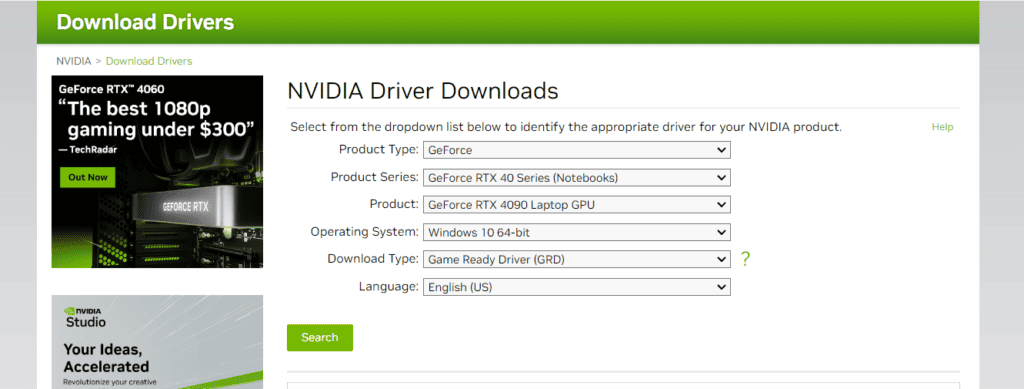
- Opt for automatic online updates or locate your model on the manufacturer’s website for manual download.
- Follow provided instructions to install the latest driver and restart your computer.
3. Enable All NVIDIA Services
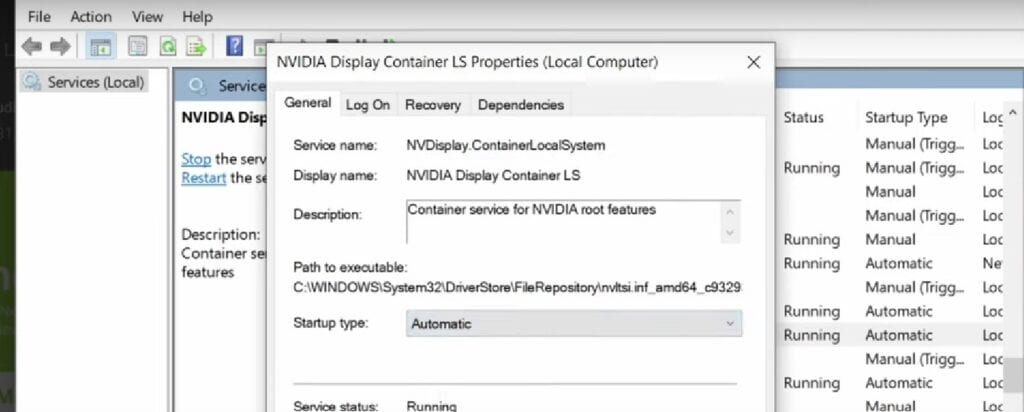
Frequently, issues with missing display settings or resolutions in the NVIDIA Control Panel can be resolved by ensuring that all NVIDIA services are active and functioning properly.

Here’s how to enable all NVIDIA services:
- Press “Win + R” to open the Run dialog.
- Type “
services.msc"and hit Enter. - Look for the following NVIDIA services in the Services window:
- NVIDIA Display Container LS
- NVIDIA Telemetry Container
- NVIDIA LocalSystem Container
- NVIDIA NetworkService Container
- Right-click on each NVIDIA service and select “Properties.”
- In the “Startup type” drop-down menu, choose “Automatic.”
- If the service is currently running, click the “Stop” button. Wait for a few moments and then click “Start.”
- Click “Apply” and then “OK” to save the changes you’ve made to the service properties.
- Repeat these steps for each of the NVIDIA services listed above.
4. Enable Desktop Changes
Another potential solution for resolving missing display resolutions or options in the NVIDIA control panel is to ensure that the NVIDIA service is allowed to make desktop modifications.
Here are the steps to enable the desktop changes:
- Right-click on your desktop.
- Select “NVIDIA Control Panel” from the context menu.
- In the NVIDIA Control Panel window, navigate to the “Desktop” tab.
- Look for the option labeled “Allow desktop resizing.”
- Ensure that this option is “enabled”
- Once you’ve enabled desktop resizing, click the “Apply” button to save your changes.
5. Disable And Enable The Graphics Card
The NVIDIA Control Panel may not display settings correctly due to issues caused by Windows updates or third-party software.
Disabling and reactivating the graphic card may help to reset its configuration and potentially solve the problem.
Here are the steps for disabling and reactivating the graphic card:
- Press the Windows key and type “Device Manager” in the search bar.
- Open the Device Manager from the search results.
- Expand the “Display adapters” section to reveal your NVIDIA graphics card.
- Right-click on your NVIDIA graphics card and select “Disable device.”
- After disabling the graphics card, restart your computer.
- Once your computer has restarted, open the Device Manager again.
- Right-click on your NVIDIA graphics card, which should now be listed as disabled.
- Select “Enable device.”
- Restart your computer once again to apply the changes.
6. Uninstall And Reinstall Graphics Card Driver
If nothing else works and you still can’t find the right picture choices or sizes in the NVIDIA Control Panel, try completely uninstalling from your device and then install back the graphics card driver from the official website, this usually helps fix the problem.

here are the steps for uninstalling and reinstalling the graphics card driver:
- Open the Device Manager by pressing Win+R and typing “devmgmt.msc” in the Run box.
- Double-click on “Display adapters” to view the devices in the category.
- Right-click on the graphics card name, and select “Uninstall device”.
- On the Uninstall confirm dialog box, click the “Delete the driver software for this device” option, then click “Uninstall”.
- Go to the NVIDIA website and download the latest driver for your graphics card.
- Run the downloaded driver file and follow the on-screen instructions to install the driver.
- Restart your computer
