Encountering errors with password managers can be particularly troubling given the importance of the data they protect.
If you’re facing the “Something went wrong, please check back shortly” error in NordPass, it’s crucial to resolve it promptly to regain access to your passwords and other sensitive information.
In this article, we will be discussing the fixes that will help you solve the issue of Nordpass “Something went wrong, please check back shortly” Error without any hassle.

How To Fix Nordpass Something Went Wrong Please Check Back Shortly Error?
To fix Nordpass something went wrong please check back shortly error, you can check for an internet connection, check the NordPass service status, and update NordPass. Additionally, disable the VPN to fix the issue.
1. Check Internet Connection
A stable internet connection is essential for NordPass to function correctly.
- Ensure your device is connected to the internet.
- Try switching between Wi-Fi and mobile data (on mobile devices) to see if the issue is related to a specific network.
- You can also do a router reset by unplugging the router, waiting for 3 minutes and then replugging it again.
2. Check NordPass Service Status
Before diving into more complex troubleshooting, it’s important to verify whether the issue is on your end or if NordPass is experiencing service disruptions.
Visit the NordPass status page to see if there are any outages or maintenance.
3. Update The NordPass Application
An outdated application might be the cause of the error. Ensuring that you’re running the latest version of NordPass can resolve many common issues.
- For mobile devices, visit the App Store or Google Play Store and check for any available updates for NordPass.
- For desktop applications, open NordPass and typically, there will be a prompt if an update is available. Alternatively, you can download the latest version directly from the NordPass website.
4. Disable VPN Or Proxy Services
Sometimes, VPN or proxy services can interfere with NordPass’s ability to connect to its servers.
Temporarily disable any VPN or proxy services and try accessing NordPass again.
5. Check Your Device’s Date And Time
Incorrect date and time settings can cause issues with SSL certificates, which in turn can lead to connection errors with secure services like NordPass.
For A PC (Windows 10/11):
- Open Settings: Click on the Start menu and select the gear icon to open Settings, or you can press
Windows Key + I. - Navigate to Time & Language: Click on “Time & Language”.
- Date & Time Settings: In the Date & Time tab, you can view the current settings.
- Set Time Automatically: Ensure the toggle for “Set time automatically” is switched on to allow your PC to maintain the correct time.
- Set Time Zone Automatically: Also, make sure the “Set time zone automatically” is turned on, or select the correct time zone from the dropdown menu if you prefer to set it manually.
- Sync Now: If you want to synchronize your clock manually, you can click the “Sync now” button under the “Synchronize your clock” section to update your time with the time servers immediately.
For Android:
- Open Settings: Swipe down from the top of the screen and tap the gear icon, or find the Settings app in your app drawer.
- Date & Time Settings: Scroll down and tap on “System” (this may vary slightly depending on your version of Android), then select “Date & time”.
- Automatic Date & Time: Ensure that “Automatic date & time” or “Use network-provided time” is toggled on. This will allow your phone to receive the correct date and time from your network provider.
- Automatic Time Zone: Similarly, make sure “Automatic time zone” or “Use network-provided time zone” is enabled to adjust the time zone automatically based on your location.
For IOS (iPhone/iPad):
- Open Settings: Tap on the Settings icon from your home screen.
- General Settings: Scroll down and tap on “General”.
- Date & Time: Tap on “Date & Time”.
- Set Automatically: Toggle on “Set Automatically” to allow your iPhone or iPad to adjust the date and time based on your location.
- Time Zone: If “Set Automatically” is off, you can manually set your time zone by tapping on “Time Zone” and typing the name of your city or selecting it from the list provided.
6. Check For Conflicting Software
Other software on your device, especially security or firewall programs, can sometimes conflict with NordPass.
- Temporarily disable any firewall or antivirus software to see if it resolves the issue. Remember to turn it back on after testing.
- If disabling the software fixes the problem, you may need to add an exception for NordPass in the software’s settings.
7. Use A Different Device Or Browser
To determine if the issue is with your device or browser, try accessing NordPass from a different device or through a different web browser.
- If NordPass works on another device or browser, the issue may be local to the original device or browser. This could indicate a need for further troubleshooting specific to that environment.
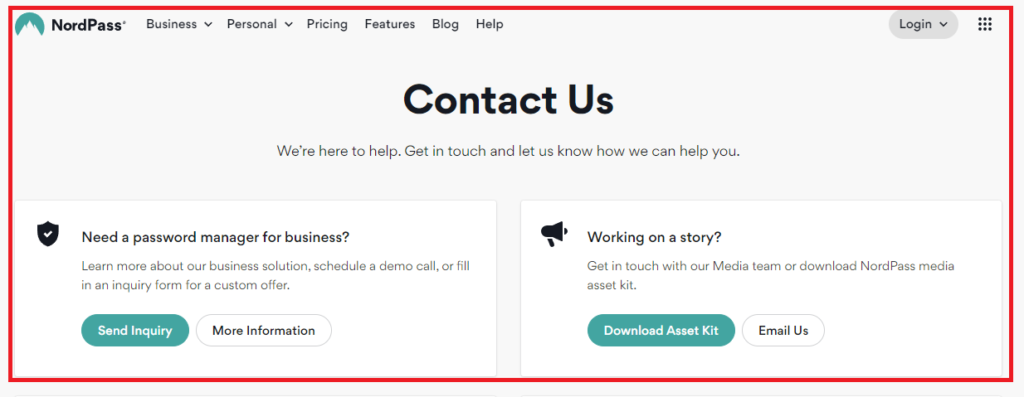
8. Contact NordPass Support

If none of the above steps work, it’s time to reach out for more help.
- Visit the NordPass support website and look for their contact information or submit a support ticket.
- Provide as much detail as possible about the error, what you have tried, and any relevant details about your device and connection.
