Encountering an error code on your Nest Thermostat can be a frustrating experience, especially when it disrupts the comfort of your home.
Error code E298 is one such issue that indicates your Nest Thermostat is not receiving power from the R wire.
In this blog post, we’ll guide you through the steps to diagnose and fix the Nest Thermostat Error Code E298, helping you restore your thermostat to its proper functioning and ensuring your living space remains at the ideal temperature.

How To Fix Nest Thermostat Error Code E298?
To Fix “Nest Thermostat Error Code E298” you should verify the C wire connection, check the breaker or fuse box and inspect the wiring diagram. Additionally, you should also update the thermostat software and perform a factory reset to fix “error code E298”.
1. Verify The C Wire Connection
If a C wire is not available, install a Nest Power Connector or pull a new C wire.
To verify the C wire connection, follow these steps:
- Turn off the power to the HVAC system at the breaker, fuse box, or system switch.
- Remove the Nest thermostat display.
- Check the C connector on the thermostat. If there is a wire in the C connector, make sure it has the C wire label, is fully inserted into the connector, and the connector button is down.
2. Check The Breaker Or Fuse Box
Ensure that the HVAC system’s power is on at the circuit breaker, fuse box, or system switch.
To check the breaker or fuse box, follow these steps:
- Locate the breaker or fuse box: If you’re unsure, search inside your home, garage, basement, or utility room for a metal box, usually flush with the wall.
- Open the door of the breaker or fuse box: If you see rows of switches, you have a circuit breaker box. Alternatively, if you see round fuses that are screwed into sockets, you have a fuse box.
- Check the breaker or fuse box: for tripped breakers or blown fuses. A tripped breaker is in the “off” position or between “on” and “off.” A blown fuse is a clear glass with a darkened or melted filament inside
3. Inspect The Wiring Diagram
Consult the wiring diagram of the thermostat to ensure that the wiring is correct.
To check the wiring diagram for the Nest Thermostat E298 error, follow these steps:
- Locate the wiring diagram for your specific thermostat model.
- Identify the components in the diagram, such as the C wire, transformer, and other wires.
- Check the wiring connections between the thermostat and the components.
- Verify that the wiring is correct and that the components are connected in the proper order.
- Ensure that the wiring is consistent with the manufacturer’s instructions and local electrical codes.
4. Update The Thermostat Software
If the error code E298 appears after installing a Nest Power Connector, update the thermostat software.
To update the Nest Thermostat software, follow these steps:
- Ensure that your thermostat is connected to a stable Wi-Fi network.
- Open the Nest app on your smartphone or tablet.
- Tap on the thermostat you want to update.
- Tap on “Settings” and then “Technical Info.”
- Check the current software version of your thermostat.
- If an update is available, you will see a notification to update your thermostat.
- Tap on “Software Update” and follow the prompts to complete the installation.
5. Perform A Factory Reset
If the wiring is correct, perform a factory reset of the thermostat.
To perform a factory reset on a Nest Thermostat, follow these steps:
- On the thermostat, go to the main menu.
- Select “Settings.”
- Choose “Reset” and then “Factory reset.”
- Enter the thermostat’s pin or the code on the screen, if prompted.
- Select “OK” to confirm the factory reset.
6. Contact Nest Thermostat Support
If the issue is not resolved after following these steps, contact a Nest Pro or a licensed HVAC technician for further assistance.

To contact Nest Thermostat support for the E298 error, follow these steps:
- Call Nest customer support at 1-855-469-6378. The support team is available 24/7.
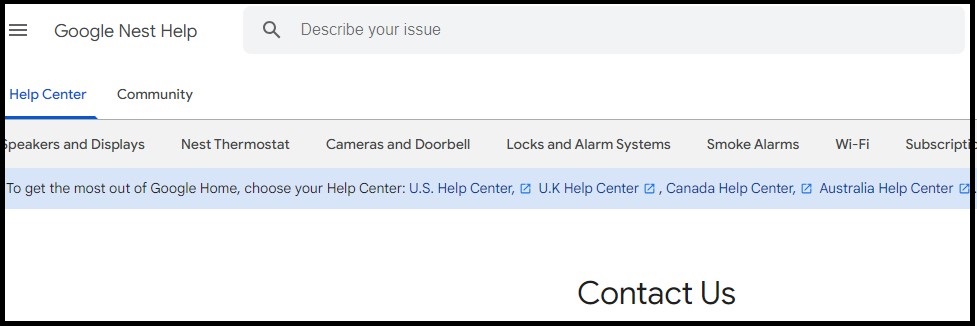
- Use the Nest Help Center’s live chat feature, which is available 24/7 as well.
