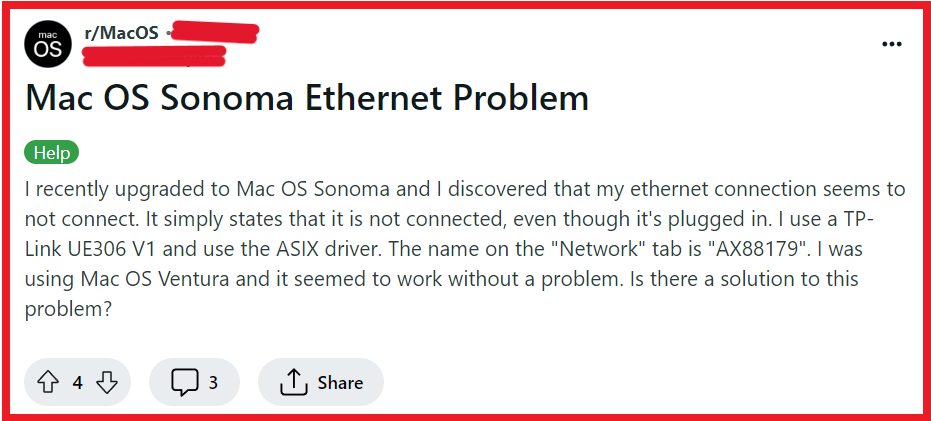
If you’ve recently upgraded to macOS Sonoma and encountered issues with your Ethernet connection, you’re not alone.
Many users have faced similar challenges, but the good news is that there are several effective solutions available.
In this blog post, we’ll explore practical steps to address the “macOS Sonoma ethernet not working” issue.
How To Fix MacOS Sonoma Ethernet Not Working?

To fix macOS Sonoma ethernet not working, you can update your network drivers, disable and re-enable ethernet, and toggle ethernet hardware configuration. Additionally, you can restart your router and modem, and check firewall settings.
1. Update Your Network Drivers
Updating your network drivers is a crucial step because outdated or incompatible drivers can lead to connectivity issues.
By updating to the latest drivers, you ensure that your Ethernet hardware communicates effectively with macOS Sonoma.
- Visit the website of your Ethernet adapter’s manufacturer to check for the latest driver updates.
- Download the appropriate driver for macOS Sonoma.
- Open the downloaded file and follow the on-screen instructions to install the new driver.
- Restart your computer and check if the Ethernet connection is now working.
2. Disable And Re-enable Ethernet
Sometimes, simply resetting the Ethernet interface can resolve connectivity problems.
Disabling and re-enabling Ethernet can refresh your network settings and eliminate temporary glitches.
- Go to System Preferences > Network.
- Select Ethernet from the list of network services on the left.
- Click on the minus (-) button to remove the Ethernet service.
- Click the plus (+) button and add Ethernet again.
- Apply the changes and test your Ethernet connection.
3. Toggle Ethernet Hardware Configuration
Altering the hardware configuration can help if there’s a mismatch between your Ethernet settings and what macOS Sonoma expects.
Adjusting these settings can solve issues caused by incorrect configurations.
- Open “System Settings” by clicking the Apple logo in the top-left corner of your screen.
- Select “Network” from the sidebar.
- Choose “Ethernet” from the list on the left.
- Click on the “Details” button.
- Select “Hardware” from the sidebar.
- Change the “Configure” dropdown menu to “Manually.”
- Click “OK” to save the changes.
- Wait a moment for the system to apply the new settings.
- Go back to the “Hardware” tab.
- Change the “Configure” dropdown back to “Automatically.”
- Click “OK” to save the changes.
- Check if the Ethernet issue is resolved after these adjustments.
4. Restart Your Router And Modem
Network equipment like routers and modems can sometimes cause connectivity issues due to firmware bugs or temporary malfunctions.
Restarting these devices can clear those faults and restore your Ethernet connection.
- Unplug the power cable from both your modem and router.
- Wait for about 30 seconds to a minute.
- Plug the power cables back in and wait for the devices to fully restart.
- Once restarted, try connecting to the Ethernet network again.
5. Check Firewall Settings
Adjusting your firewall settings is relevant if the macOS firewall is potentially blocking your Ethernet connection.
Ensuring that the firewall isn’t interfering with network traffic is important for maintaining a stable connection.
- Open System Preferences and go to Security & Privacy.

- Click on the Firewall tab.
- If the firewall is turned on, click the lock icon and enter your administrator password to make changes.
- Click on “Firewall Options…” and review the list of applications and services to ensure that your Ethernet connection is not being blocked.
- If necessary, you can add or remove applications from the list, or disable the firewall temporarily to test your Ethernet connection.

- After making changes, click “OK” and then re-enable the firewall if you had disabled it.
6. Remove Network Filter
Third-party network filtering applications can interfere with your Ethernet connection, especially after a system upgrade.
Removing or disabling these applications can help resolve conflicts with macOS Sonoma.
- Go to System Preferences > Network.
- Look for any third-party network filtering services in the list on the left. These might include VPNs, antivirus software with network scanning capabilities, or other security products.
- Select the third-party service and click the minus (-) button to remove it, or simply uncheck the box to disable it.
- Confirm any prompts to remove or disable the service.
- Restart your Mac and check if the Ethernet connection is functioning properly without the third-party network filter.
