CurseForge is a well-known place where people share and find cool things to enhance their games.
Sometimes, though, CurseForge can have problems, just like any other software.
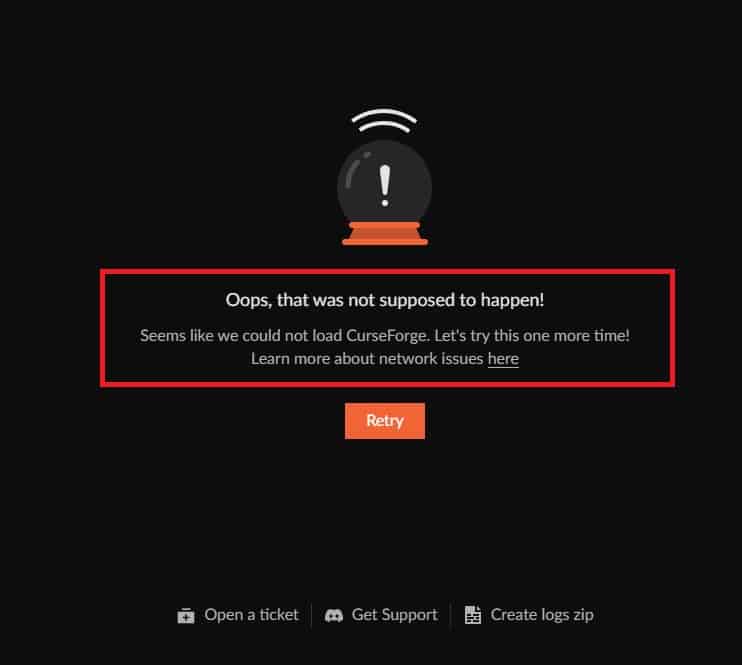
One issue that users might face is an error message that says, “Oops, That Was Not Supposed to Happen.”
The complete error message reads: “Oops, that was not supposed to happen! Seems like we could not load CurseForge. Let’s try this one more time! Learn more about network issues here”
In this article, we’ll look at what could be causing this error and offer some solutions to get you back to enjoying your favourite game mods on CurseForge.
What Causes “Oops, That Was Not Supposed To Happen” On Curseforge?
The “Oops, That Was Not Supposed to Happen” error on CurseForge can happen for a few reasons.
Firstly, there might be problems with the servers, either due to temporary issues or maintenance work being done.

Also, if your internet connection is unstable or keeps going on and off, it can make it hard for your device to communicate with CurseForge properly, leading to errors.
Another possible cause is a build-up of cache and cookies in your web browser, which can mess with how CurseForge works and cause unexpected errors to pop up.
How To Fix “Oops, That Was Not Supposed To Happen” On Curseforge?
You can try to reload CurseForge when you see this error as this means CurseForge was not able to load. So, trying to reload after some time might fix the issue. If it doesn’t then try the fixes given below.
1. Check Your Internet Connection
Make sure you have a strong and dependable internet connection.
Here are the steps to Check your internet connection:
- Turn off your router or modem, wait for a few seconds, and then turn it back on.
- If the problem persists, you can reset your network settings on your device. Go to the network settings menu and look for an option to reset or restart network settings.
- Try connecting your device to a different Wi-Fi network or switch to a cellular data network to see if the issue is specific to your current network.
- If possible, try connecting to the internet using a different device, such as a smartphone or tablet, to see if the issue is specific to your device.
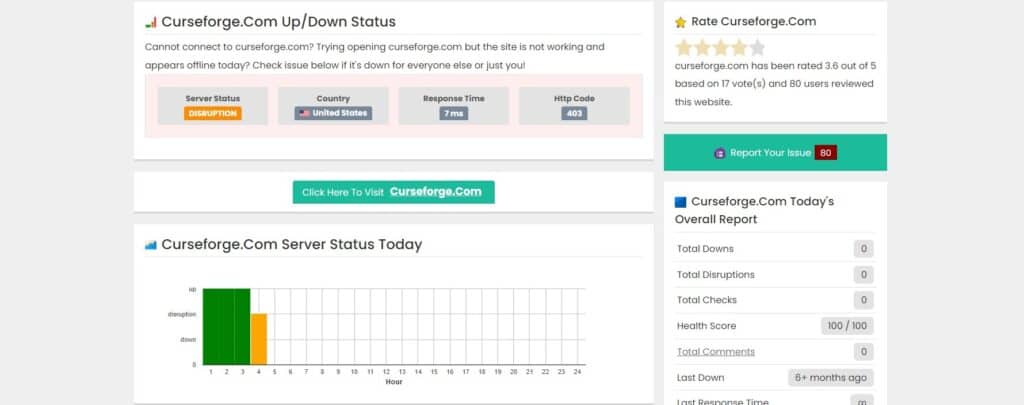
2. Check Curseforge Server Status

To find out if there are any issues with the CurseForge servers.
If there are server problems, it’s best to wait for them to be fixed before trying to use CurseForge again.
3. Disable Anitvirus Or Firewall
Sometimes, antivirus or firewall software can mistakenly block access to CurseForge.
In such cases, try temporarily disabling the antivirus or firewall and then check if the issue has been resolved or not.
To temporarily disable your antivirus software’s firewall, locate the antivirus program on your computer, open its settings, and disable the firewall feature.
To temporarily disable your firewall, follow these steps:
- Open the Control Panel.
- Search for “Windows Defender Firewall” or “Firewall.”
- Select the appropriate network profile.
- Choose the option to turn off the firewall for the selected profile.
4. Change Your DNS
Sometimes, DNS issues can interfere with the proper connection to CurseForge’s servers.
You can change your DNS settings to use a public DNS server like Google DNS or Cloudflare DNS.
Here are the steps to change DNS settings
Step to Changing DNS Settings in Windows:
- Open the Control Panel, go to Network and Internet, and select Network and Sharing Center.
- Click on “Change adapter settings,” right-click on your network adapter, and select “Properties.”
- Select “Internet Protocol Version 4 (TCP/IPv4)” and click on “Properties.”
- Choose “Use the following DNS server addresses” and enter the desired DNS server addresses (e.g., 8.8.8.8 for the Preferred DNS server and 8.8.4.4 for the Alternate DNS server).
- Save the changes and restart your computer to apply the new DNS settings.
Changing DNS Settings in macOS:
- Open System Preferences, go to Network and select your network connection.
- Click on “Advanced” and go to the DNS tab.
- Click on the “+” button to add a new DNS server.
- Enter the desired DNS server address (e.g., 8.8.8.8) and click on “OK.”
- Drag the new DNS server to the top of the list to prioritize it.
- Click on “Apply” to save the changes.
5. Disable IPv6
Turning off IPv6 can help fix any problems or conflicts that could be causing the error.
Here are the steps to disable IPv6:
Steps to Disabling IPv6 in Windows:
- Open the Control Panel and go to “Network and Internet” and then “Network and Sharing Center.”
- Click on “Change adapter settings” on the left-hand side.
- Right-click on the network adapter you are using (e.g., Wi-Fi or Ethernet) and select “Properties.”
- Uncheck the box next to “Internet Protocol Version 6 (TCP/IPv6)” and click “OK” to save the changes.
- Restart your computer to apply the changes.
Steps to Disabling IPv6 in macOS:
- Click on the Apple menu in the top-left corner and select “System Preferences.”
- Go to “Network” and select your network connection (e.g., Wi-Fi or Ethernet).
- Click on the “Advanced” button and go to the “TCP/IP” tab.
- From the “Configure IPv6” dropdown, select “Off.”
- Click “OK” to save the changes.
- Restart your computer to apply the changes.
6. Try Using A VPN
Using a VPN can help you bypass restrictions set by your ISP and access CurseForge without any issues.
7. Uninstall And Reinstall The CurseForge Plugin

It’s worth considering that there might be a specific problem with it.

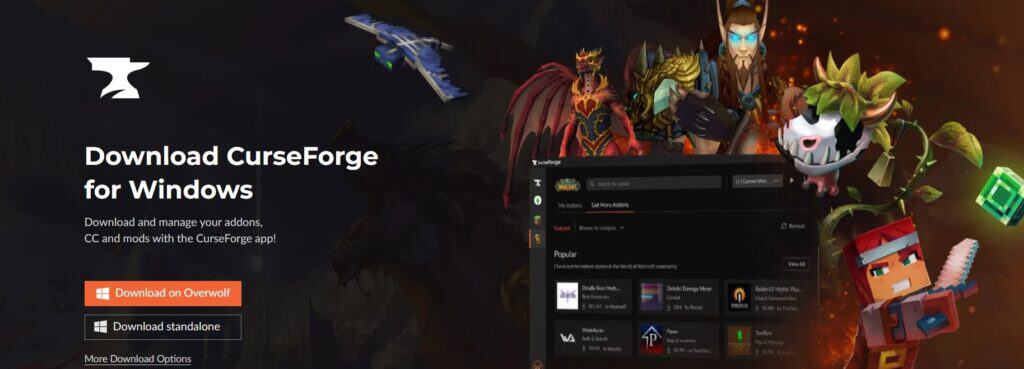
In that case, you can try Uninstalling and then reinstalling both the Overwolf and CurseForge using the provided link, making sure you have the latest versions installed.
9. Contact CurseForge Support

If none of the above steps resolves the error, it may be beneficial to reach out to CurseForge support for further assistance.
