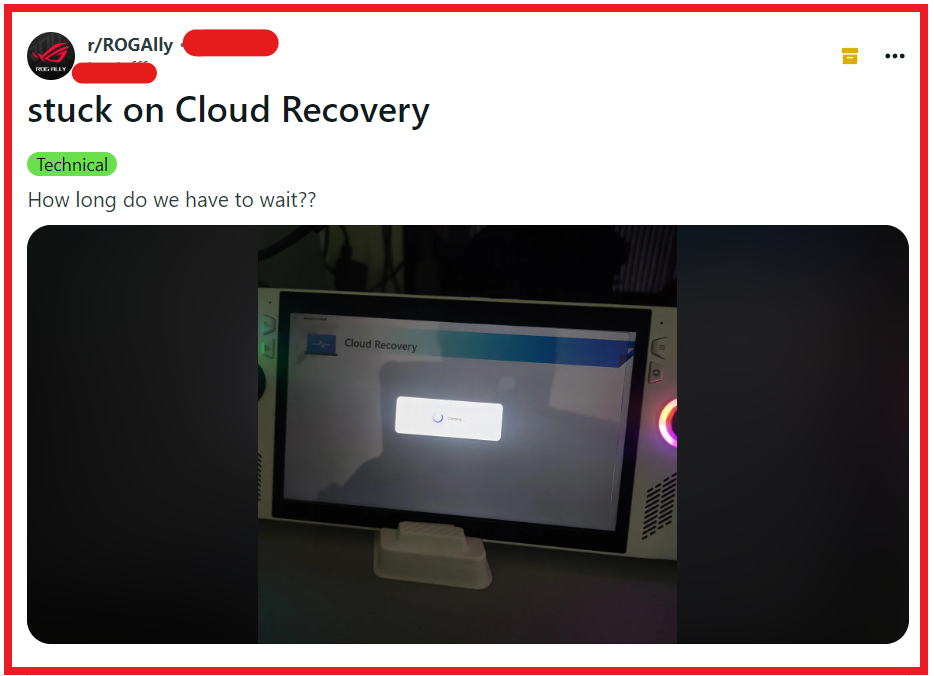
Are you experiencing the frustrating issue of your ASUS ROG Ally being stuck on “Cloud Recovery checking”?
You’re not alone. Many users have encountered this issue, but the good news is that there are solutions available to resolve it.
In this blog, we’ll explore effective methods to fix the Cloud Recovery checking problem on your ASUS ROG Ally, ensuring that you can get your device back to normal functionality in no time.
How To Fix ASUS ROG Ally Cloud Recovery Stuck On Checking?

To fix ASUS ROG Ally cloud recovery stuck on checking, you can check the date and time, assess your internet connection, and perform a power cycle on your device. Additionally, you can reset the BIOS to default settings, and use an external recovery drive.
1. Check The Date And Time
The ASUS ROG Ally may get stuck on the Cloud Recovery checking status if the BIOS date and time are incorrect, as the recovery process often requires accurate timing to communicate with the servers.
By ensuring the BIOS time is correct, we can eliminate this potential barrier to the recovery process, allowing it to proceed smoothly.
- Restart the ASUS ROG Ally and hit the BIOS key (often F2, Del, or Esc) during startup to enter the BIOS.
- Locate the date and time settings within the BIOS. This is typically found under the ‘Main’ or ‘System’ tab.
- Correct the date and time if they are wrong. Use the keyboard to enter the current date and time.
- Save the changes by pressing F10 or the designated ‘Save and Exit’ key.
- Confirm any prompts to save the changes and restart the computer.
- After the system reboots, check if the Cloud Recovery process moves past the checking stage.
2. Assess Your Internet Connection
A stable internet connection is required for Cloud Recovery since it involves downloading data from ASUS servers. An unstable or slow connection might cause the process to get stuck.
By ensuring your internet connection is stable, you can help the Cloud Recovery process to continue without interruptions.
- Check your router and modem to ensure they are plugged in and turned on.
- Confirm that your ASUS ROG Ally is connected to the internet via Wi-Fi or Ethernet cable.
- If using Wi-Fi, try moving closer to the router to improve signal strength.
- Restart the router by unplugging it for 30 seconds and then plugging it back in.
- Wait for the router to fully restart and connect your ASUS ROG Ally to the network again.
- Attempt the Cloud Recovery process once more to see if the issue has been resolved.
3. Perform A Power Cycle On Your Device
Temporary glitches or errors in the system can cause the Cloud Recovery process to hang.
A power cycle can reset the system state and potentially fix these temporary issues.
By power cycling the device, we can clear any temporary errors that might be causing the Cloud Recovery to stall.
- Shut down the ASUS ROG Ally completely.
- Disconnect the power cord and remove the battery if it is accessible.
- Press and hold the power button for 15-20 seconds to discharge residual power.
- Reinsert the battery and reconnect the power cord.
- Turn on the ASUS ROG Ally and attempt the Cloud Recovery process again.
4. Reset The BIOS To Default Settings
Incorrect BIOS settings can sometimes interfere with system operations, including Cloud Recovery.
Resetting the BIOS to its default settings can resolve these issues.
Restoring default BIOS settings can ensure that no misconfigured settings are hindering the Cloud Recovery process.
- Restart the ASUS ROG Ally and enter the BIOS setup by pressing the appropriate key during boot-up.
- Look for an option to reset to default settings. This is often labelled as ‘Restore Defaults’ or ‘Load Setup Defaults’.
- Select this option and confirm that you want to reset the settings.
- Save the changes and exit the BIOS, usually by pressing F10.
- Allow the system to reboot and try the Cloud Recovery process again.
5. Use An External Recovery Drive
If Cloud Recovery is not working, using an external recovery drive can be an alternative method to restore your system.
Creating a recovery drive from another working computer and using it can bypass the need for Cloud Recovery, allowing you to restore your system offline.
- On a working computer, download the ASUS ROG Ally recovery image from the official ASUS support website.
- Use a USB drive with sufficient space for the recovery image.
- Follow the instructions provided by ASUS to create a bootable recovery drive.
- Insert the recovery drive into the ASUS ROG Ally and boot from the USB drive.
- Follow the on-screen prompts to restore the system from the recovery drive.
6. Disable Secure Boot
Secure Boot is a feature designed to prevent unauthorized bootloaders and operating systems from loading during the startup process.
However, it can sometimes interfere with the recovery process.
Disabling Secure Boot may allow Cloud Recovery to proceed by removing these security checks that could be preventing the recovery from initiating.
- Restart the ASUS ROG Ally and enter the BIOS setup by pressing the appropriate key during boot-up.
- Navigate to the ‘Boot’, ‘Security’, or ‘Authentication’ tab where the Secure Boot option is located.
- Change the Secure Boot setting from ‘Enabled’ to ‘Disabled’.
- Save the changes and exit the BIOS, usually by pressing F10.
- After the system reboots, attempt the Cloud Recovery process again to see if disabling Secure Boot has resolved the issue.
7. Update The BIOS Firmware
An outdated BIOS firmware can cause compatibility issues with the latest recovery software and might be the reason why the Cloud Recovery process is stuck.
Updating the BIOS firmware can ensure that your motherboard is running the latest code, which may include fixes and improvements that could resolve the Cloud Recovery issue.
- Visit the official ASUS support website from a working computer and download the latest BIOS update for your specific ASUS ROG Ally model.
- Transfer the BIOS update file to a USB flash drive.
- Insert the USB flash drive into the ASUS ROG Ally and restart the device.
- Enter the BIOS setup and navigate to the tool that allows you to update the BIOS, often called ‘EZ Flash’, ‘Q-Flash’, or a similar name.
- Select the BIOS update file on the USB flash drive and follow the prompts to initiate the update process.
- Wait for the BIOS update to complete without interrupting the process.
- After the update is complete and the system reboots, try running the Cloud Recovery process once more.
8. Clear CMOS Memory
Clearing the CMOS memory can reset the BIOS settings to default and may resolve any configuration issues causing the Cloud Recovery to get stuck.
Clearing the CMOS will remove any custom BIOS settings and should be done as a last resort when other BIOS-related solutions have not worked.
- Power down the ASUS ROG Ally and disconnect it from any power sources.
- Open the back panel of the laptop to access the motherboard (refer to the user manual for guidance).
- Locate the CMOS battery on the motherboard. It is typically a round, coin-shaped battery.
- Carefully remove the CMOS battery and wait for about 5 minutes to allow all residual power to drain and the CMOS memory to clear.
- Reinsert the CMOS battery and reassemble the back panel of the laptop.
- Power on the ASUS ROG Ally and check if the Cloud Recovery process is now working.
9. Contact ASUS Support

If none of the above solutions work, there may be a more complex issue at play that requires professional assistance.
- Visit the official ASUS support website.
- Look for contact options such as phone, email, or live chat.
- Provide the support representative with detailed information about your issue, including any error messages you’ve received and the troubleshooting steps you’ve already attempted.
- Follow any additional instructions provided by the support representative to address the issue.
