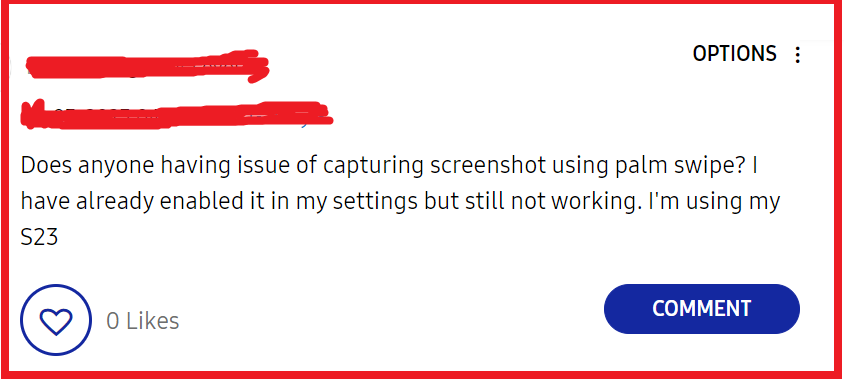
Are you frustrated by the Samsung palm swipe-to-capture feature not working on your device? If so, you’re not alone.
Many Samsung users encounter difficulties with this convenient screenshot method.
In this blog post, we’ll explore effective solutions to address the “Palm Swipe to Capture” not working on Samsung devices.
How To Fix Samsung Palm Swipe To Capture Not Working?

To fix Samsung palm swipe to capture not working, you can enable the palm swipe feature, check for software updates, and disable navigation gestures. Additionally, you can perform a soft reset, and clear the system cache.
1. Enable Palm Swipe Feature
Sometimes the palm swipe feature is disabled by default or might have been turned off inadvertently.
Enabling this feature is essential for the palm swipe gesture to work, as it is the function that allows you to capture screenshots by swiping the edge of your hand across the screen.
- Go to your Samsung device’s Settings.
- Scroll down and tap on Advanced features.
- Look for Motions and gestures and tap on it.
- Find the option for Palm swipe to capture and toggle the switch to the ON position.
2. Check For Software Updates
Outdated software can lead to compatibility issues and bugs, which may affect the palm swipe-to-capture feature.
Keeping your device updated ensures that all functionalities work as intended.
- Open Settings on your Samsung device.
- Scroll down and tap on Software update.
- Choose Download and install.
- If an update is available, follow the on-screen instructions to install it.
- After updating, restart your device and try the palm swipe gesture again.
3. Disable Navigation Gestures
Navigation gestures, when enabled, can interfere with the palm swipe feature.
Disabling them might resolve the conflict and allow the palm swipe to capture to work properly.
- Access Settings on your Samsung device.
- Tap on Display.
- Go to Navigation bar.
- If you have Swipe gestures enabled, switch to Button navigation.
- Try the palm swipe to capture the gesture again to see if it works.
4. Perform A Soft Reset
A soft reset can fix minor software glitches and can be performed without losing any data. It’s a simple and quick way to refresh your device’s system.
- Press and hold the Power and Volume Down buttons simultaneously for about 10 seconds.
- Wait for the device to restart.
- Once the device powers back on, attempt to use the palm swipe feature to capture a screenshot.
5. Clear System Cache
The system cache can sometimes become corrupted and cause issues with device features.
Clearing the cache will not delete personal data but can resolve problems that stem from corrupted temporary files.
- Turn off your Samsung device.
- Press and hold the Volume Up key, the Bixby key, and the Power key.
- When the Android logo displays, release all keys.
- Use the Volume Down key to navigate to “Wipe cache partition.”
- Press the Power key to select.
- Once the cache partition is wiped, select Reboot System Now and press the Power key.
- After the device reboots, try using the palm swipe gesture again.
6. Perform Factory Reset In Samsung Device
If all else fails, consider backing up your data and performing a factory reset:
- Go to Settings.
- Scroll down and select General Management.
- Tap on Reset.
- Choose Factory data reset.
- Follow the prompts to reset your device.
7. Contact Samsung Support

If all other troubleshooting steps fail, reaching out to Samsung Support can provide a solution.
They have access to more in-depth tools and may offer a repair or replacement if there’s a hardware issue.
- Visit the Samsung Support website.
- Choose the method of contact you prefer, such as phone, chat, or email.
- Provide them with the details of the issue, your device model, and the troubleshooting steps you’ve already attempted.
- Follow any additional instructions provided by the support representative to resolve the issue with your device.

