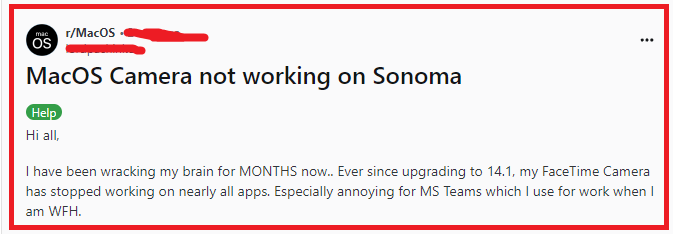
It can be frustrating when you encounter issues with your MacBook camera not working after updating to MacOS Sonoma.
Many users have recently faced this issue in recent times however there is no need to worry as we are here to help!
In this article, we will be discussing all the fixes that will help you to fix the issue of the MacBook camera not working on MacOS Sonoma.

How To Fix MacBook Camera Not Working On MacOS Sonoma?
To fix MacBook camera not working on MacOS Sonoma, you can restart your Mac, check the camera permission and restart in recovery mode. Additionally, you can also reset SMC to fix the issue.
1. Restart Your Mac

A simple restart can often resolve temporary glitches. Before doing anything, try shutting down your Mac completely, then starting it back up. This can sometimes get the camera working again.
2. Check Camera Permissions
MacOS Sonoma has privacy features that require you to grant permission to apps to use the camera. To fix camera issues related to permissions:
- Click the Apple menu and select System Settings > Privacy & Security.

- Click Camera in the right menu.
- Ensure that the app you’re trying to use with the camera has a checkmark next to it.
3. Restart In Recovery Mode
If a simple restart doesn’t work, try restarting your Mac in Recovery Mode:
- Turn off your Mac.

- Turn it on and immediately press and hold Command (⌘)-R until you see an Apple logo or other image.
- From the Utilities menu, choose Terminal.
- Enter the necessary command to reset the camera (this command may vary, so refer to Apple’s official support or other reliable tech support resources for the exact steps).
4. Reset SMC
For MacBooks with an Intel processor, resetting the System Management Controller (SMC) can resolve issues with the built-in camera:
- Shut down your Mac.
- Press and hold the Shift-Control-Option keys on the left side of the built-in keyboard, then press the power button at the same time. Hold these keys and the power button for 10 seconds.
- Release all keys.
- Press the power button again to turn on your Mac.
5. Check For Hardware Issues
If the above software solutions don’t work, you may be dealing with a hardware issue. To check if the camera itself is functioning:
- Open Finder.

- Go to the Applications folder and open Photo Booth or FaceTime to see if the camera activates.
- If the camera still doesn’t work, it’s possible there’s a hardware problem. In this case, you should contact Apple Support or visit an Apple Store or authorized service provider for professional assistance.
6. Reset NVRAM Or PRAM
Resetting the Non-Volatile Random-Access Memory (NVRAM) or Parameter RAM (PRAM) can sometimes resolve camera-related issues:
- Shut down your Mac.
- Turn it on and immediately press and hold these four keys together: Option, Command (⌘), P, and R.
- Hold the keys for about 20 seconds, during which your Mac might appear to restart.
- Release the keys after you hear the startup sound for the second time or after the Apple logo appears and disappears for the second time (for Macs with an Apple T2 Security Chip).
7. Create A New User Account
Sometimes, user-specific settings can cause issues with the camera. Try creating a new user account to see if the camera works under a different user:
- Click the Apple menu and select System Settings > Users & Groups.

- Click the lock icon and enter your administrator password.
- Click the ‘+’ icon to add a new user.
- Fill in the new user details and select ‘Administrator’ for the user type.
- Log out from your current user and log in with the new user account.
- Test the camera.
8. Check For Physical Obstructions
Ensure there’s nothing covering the camera. If you use a screen protector or a case, make sure it’s not blocking the camera lens.
9. Look For External Conflicts
External devices connected to your Mac can sometimes interfere with the camera. Disconnect all peripherals and USB devices to see if this resolves the issue.
10. Contact Apple Support

If none of the above solutions work, it’s time to seek professional help. Contact Apple Support for further assistance. They can provide additional troubleshooting steps and, if necessary, service your MacBook.
