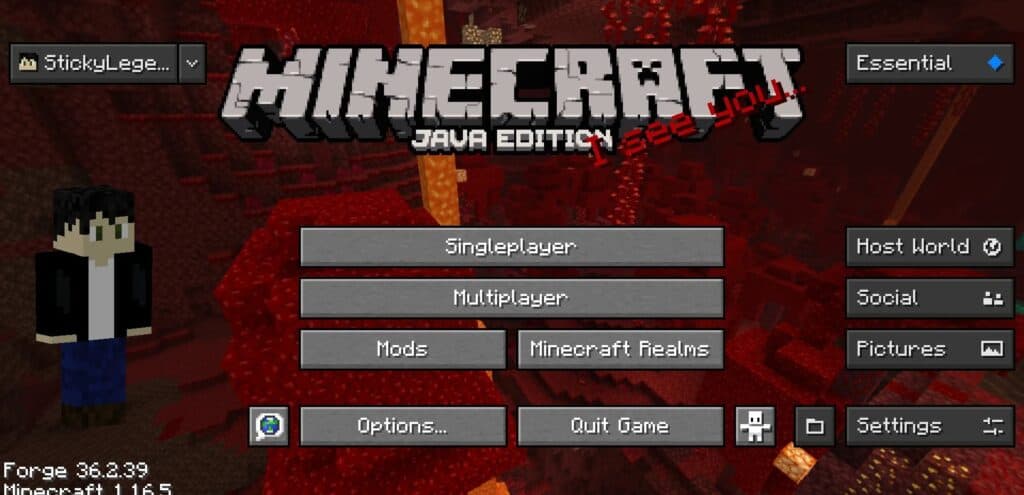
In the constantly changing world of Minecraft, modding is a crucial part of the game.
Mods can make the game more exciting by improving gameplay, introducing new features, and making the visuals more impressive.
One of the most exciting ways to upgrade the look of your Minecraft world is by using shaders.
Shaders can give your Minecraft world a breathtakingly realistic appearance or add special artistic effects.
In this guide, we’ll show you how to use shaders alongside essential mods to take your Minecraft experience to a whole new level.
Why Should Use Shaders With Essential Mod?
Using shaders with Essential Mod can make your Minecraft experience way better.
Shaders boost graphics, add atmosphere, and let you customize how things look.
They make Minecraft more realistic with fancy lighting, shadows, and reflections, making the blocky world look awesome.
Plus, shaders add cool stuff like fog, fluffy clouds, and special effects, making the game more immersive.
What’s cool is you can adjust the visual effects to match your style, as many shader packs offer lots of customization.

Also, Essential Mod plays nicely with Optifine, giving you a performance boost and extra features that make your Minecraft adventure even more amazing.
Whether you’re building, exploring, or going on adventures, shaders with Essential Mod can turn your gaming experience into something truly special.
How To Use Shaders With Essential Mod?
To use shaders with the essential mod, follow these steps: Install the Fabric Loader Version of Minecraft, install the shaders you want to use, launch the game and go to Video Settings, drag your installed shader into the Shader Packs folder, and enjoy your game with shaders.
Here are the steps to use shaders with the essential mod, along with additional details.
Step 1: Install The Fabric Loader Version Of Minecraft
To begin your adventure with shaders and important mods in Minecraft, use the Fabric loader version.
Fabric is a modding tool that pairs smoothly with many mods and shaders, ensuring a stable and customizable gaming experience.
Step 2: Install The Shaders You Want To Use
After setting up the Fabric loader, it’s time to add shaders to your Minecraft world.
Shaders are cool graphics upgrades that can make the game look and feel different.
You can find different shader packs online, each with its own special look and effects.
Just download your favourite shader pack and get ready to install them.
Step 3: Launch The Game And Go To Video Settings
After you’ve installed the shaders, open Minecraft using the Fabric loader.
When you’re in the game, go to the options menu and find “Video Settings.”
Step 4: Drag Your Installed Shader Into The Shader Packs
In the “Video Settings” menu, there’s a part called “Shaders.” Here, you can pick and tweak the shader packs you like.
To add the shader packs you downloaded, just move them into the “shaderpacks” folder in your Minecraft directory.
This lets you choose from various shaders to get the visuals you want.
Step 5: Enjoy Your Game With Shaders
Now that your shaders are set up and chosen, get ready to dive into a stunningly upgraded Minecraft world.
Enjoy the fantastic lighting, lifelike water, and stunning visuals that shaders add to the game.
Whether you’re constructing impressive structures or going on epic journeys, shaders will elevate your gameplay to new heights.

