Playing Windows games on a Mac has traditionally been challenging due to compatibility issues, but with the introduction of macOS Sonoma, Apple has made strides in simplifying the process for gamers.
macOS Sonoma includes new features and tools that allow for better integration and performance when running Windows games on Mac.
In this article, we will be discussing all the steps that will help you to play Windows games on macOS Sonoma without any hassle.
How To Play Windows Games On Macos Sonoma?
Ensure that your Mac is running the latest version of macOS Sonoma before you go and follow the steps below. You can check for updates by going to the Apple menu, selecting “About This Mac,” and clicking “Software Update.” If you’re not already running macOS Sonoma, download and install it.

1. Use Apple’s Game Porting Toolkit
Apple’s Game Porting Toolkit is designed to help developers port their Windows games to macOS. Although the toolkit is primarily aimed at developers, it can also be used by advanced users to run games that are not directly supported on macOS.
Step 1: Acquire The Game Porting Toolkit

- Launch Safari on your Mac.
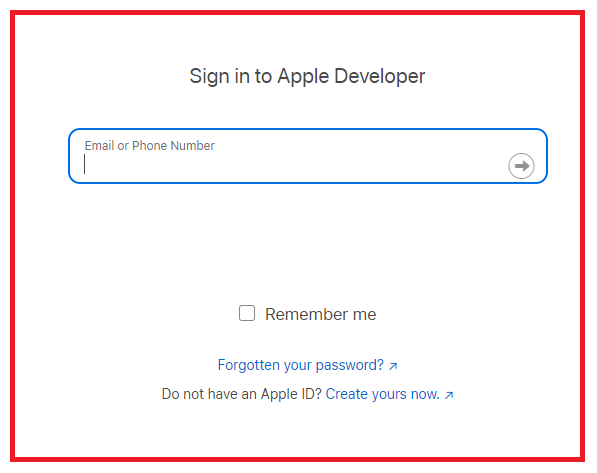
- Go to the official Apple Developer Downloads page.
- Log in using your Apple ID credentials.
- Browse through the list and locate the ‘Game Porting Toolkit beta’.
- Click on ‘View Details’ to expand the section, then select the
.dmgfile for the Game Porting Toolkit beta to download it. Do not open the downloaded file yet.
Step 2: Download Command Line Tools For Xcode
- In Safari, head over to the Xcode Resources page.
- Scroll to the ‘Additional downloads’ area.
- Click the link for ‘Command line tools and older versions of Xcode’.
- Sign in with your Apple ID if prompted.
- Find the ‘Command Line Tools for Xcode 15 beta’ and expand its details.
- Download the
.dmgfile for the Command Line Tools by clicking on it. - Once the download completes, navigate to your Downloads folder.
- Find the newly downloaded Command Line Tools
.dmgfile and double-click to mount it. - Double-click the ‘Command Line Tools.pkg’ to initiate the installation and follow the instructions provided.
Step 3: Install Rosetta And Set Up Homebrew
- Open the Terminal application on your Mac.
- Input the command to install Rosetta on an M1 or M2 Mac:
softwareupdate --install-rosettaand press Enter. - Enter the x86_64 shell with the command:
arch -x86_64 zshand press Enter. - Install Homebrew for x86_64 by executing:
/bin/bash -c "$(curl -fsSL https://raw.githubusercontent.com/Homebrew/install/HEAD/install.sh)" - Set the Homebrew path by adding the following line to your
.zprofile:eval "$(/usr/local/bin/brew shellenv)" - Verify the Homebrew installation path with:
which brew - If the path is correct, you should see
/usr/local/bin/brew. If not, adjust your path with:export PATH=/usr/local/bin:$PATH - Add Apple’s source code repository to Homebrew by typing:
brew tap apple/homebrew-apple - Install the Game Porting Toolkit using Homebrew with the command:
brew install --cask apple/game-porting-toolkit - If Homebrew is already installed, make sure it’s updated by running:
brew update
Step 4: Configure Wine For Game Porting
- In the Terminal, input the following command to configure Wine for the Game Porting Toolkit, replacing
my-game-prefixwith your desired prefix name:WINEPREFIX=~/my-game-prefix brew --prefix game-porting-toolkit/bin/wine64 winecfg - Press Enter. The Wine Configuration dialog should appear.
- In the Wine Configuration window, set the Windows version to Windows 10.
- Click ‘Apply’ and then ‘OK’ to confirm the changes.
Step 5: Copy Game Porting Toolkit Libraries
- Use the
dittocommand to copy the Game Porting Toolkit library directory to the Wine library directory by entering the following command in Terminal:ditto /Volumes/Game\ Porting\ Toolkit-1.0/lib/ $(brew --prefix game-porting-toolkit)/lib/
Step 6: Install Game Porting Toolkit Scripts
- Copy the Game Porting Toolkit scripts to the
/usr/local/bindirectory using the cp (copy) command:cp /Volumes/Game\ Porting\ Toolkit/gameportingtoolkit /usr/local/bin/
By following these steps, you should have successfully set up your Mac with the necessary tools to begin porting and playing Windows games on macOS Sonoma. Remember to replace placeholder text, such as my-game-prefix, with the actual names or paths you wish to use on your system. Always ensure you follow the on-screen prompts and instructions carefully during the installation process.
Step 7: Download The Steam Installation File
- Obtain the Steam installation file for Windows, typically named
SteamSetup.exe.
Step 8: Install Steam Via Terminal
- Open the Terminal application on your Mac.
- Execute the command to begin the installation process with the Game Porting Toolkit, ensuring that the path to
SteamSetup.exereflects its location in your Downloads folder:gameportingtoolkit ~/my-game-prefix ~/Downloads/SteamSetup.exe - Proceed with the installation by responding to any prompts that appear.
Step 9: Run Steam Using The Game Porting Toolkit
- To launch Steam, input the following command into Terminal:
gameportingtoolkit ~/my-game-prefix 'C:\Program Files (x86)\Steam\steam.exe'
Step 10: Troubleshoot Display Issues
- If Steam fails to display correctly, showing a blank window, use this command to address the issue:
MTL_HUD_ENABLED=1 WINEESYNC=1 WINEPREFIX=~/my-game-prefix /usr/local/Cellar/game-porting-toolkit/1.0.2/bin/wine64 'C:\Program Files (x86)\Steam\steam.exe'
Step 11: Retry If Necessary
- Should the problem persist, close Terminal, open a new Terminal window, and switch to the x86_64 architecture shell:
arch x86_64 zsh - Then, attempt the previous commands once more.
Following these instructions should result in the Steam application window opening on your Mac, allowing you to log into your Steam account, access your Library, and install games. Make sure to replace my-game-prefix with your desired Wine prefix path and adjust the file paths as necessary for your system.
2. Use Virtualization Software
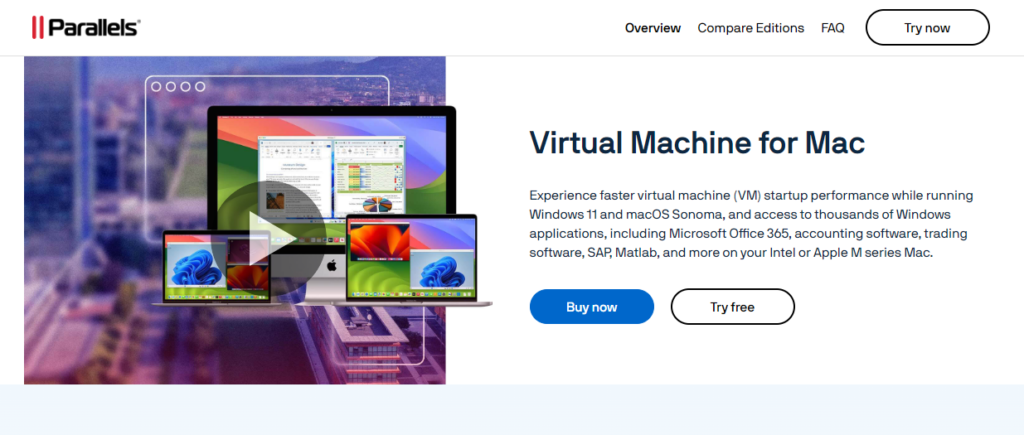
Another method to play Windows games on a Mac is by using virtualization software such as Parallels Desktop or VMWare Fusion.

These applications allow you to create a virtual machine (VM) on your Mac, within which you can install and run a copy of Windows.
Once the VM is set up, you can install and play Windows games as if you were using a Windows PC.
3. Boot Camp (For Intel Macs)
If you have an Intel-based Mac and macOS Sonoma still supports Boot Camp, you can install Windows on a separate partition of your Mac’s hard drive and dual-boot between macOS and Windows. This method offers the best performance for Windows games as it allows them to run natively on the hardware without any virtualization overhead.
Camp Assistant Boot Camp Assistant is a utility provided by Apple that helps you install Windows on your Mac. However, with the transition to Apple Silicon chips, Boot Camp is no longer supported on the latest Mac models.
If you’re using an Intel-based Mac and macOS Sonoma still supports Boot Camp, you can use this utility to create a partition for Windows and then install Windows on that partition.
- Open the Boot Camp Assistant from the Utilities folder.
- Follow the on-screen instructions to partition your hard drive and install Windows.
- Once Windows is installed, you can switch between macOS and Windows by holding down the Option key during startup.
