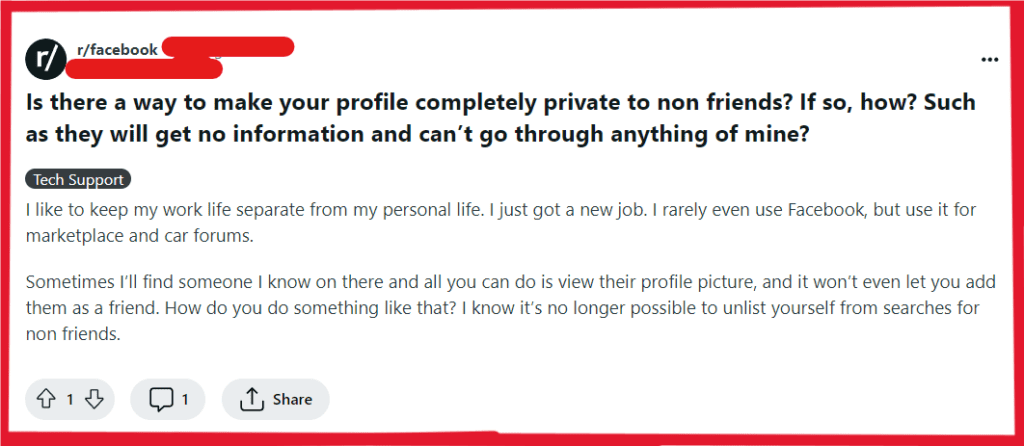
Are you concerned about your Facebook privacy and want to ensure that your profile is completely private to non-friends?
In today’s digital age, safeguarding your personal information is crucial. Fortunately, there are specific steps you can take to make your Facebook profile private and limit its visibility to non-friends.
In this blog, we will explore the essential techniques to achieve maximum privacy on your Facebook account, ensuring that only your approved friends have access to your profile.
How To Make Facebook Completely Private To Non-Friends?

To make Facebook completely private to non-friends, you can adjust your default private settings, review who can find and contact you, and enable extra security features. Additionally, you can limit the visibility of your personal information, and review and remove third-party app permissions.
1. Adjust Your Default Privacy Settings
Making your default privacy settings more restrictive is essential to ensure that non-friends cannot access your personal information and posts. By setting your profile to private, you protect your personal data and limit your online presence to people you trust.
- Click the downward arrow in the top right of Facebook.
- Go to “Settings & Privacy” > “Settings.“
- Select “Privacy” on the left.
- In “Your Activity,” click “Edit” next to “Who can see your future posts?“
- Set to “Friends” in the dropdown menu.
- Click “Limit Past Posts” for previous post visibility.
2. Review Who Can Find And Contact You
Controlling who can find and contact you on Facebook limits unwanted friend requests and messages, providing a safer and more private online environment.

- Log in to your Facebook account
- Navigate to “Settings & Privacy” > “Settings” > “Privacy.”
- Go to “How People Find and Contact You.”
- Change “Who can send you friend requests?” to “Friends of Friends.”
- Set email and phone search to “Friends.“
- Opt out of search engine linking at the bottom of the page.
3. Enable Extra Security Features
Extra security features such as two-factor authentication add an additional layer of protection to your account, making it harder for unauthorized users to gain access.
- Visit “Settings & Privacy” > “Settings.”
- Choose “Security and Login.“
- Click “Edit” by “Two-Factor Authentication” and set up.
- Check “Where You’re Logged In” for unknown devices.
4. Limit The Visibility Of Your Personal Information
Securing your personal information such as your friends list, email, and phone number prevents non-friends from accessing sensitive details that you may prefer to keep private.
- Go to “Settings & Privacy” > “Settings” > “Privacy.”
- Under “How People Find and Contact You,” set email and phone searches to “Friends.”
- On your profile, click “Friends” > pencil icon > “Edit Privacy,” and set the list to “Only Me.”
- In “About,” edit personal details and set the audience as desired.
5. Control The Visibility Of Your Posts And Tags
Managing the visibility of your posts and tags helps prevent non-friends from seeing content you’re tagged in or posts you make. This is crucial for maintaining a private profile.
- In “Settings & Privacy” > “Settings,” click “Timeline and Tagging.”
- Set “Who can post on your timeline?” to “Only Me.“
- Change “Who can see posts you’re tagged in on your timeline?” to “Friends.“
- Enable “Timeline Review” for tagged post-approval.
6. Secure Your Photo Albums And Individual Photos
Photos often contain personal and sensitive content. It’s important to manage who can view your albums and individual photos to maintain your privacy on Facebook.
- Go to your profile > “Photos” > “Albums.“
- Click three dots on an album > “Edit.“
- In the dropdown, select “Friends” or “Only Me” for album privacy.
- For single photos, click photo > “Options” > “Change Privacy.“
7. Review And Remove Third-Party App Permissions
Third-party apps can access your Facebook data, which could potentially compromise your privacy. Regularly reviewing and revoking unnecessary permissions is a good privacy practice.
- Access “Settings & Privacy” > “Settings” > “Apps and Websites.“
- Review apps/websites list.
- Check unwanted apps and click “Remove.“
- Click “View and edit” for the remaining apps to adjust settings.
8. Hide Your Friends List From Public View
To adjust the privacy settings on Facebook that dictate how people can find and contact you, you’ll need to navigate through a series of menus to reach the specific options.
- Log in to your account.
- Click the downward arrow (desktop) or the “hamburger” menu (mobile).
- Select ‘Settings & Privacy‘
- Choose ‘Settings‘
- Go to ‘Privacy‘
- Click ‘How People Find and Contact You‘
- Change friend request options, searchability by email/phone, and search engine linking options.
- Make sure your new settings are saved, if necessary.
9. Restrict Access To Your Stories
Your Facebook Stories can contain personal moments that you might not want to share with the public. Customizing the privacy settings for Stories is another layer of protection.
- Create story > tap “Privacy” > choose “Friends” or “Custom.”
- For all stories, go to “Settings & Privacy” > “Settings” > “Story Settings” > set privacy to “Friends.”
- Enable “Story Archive” to save stories.

