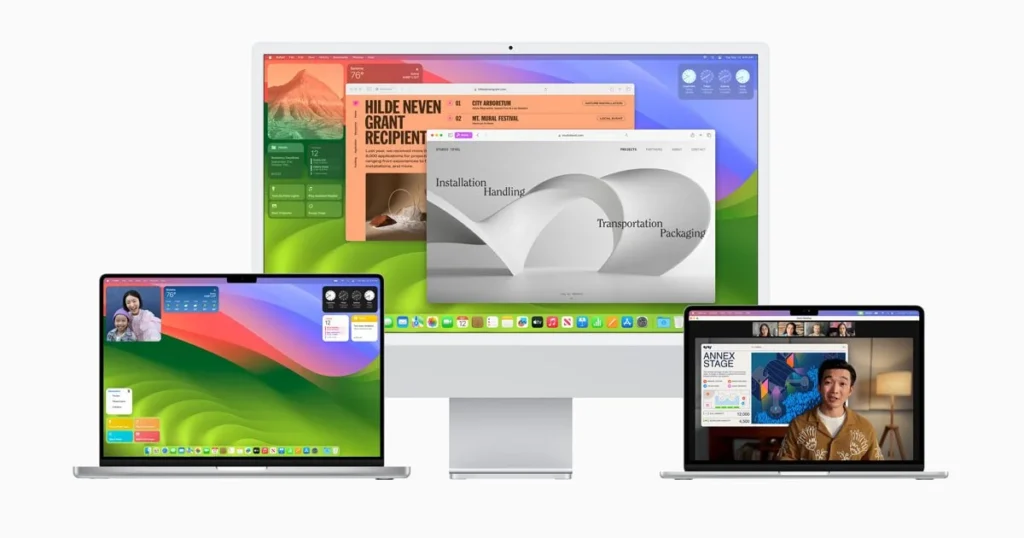
Embarking on the journey to rejuvenate your older Mac with the latest macOS Sonoma can be a thrilling adventure.
While newer models readily accept the update, older models are often left behind, longing for a taste of the new features and improvements.
But fear not, as the tech community has forged a path even for unsupported Macs to experience macOS Sonoma.
In this blog, we will guide you through the necessary steps to install macOS Sonoma on an unsupported Mac.
How To Install MacOS Sonoma On Unsupported Mac?

To install macOS Sonoma on an unsupported Mac, you’ll need to follow a series of steps that involve creating a bootable installer, patching the system, and performing the installation.
Step 1: Check Compatibility

First, ensure your Mac model is supported by the patcher for macOS Sonoma.
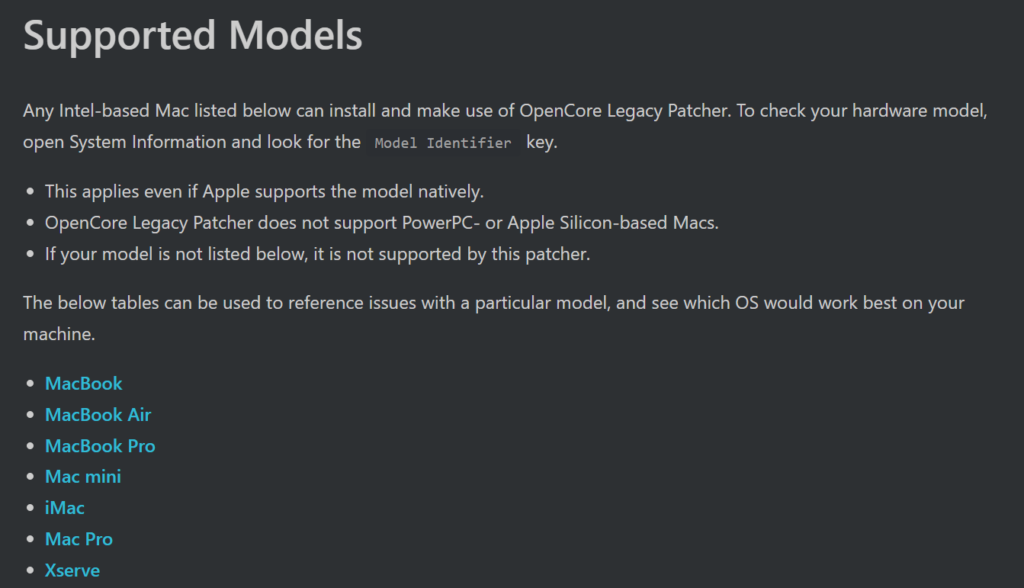
- Visit the OpenCore Legacy Patcher Supported Models page to see if your Mac is listed.
- Confirm that your specific Mac model and year are included in the compatibility list for macOS Sonoma.
Step 2: Create A Full Backup
Protect your data by backing up your Mac before proceeding.
- Connect an external hard drive to your Mac that has enough space to accommodate your backup.

- Open Time Machine from the System Preferences or by clicking on the Time Machine icon in the menu bar, then select “Back Up Now” to start the backup process.
Alternatively, if you prefer to use a cloud service or a different backup solution:
- Choose a cloud service provider or backup software that is compatible with macOS and offers sufficient storage for your needs.
- Follow the provider’s or software’s instructions to initiate and complete the backup of your Mac’s data.
Step 3: Download OpenCore Legacy Patcher

Get the necessary tool to help with the installation.
- Navigate to the OpenCore Legacy Patcher official GitHub releases page.
- Look for the latest release that specifically mentions support for macOS Sonoma.
- Click on the release version suitable for macOS Sonoma to expand the assets and see the available download files.
- Download the
.dmgfile by clicking on it. This file contains the OpenCore Legacy Patcher application. - Once the download is complete, open the downloaded
.dmgfile and follow the instructions to drag the OpenCore Legacy Patcher into your Applications folder.
Step 4: Prepare A Bootable USB Drive
Set up a USB drive to install macOS Sonoma.

- Format a USB drive (16GB or larger) to Mac OS Extended (Journaled) and name it ‘MyVolume’.
- Ensure the drive is properly formatted and mounted.
Step 5: Download MacOS Sonoma
Obtain the installer for macOS Sonoma.
- On a supported Mac, open the App Store.

- Use the search field to find “macOS Sonoma.”
- Click on the macOS Sonoma page from the search results.
- Press “Get” or “Download” to begin downloading the installer.
- Once downloaded, the installer will appear in your Applications folder. If it opens, quit the installer.
Step 6: Create The Bootable Installer
Use the OpenCore Legacy Patcher to create an installer on your USB drive.
- Insert your USB drive into your Mac.

- Open OpenCore Legacy Patcher from the Applications folder.
- Choose “Create macOS Install Media” from the main menu.
- Select your USB drive and the macOS Sonoma installer.
- Follow the prompts to create the bootable installer on the USB drive.
Step 7: Boot From The USB Drive
Start your Mac from the USB drive to begin the installation process.
- Insert the bootable USB drive you created with OpenCore Legacy Patcher into your unsupported Mac.
- Restart the Mac by clicking on the Apple menu and selecting “Restart.”

- As soon as the screen goes black, immediately hold down the Option (Alt) key on the keyboard.
- Keep holding the Option key until the Startup Manager appears.
- Use the arrow keys to select the USB drive (usually labeled “EFI Boot”) from the list of bootable devices.
- Press Enter to start your Mac from the USB drive and begin the installation process for macOS Sonoma.
Step 8: Erase And Format The Drive (If Necessary)
Prepare your Mac’s hard drive for a clean installation.
- From the macOS Utilities menu, open Disk Utility.
- Select your Mac’s hard drive and erase it, formatting as APFS or Mac OS Extended (Journaled), depending on your preference.
Step 9: Install MacOS Sonoma
Proceed with the installation of the new operating system.
- Exit Disk Utility and return to the macOS Utilities menu.
- Select “Install macOS” and choose your Mac’s hard drive when prompted to begin the installation of macOS Sonoma.
Step 10: Post-Installation Tasks
Complete the setup to ensure macOS Sonoma runs smoothly on your unsupported Mac.
- After the installation completes, the system will restart. You may need to boot from the USB drive again to use the OpenCore Legacy Patcher for post-installation tasks.
- Run the OpenCore Legacy Patcher and apply any additional patches necessary for your specific Mac model. This may include patches for Wi-Fi, graphics, or audio support.
Step 11: Finalize The Installation
Make sure everything is working as it should be.
- Remove the USB drive and restart your Mac to boot into macOS Sonoma.
- Go through the initial setup process for macOS Sonoma, signing in with your Apple ID and configuring settings as necessary.
