If you’re interested in creating your own character in Character.ai, you’ve come to the right place.
With this step-by-step guide, we’ll show you exactly how to do it, so you can start chatting with your own personal AI character in no time.
How To Make A Character In Character.AI?
Are you interested in creating your own character in Character.AI?
You can easily create the character that you want to chat with and then talk to them on the platform of Character. AI.
Creating a Character in Vjacter.AI is a simple procedure as we will be showing you so, let’s drive in!
Now, we will be showing you exactly how you can do that easily.

- Open the Character.AI website and sign into your account.
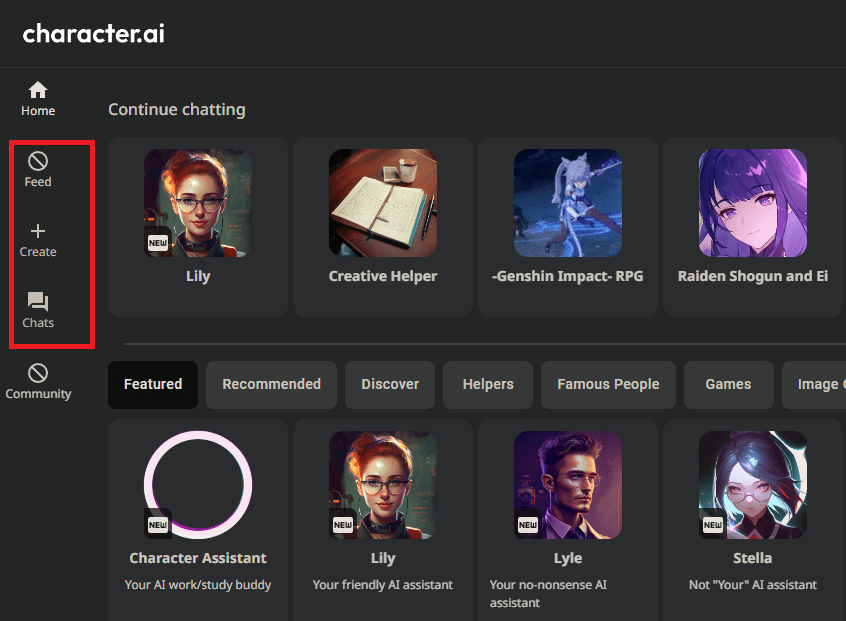
- Go to the left side of the screen and you will see a + sign written Create.
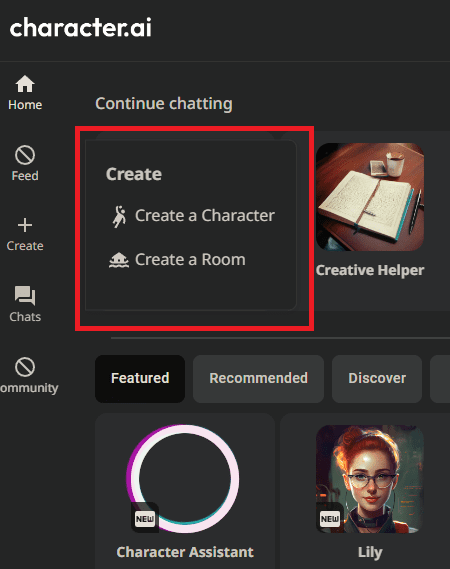
- Click on it and choose to Create a character.
- Now there would be four sections, Name, Greeting, visibility and avatar.
- Fill out the boxes as appropriate and click on Create It!
- Now, your character will be created and you can start chatting with it.

The four options that you will have to fill in are Name, Greetings, Visibility and Avatar.
We will be discussing all of them also in our guide.
Name
This is the first box and here you are supposed to put the name that you want your character to be known by.
Greeting
In this box type the greeting that you want your avatars to say when someone first starts chatting with them.
Visibility
You will have to choose the visibility that you want for this section.
You can choose to make your character Public, Private or unlisted.
Being public would mean everyone can see it, being private means that the character can only be seen by you and being unlisted will make the character visible to anyone with the link.
Avatar
In the avatar option, you can upload a file that you have or that you have already created in the system of Character.ai.
This avatar is used to make the character that you have created.
It would look like that and have that picture in its profile.
After this, you can simply choose to create the character and you are done.
However, if you want you can also customize your character more by selecting the Advanced option where you will be able to make the character more real by adding more details.
Character.AI team says that this will make the character more fine-tune for the users.
So if you want then go ahead and create the character in Advanced Settings.
You can test your character by putting various prompts in it and then choosing the responses that you think fit the character.
By doing this the AI will be able to understand the character better and will respond that way easily.
If you have any issues while trying to create the character in Character.AI then you can also reach out to the support Team of Character.AI and they will be able to help you.
