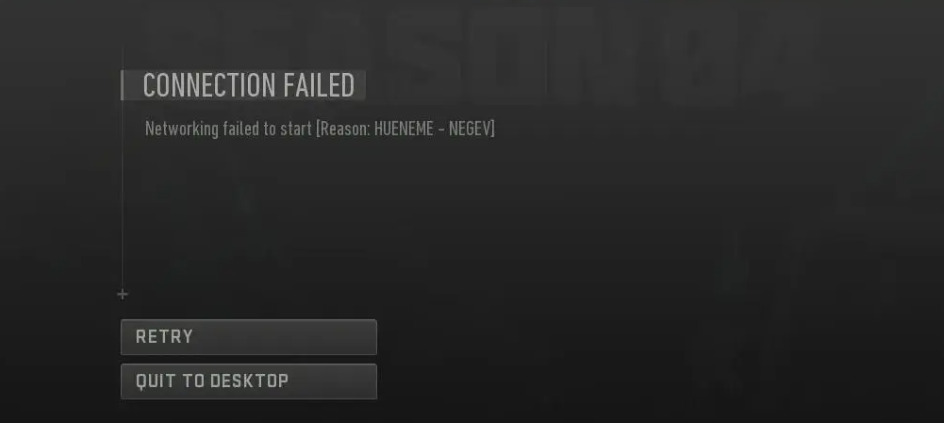
Are you tired of encountering the “Hueneme Negev” error while trying to connect to Call of Duty: Modern Warfare 3?
Fret not, as we’ve got you covered with practical solutions to tackle this persistent networking issue.
The error message reads as “CONNECTION FAILED. Networking failed to start [Reason: HUENEME – NEGEV].”
In this blog, we will explore effective solutions to troubleshoot and fix this persistent error.
How To Fix COD MW3 Connection Failed Networking Failed To Start Hueneme Negev Error?

To fix COD MW3 connection failed networking failed to start Hueneme Negev error, you can check the server status, restart Modern Warfare 3, and restart your network equipment. Additionally, you can verify the MW3 game files integrity, and change your DNS settings.
1. Check Server Status Of MW3

The error could be a result of server-side issues.
Checking the server status will confirm if the problem is on your end or with the game’s servers.
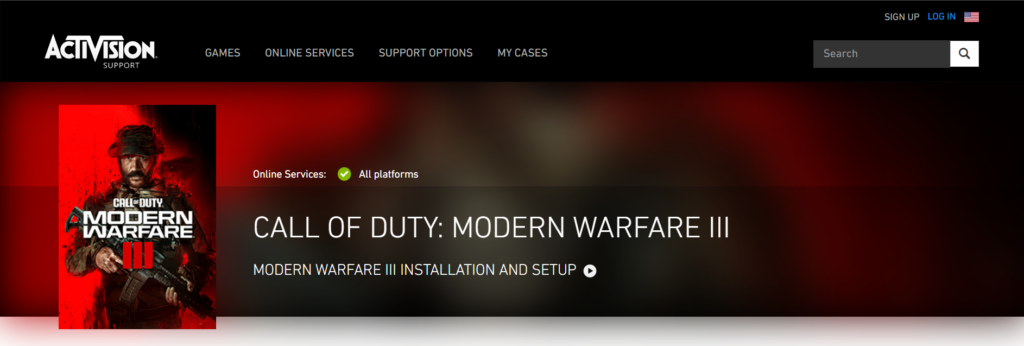
- Visit the Activision Online Services page to check the status of Call of Duty servers.
- Alternatively, check the official Call of Duty social media channels for any announcements regarding server status.
- If the servers are down, wait until they are back up and try connecting again.
2. Restart Modern Warfare 3
A simple restart of the game can often resolve temporary networking issues like the “Hueneme Negev” error.
For PC:
- Close MW3 by clicking on the ‘X’ at the top right of the window or by pressing Alt + F4.
- Wait a few moments, then restart MW3 via the game client (e.g., Steam, Battle.net).
For Xbox:
- Press the Xbox button to open the guide.
- Navigate to the ‘Home’ tab, highlight the Modern Warfare 3 tile, press the Menu button, and select ‘Quit’.
- After a few moments, relaunch MW3 from the ‘My Games & Apps’ section.
For PlayStation:
- Press the PS button to return to the home screen.
- Highlight the Modern Warfare 3 game tile, press the Options button, and select ‘Close Application’.
- Wait briefly, then start MW3 again from the home screen.
3. Restart Your Network Equipment
Sometimes, the problem could be with your network equipment, and a simple restart can resolve the issue.
- Unplug your modem and router from the power source.
- Wait for at least 30 seconds to ensure the equipment is fully reset.
- Plug the devices back in and wait for them to fully restart.
4. Verify MW3 Game Files Integrity
If you’re encountering the “Hueneme Negev” error on PC, it could be due to corrupted or missing game files.
Ensuring the integrity of your game files is a crucial step.
- Open your game client (e.g., Steam, Battle.net).
- Navigate to the library section and right-click on Call of Duty: Modern Warfare 3.
- Select ‘Properties’, then go to the ‘Local Files’ tab.
- Click on ‘Verify Integrity of Game Files’ and allow the process to complete.
5. Change Your DNS Settings
Network issues can sometimes be resolved by switching to a more reliable DNS server.
For PC:
- Open the Control Panel and navigate to ‘Network and Internet’ > ‘Network and Sharing Center’.
- Click on ‘Change adapter settings’ on the left side.
- Right-click on your active network connection and select ‘Properties’.
- Select ‘Internet Protocol Version 4 (TCP/IPv4)’ and click ‘Properties’.
- Choose ‘Use the following DNS server addresses’ and enter a preferred and alternate DNS server (e.g., Google DNS: 8.8.8.8 and 8.8.4.4).
For Xbox:
- Press the Xbox button to open the guide and go to ‘System’ > ‘Settings’.
- Select ‘Network’ > ‘Network settings’ > ‘Advanced settings’.
- Choose ‘DNS settings’ and then ‘Manual’.
- Enter the preferred DNS (e.g., 8.8.8.8) and alternate DNS (e.g., 8.8.4.4).
For PlayStation:
- Go to the Settings menu from the main dashboard.
- Select ‘Network’ > ‘Set Up Internet Connection’.
- Choose your connection type, then select ‘Custom’.
- When you reach the DNS settings, choose ‘Manual’ and enter the preferred DNS (e.g., 8.8.8.8) and alternate DNS (e.g., 8.8.4.4).
6. Contact Activision Support

If none of the above solutions work, it might be time to reach out to Activision Support.
They can provide you with effective troubleshooting steps to fix your issue.
