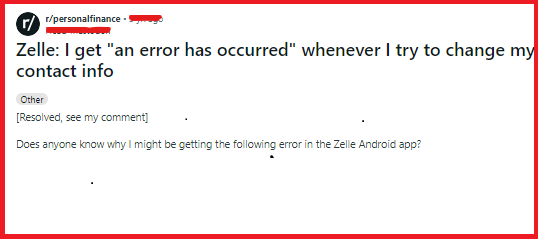
Are you a Zelle user frustrated by encountering the “an error has occurred” message when trying to use the app?
This common issue can disrupt your seamless money transfer experience. However, effective solutions are available to address this challenge.
In this comprehensive guide, we will explore step-by-step methods to troubleshoot and resolve the “an error has occurred” message on Zelle.

How To Fix Zelle An Error Has Occurred?
To get rid of the above error, you may verify the enrolled U.S. mobile phone number and permission settings, and restart your app and device. Moreover, you may also uninstall and reinstall the app, and contact Zelle customer support.
Below is a detailed explanation of all the above-mentioned fixes:
1. Verify Enrolled U.S. Mobile Phone Number In Zelle
If you have received a message that “An error has occurred” make sure you are logging in using the enrolled U.S. mobile phone number with the same mobile device.
- Ensure that you are logging in using the enrolled U.S. mobile phone number with the same mobile device used for enrollment.
- If the entered mobile phone number is correct and matches the enrolled number, but the error persists, further investigation may be necessary.
By verifying that you are using the enrolled U.S. mobile phone number with the same device, you can ensure that the correct information is being used for the Zelle login process, potentially resolving any issues related to the error message.
2. Check Permission Settings In Zelle
If you have already enabled all available permissions for the Zelle app, including phone, location, contacts, and camera, but are still prompted to enable phone permission when opening the app, try the following steps:
1. Click the hardware “back” button, exit the app, and then reopen it. Sign in again to see if the payments work fine after this re-login process.
2. If prompted to change settings after clicking the in-app “got it” button, try navigating to the app settings on your device and manually verifying that all the permissions are enabled for the Zelle app.
Ensure that there are no restrictions or conflicting settings that could be causing the prompt for phone permission.
3. Restart Your Zelle App And Device
Close the Zelle app completely by swiping it off the screen or using the app switcher. Relaunch the app to see if the error message persists.
You may also try restarting your device. Power off your device, wait for a few seconds and then power it back on.
This can help refresh the device’s system and potentially resolve any temporary issues causing the error.
4. Uninstall And Reinstall The Zelle App
By uninstalling and reinstalling the Zelle app, you can ensure that you are using the latest version of the app and potentially address any underlying technical issues that may have been affecting functionality.
To uninstall and reinstall an app, you can follow these general steps:
- On your device, navigate to the home screen or the app drawer.
- Locate the Zelle app.
- Press and hold the app icon until a menu appears.
- Select the option to uninstall or remove the app.
- Confirm the uninstallation when prompted.
- Open the app store on your device (e.g., Google Play Store for Android or the App Store for iOS).
- Use the search function to find the Zelle app.
- Select the app from the search results.
- Tap the option to install Zelle.
5. Contact Zelle Support For Account Lock Resolution

By contacting Zelle support and seeking assistance from the appropriate support level, you can address account lock issues and ensure that your account details are functioning as intended within the Zelle app.
- If you have made multiple changes to your account details within a short time period and encounter persistent issues, consider reaching out to Zelle support for direct assistance.
- Contact Zelle support and explain the issue you are facing with your account details.
- Request to be redirected to “level 2 support” or the appropriate department that can address account locks or restrictions.
- Provide any necessary information or verification as requested by the support team.
- Request assistance in having the account lock manually removed by the support team.
