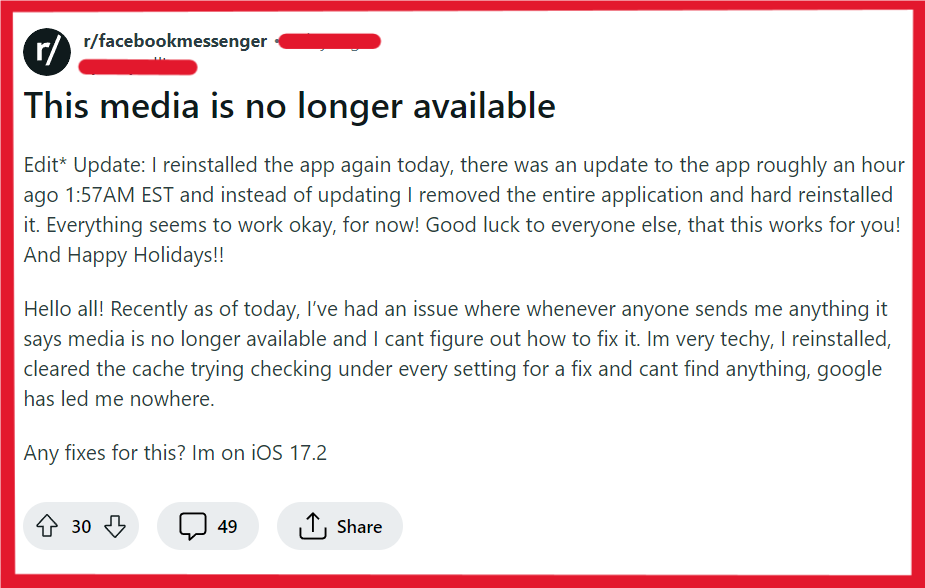
Are you tired of seeing the “This media is no longer available” message on Messenger?
It’s a common issue that can interrupt your flow of conversation and leave you feeling disconnected.
Whether it’s a photo, video, or a GIF that won’t load, there’s no need to let this error message get in the way of your chatting experience.
In this blog post, we’ll walk you through some simple steps to troubleshoot and fix this problem, ensuring that you can view and share media on Messenger without any hiccups.
How To Fix “This Media Is No Longer Available” On Messenger?

To fix “This media is no longer available” on Messenger, you can check your internet connection, restart the Messenger app, and update the Messenger app. Additionally, you can clear the Messenger App cache, and try logging out and logging back in.
1. Check Your Internet Connection
Ensure that your device is connected to a stable internet connection.
Try switching between Wi-Fi and mobile data to see if the issue is related to a specific network.
- Ensure your device is connected to Wi-Fi or mobile data.
- Try switching between Wi-Fi and mobile data to see if the issue is network-related.
- If using Wi-Fi, check if the signal strength is strong.
- Restart your Wi-Fi router by turning it off for a minute and then turning it back on.
- Forget the Wi-Fi network in your device settings and reconnect by re-entering the password.
2. Restart The Messenger App
Sometimes, simply closing and reopening the app can resolve temporary glitches.
Make sure to remove it from the recent applications list to fully restart it.
On Android:
- Open the Recent Applications menu (the square button or by swiping up and holding, depending on your device).
- Find Messenger and swipe it off the screen to close it.
On iOS:
- Double-click the Home button or swipe up from the bottom and pause if you’re using Face ID.
- Swipe the Messenger app off the screen.
Reopen Messenger from the app drawer or home screen.
3. Update The Messenger App
Running an outdated version of the app can cause issues.
Check the App Store or Google Play Store for any available updates for Messenger and install them.
On Android:
- Open the Google Play Store app.
- Tap on the Menu (three horizontal lines), then select My apps & games.
- Find Messenger in the list and tap Update if available.
On iOS:
- Open the App Store.
- Tap on Updates at the bottom.
- Find Messenger and tap Update if available.
4. Clear The Messenger App Cache
Clearing the app’s cache can solve issues that arise from corrupted cache files.
For Android:
- Open the Settings app on your Android device.
- Scroll down and tap on Apps or Application Manager (this may differ depending on your device).
- Find and tap on the Messenger app in the list.
- Tap on Storage.
- You will see two options: Clear Data and Clear Cache.
- Tap on Clear Cache to clear the cache files for Messenger.
For iOS:
- Open the Settings app on your iOS device.
- Tap on General.
- Select iPhone Storage or iPad Storage depending on your device.
- Scroll through the list and find Messenger.
- Tap on Messenger, then select Offload App. This will free up storage used by the app but will keep its documents and data.
- After the app is offloaded, tap on Reinstall App to put it back on your device.
5. Try Log Out And Log Back In
Logging out of your Messenger account and then logging back in can refresh your session and potentially fix the issue.
- Open the Messenger app.
- Tap on your profile picture in the top left corner.
- Scroll down and tap on Account settings.
- Scroll down to the Security section and tap on Security and login.
- Here you’ll see the option Where You’re Logged In. Tap on the three dots next to your device and then tap Log Out.
- After logging out, restart the app and log back in with your credentials.
6. Uninstall And Reinstall The Messenger App
If none of the above steps work, try uninstalling Messenger and then reinstalling it.
This can resolve deeper issues with the app’s files and data.
For iOS:
- Press and hold the Messenger app icon on your home screen.
- Tap Remove App when the menu appears.
- Confirm by tapping Delete App.
- Open the App Store.
- Tap the Search tab at the bottom.
- Enter “Messenger” in the search bar.
- Tap the Download icon (cloud with a downward arrow) next to Messenger.
For Android:
- Go to the Settings app and select Apps or Application Manager.
- Scroll to find Messenger and tap on it.
- Tap Uninstall and confirm.
- Open the Google Play Store app.
- Use the search bar at the top to search for “Messenger”.
- Tap Install next to Messenger.
7. Contact Facebook Support

If all else fails kindly contact the Facebook support team.
They can provide you with troubleshooting steps to fix this issue.

