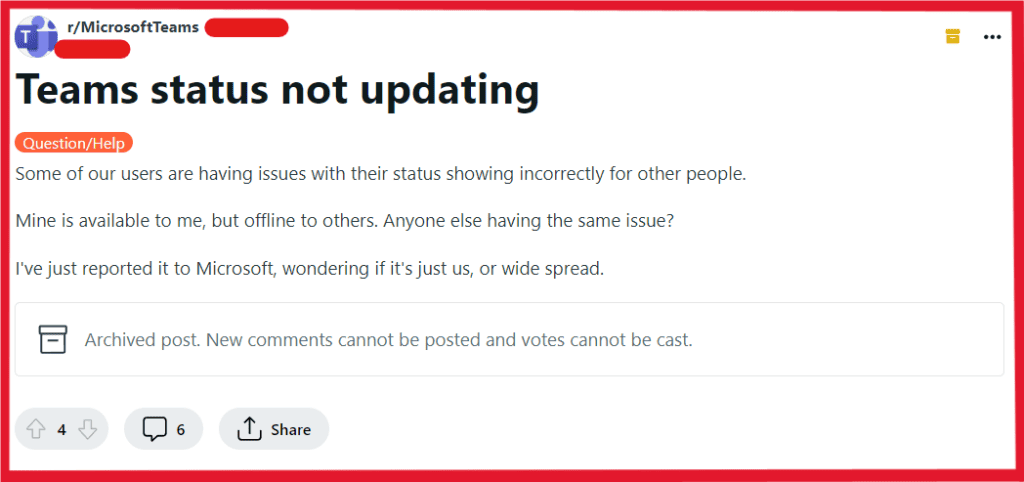
Are you experiencing issues with your Microsoft Teams status not updating?
It can be frustrating when your status doesn’t accurately reflect your availability to colleagues.
Fortunately, there are several troubleshooting steps you can take to address this issue.
In this blog, we’ll explore some effective methods to fix the Microsoft Teams status not updating problem, ensuring that your presence is accurately displayed to your team members.
How To Fix Microsoft Teams Status Not Updating?

To fix Microsoft Teams status not updating you can toggle Teams as the chat app, update Outlook profile, and check system notifications. Additionally, you can adjust settings and restart Microsoft Teams to fix the issue.
1. Toggle Teams As The Chat App
When Microsoft Teams status is not updating, toggling Teams as the chat app can help refresh the integration and potentially resolve the issue. To do this,
- Open Microsoft Teams.
- Click on your User Account Icon, then select Settings.
- Uncheck the “Register Teams as the chat app for Office” checkbox.
- Restart Microsoft Teams to apply the changes.
2. Update Outlook Profile
Ensuring that your Outlook profile is correctly linked to Microsoft Teams can resolve status update issues, especially if you use both applications together.
Re-adding your Outlook profile or verifying its linkage to Teams can be done through Outlook settings or account management.
Follow these steps to update your outlook profile:
- Open Outlook.
- Go to File > Info > Account Settings > Account Settings.
- Choose the email account associated with Teams.
- Check if the email address and account type are correct.
- If updates are needed, click New and re-add the account.
- Enter the required details (email address and password).
- Confirm integration with Microsoft Teams.
- Check Teams for status updates.
3. Check System Notifications
System notification settings can sometimes interfere with the proper functioning of Microsoft Teams, including status updates.
Verify that system notifications are enabled and not blocking the status updates within the Teams application.
Follow these steps to check system notifications:
- Open Settings via the Start menu.
- Click System > Notifications & actions.
- Ensure notifications are on for Microsoft Teams.
- If blocked, click Teams and allow notifications.
- Check “Focus assist” settings if on Windows 10.
- Adjust settings to allow notifications.
- Restart Microsoft Teams.
4. Adjust Settings Of Microsoft Teams
Modifying specific settings within Microsoft Teams can sometimes resolve status update issues.
Follow these steps to adjust settings:
- Click on your user account icon in Teams, then select “Settings.”
- Uncheck the “Register Teams as the chat app for Office” checkbox.
- Restart both Outlook and Teams and check if the status updates correctly.
5. Reset Status Of Microsoft Teams
Manually resetting your status in Microsoft Teams can prompt the application to update it correctly.
Open the Microsoft Teams app on your PC, click on your profile icon at the top of the Teams app window, and select “Reset Status.”
6. Restart Microsoft Teams
If your status is not updating as expected, try quitting the Teams application by right-clicking the Teams icon in the taskbar and selecting “Quit.”
Then, relaunch the application to see if your status updates correctly.
7. Check For Microsoft Teams Updates
Ensure that your Microsoft Teams application is up to date. To do this,
- Open the Teams app.
- Click on your profile icon Select “Check for Updates.” Installing any available updates may resolve the status update issue.
8. Clear Microsoft Teams Cache
Clearing the Teams cache can help resolve various issues, including status update problems.
To clear the Microsoft Teams cache, follow these steps:
On Windows:
- Right-click the Teams icon in the taskbar and select Quit.
- Press Windows Key + R to open the Run dialog.
- Type %appdata%\Microsoft\teams and press Enter.
- Delete all files and folders in the directory.
On macOS:
- If Teams is running, right-click the Teams icon in the dock and select Quit, or press Command (⌘)-Q.
- Open Finder > Go > Go to Folder.
- Enter ~/Library/Application Support/Microsoft/Teams and press Go.
- Delete all files and folders within the Teams folder.
9. Switch To Teams Web Version
If the desktop application continues to experience status update issues, using the web version of Microsoft Teams can help determine if the problem is specific to the desktop app.
Access the web version of Teams through a supported browser and monitor if the status updates.
10. Modify Registry
In complex cases where Microsoft Teams status is persistently not updating, modifying registry settings related to Teams can provide advanced troubleshooting.
Follow these steps to modify registry:
- Press Windows Key + R.
- Type
regeditand press Enter. - If prompted, click “Yes” to allow changes.
- Navigate to the specific Teams registry key.
- Right-click the value to modify and select “Modify” or create a new value by selecting “New”.
- Enter the required data and click “OK”.
- Close the Registry Editor.
- Restart your computer.
11. Contact Microsoft Customer Support

If all else fails, reaching out to Microsoft customer support can provide personalized assistance in resolving the status update issue.

