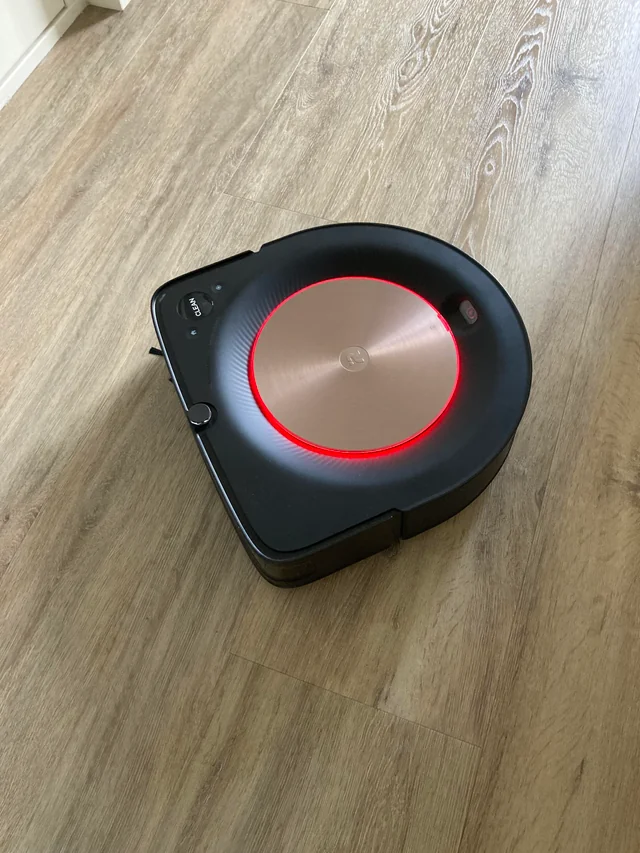
Are you experiencing Error 26 with your iRobot Roomba, and finding yourself in need of a solution?
Look no further! In this comprehensive guide, we will walk you through the steps to effectively address the Error 26 message on your Roomba.
Error 26 in iRobot Roomba generally means that the vacuum is not getting sufficient airflow.
Understanding and resolving this issue is essential to keep your Roomba functioning at its best and in this article, we will be showing you all the fixes that will help you to fix the iRobot Roomba error 26.

How To Fix IRobot Roomba Error 26?
To get rid of iRobot Roomba error 26, you can clean or replace the bin filter, reboot the robot, and replace the cleaning Head module. Moreover, you may also force the Roomba to empty its bin, and contact iRobot support.
Below is a detailed explanation of all the above-mentioned fixes:
1. Clean Or Replace The Bin Filter
Inspect the bin filter for any clogs, dirt, or damage. Clean the filter thoroughly, ensuring that it is free from debris. If the filter is damaged or excessively worn, consider replacing it with a new one.
To clean or replace the bin filter on your iRobot Roomba, follow these steps:
Cleaning the Bin Filter:
- Identify the location of the bin filter on your Roomba. It is typically situated within the dustbin compartment.
- Carefully remove the filter from the dustbin.
- Use a soft brush or gently tap the filter to remove any accumulated dirt, dust, or debris.
- Thoroughly inspect the filter for any signs of damage, such as tears or excessive wear. If the filter is damaged, it’s advisable to replace it with a new one.
- Once the cleaning is complete, reinsert the filter back into the dustbin compartment, ensuring that it is securely in place.
Replacing the Bin Filter:
- If the bin filter is excessively worn, damaged, or unable to be effectively cleaned, acquire a compatible replacement filter for your specific Roomba model.
- Adhere to the manufacturer’s guidelines for replacing the filter.
- Carefully install the new filter into the designated area within the dustbin compartment, ensuring that it fits securely and correctly.
- Properly dispose of the old filter by local waste disposal regulations.
2. Reboot The Robot
Perform a reboot of your Roomba by holding the “CLEAN” button for about twenty (20) seconds. Doing so should clear the error from the robot’s memory.
To reboot your iRobot Roomba, follow these steps:
- Identify the control buttons on your Roomba. The location of the buttons may vary depending on the model, but they are typically situated on the top or near the “CLEAN” button.
- Press and hold the “CLEAN” button on the robot for about 10-15 seconds. This action initiates the reboot process.
- Continue holding the “CLEAN” button until you observe the Roomba’s indicators or lights responding to the reboot. This may include the Roomba powering off and then restarting.
- After the reboot sequence begins, release the “CLEAN” button and allow the Roomba to complete the reboot process.
- Once the reboot is complete, test the Roomba to ensure that it is functioning as expected.
3. Replace The Cleaning Head Module
If the error persists after the above steps, consider replacing the Cleaning Head Module, as it could be causing the issue.
To replace the cleaning head module on your iRobot Roomba, follow these steps:
- Ensure that your Roomba is powered off before proceeding with the replacement process. This can typically be done by pressing the “CLEAN” button to turn off the device.
- Flip the Roomba over to access the cleaning head module. This is usually located on the underside of the Roomba.
- Depending on the Roomba model, there may be release tabs or screws holding the cleaning head module in place. Follow the specific instructions to safely remove the existing module.
- Take the new cleaning head module and carefully position it in place, ensuring that it aligns correctly with the mounting points on the Roomba.
- Once the new cleaning head module is installed, turn on the Roomba and test the functionality of the module.
4. Force The Roomba To Empty Its Bin
On certain models such as the i7, forcing the Roomba to empty its bin while on the base can help resolve the issue. To do this, push and hold the “Home” button.
This action can sometimes address Error 26, especially if it’s related to a motor obstruction. To force the Roomba to empty its bin, follow these steps:
- If your Roomba is equipped with a Clean Base, ensure that it is properly set up and connected to the Roomba.
- Place the Roomba on the Clean Base, ensuring that it is correctly aligned for the emptying process.
- On the Roomba, press and hold the “HOME” button for a few seconds. This action initiates the process of forcing the Roomba to empty its bin.
- Continue holding the “HOME” button until you observe the Roomba’s indicators or lights responding to the emptying process.
- Observe the Roomba as it empties its bin.
- Once the emptying process is complete, verify that the Roomba’s bin is empty and ready for further use.
5. Contact IRobot Support

If the error continues to persist, despite the above steps, it’s advisable to contact iRobot customer support for further assistance.
They can provide specific guidance tailored to your Roomba model and the nature of the error.
