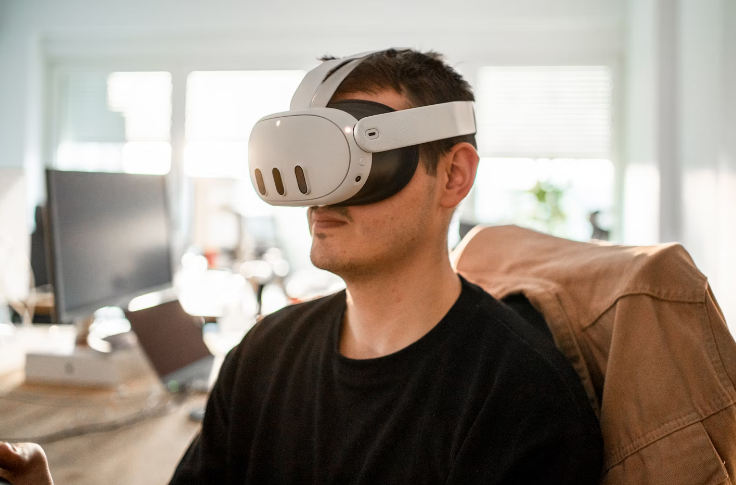
The Meta Quest 3 is a popular virtual reality headset known for its immersive gaming experiences and user-friendly features. One aspect of this device that you may need to adjust for comfort and fit is the head strap and face cover.
Before you begin, it’s important to know that removing the head strap and face cover is a straightforward process, but it requires some care to avoid damaging the headset. By following these simple steps, you can ensure a better fit and more comfortable gaming sessions.
Safety Precautions To Remove Meta Quest 3 Head Strap

Before you start removing the Meta Quest 3 head strap and face cover, it’s important to take some safety precautions. Following these steps will ensure that your device remains intact and undamaged throughout the process.
- Prepare your workspace: Make sure you have a clean, flat surface to work on. This will help prevent your Meta Quest 3 from getting scratched or damaged during the strap removal process. Consider placing a soft cloth or towel beneath the device for added protection.
- Handle with care: The Meta Quest 3 is an expensive piece of technology that should be handled gently. Be careful not to apply excessive force when removing the components to avoid damaging the headset.
- Loosen the strap: Before attempting to remove the head strap, make sure to loosen it to reduce the tension. This will make it easier to remove and minimize the risk of damaging the device.
- Avoid touching the lenses: The lenses of the Meta Quest 3 are delicate and can be easily scratched or smudged. Avoid touching them during the removal process.
- Unplug any accessories: If you have any accessories connected to your Meta Quest 3, such as headphones, make sure to unplug them before starting the removal process. This will help prevent any accidental damage to the ports.
Tools And Materials Needed To Remove Meta Quest 3 Head Strap
Before you start removing your Meta Quest 3 head strap and face cover, make sure to gather all the necessary tools and materials. This will ensure a smoother and more efficient process. Here is a list of items that you will need:
- Microfiber cloth: To clean the headset and keep the lenses free from dust and smudges during the removal process, a microfiber cloth will be useful.
- Replacement strap: If you are planning to replace your existing head strap with a third-party one, ensure that it is compatible with the Meta Quest 3 and have it on hand.
- Replacement face cover: Similarly, if you are looking to replace the existing face cover with a new one, keep it nearby as well.
Once you have gathered all the necessary tools and materials, you can proceed to remove the head strap and face cover of your Meta Quest 3. With these items in place, the removal process should be hassle-free and seamless, enabling you to enjoy a better fit and comfort with your new accessories.
Steps To Removing The Head Strap
1. Locating The Adjustment Straps
Before removing the Meta Quest 3 head strap, you need to locate the adjustment straps on the device. These straps are responsible for fitting the headset securely on your head. Let’s dive into the steps to locate them.
- Hold the Meta Quest 3 headset and observe the side straps and the top strap.
- Look for the small buckles on either side of the headset where the side straps connect.
- Identify the connector where the top strap is attached to the headset.
2. Detaching The Side Straps
Now that you have located the adjustment straps, it’s time to detach the side straps. Carefully follow these steps to ensure a safe removal.
- Gently pull the straps away from the headset to loosen them, which will make it easier to remove them.
- Carefully press the small buckles on either side of the headset to unhook the side straps.
- After unhooking the side straps, gently slide them out from the headset housing.
3. Releasing The Top Strap
With the side straps detached, it’s time to release the top strap. Make sure to do this carefully to avoid damaging the headset.
- Gently pull the top strap upwards to release it from the connector.
- Slide the top strap out of the connector until it’s completely detached from the headset.

