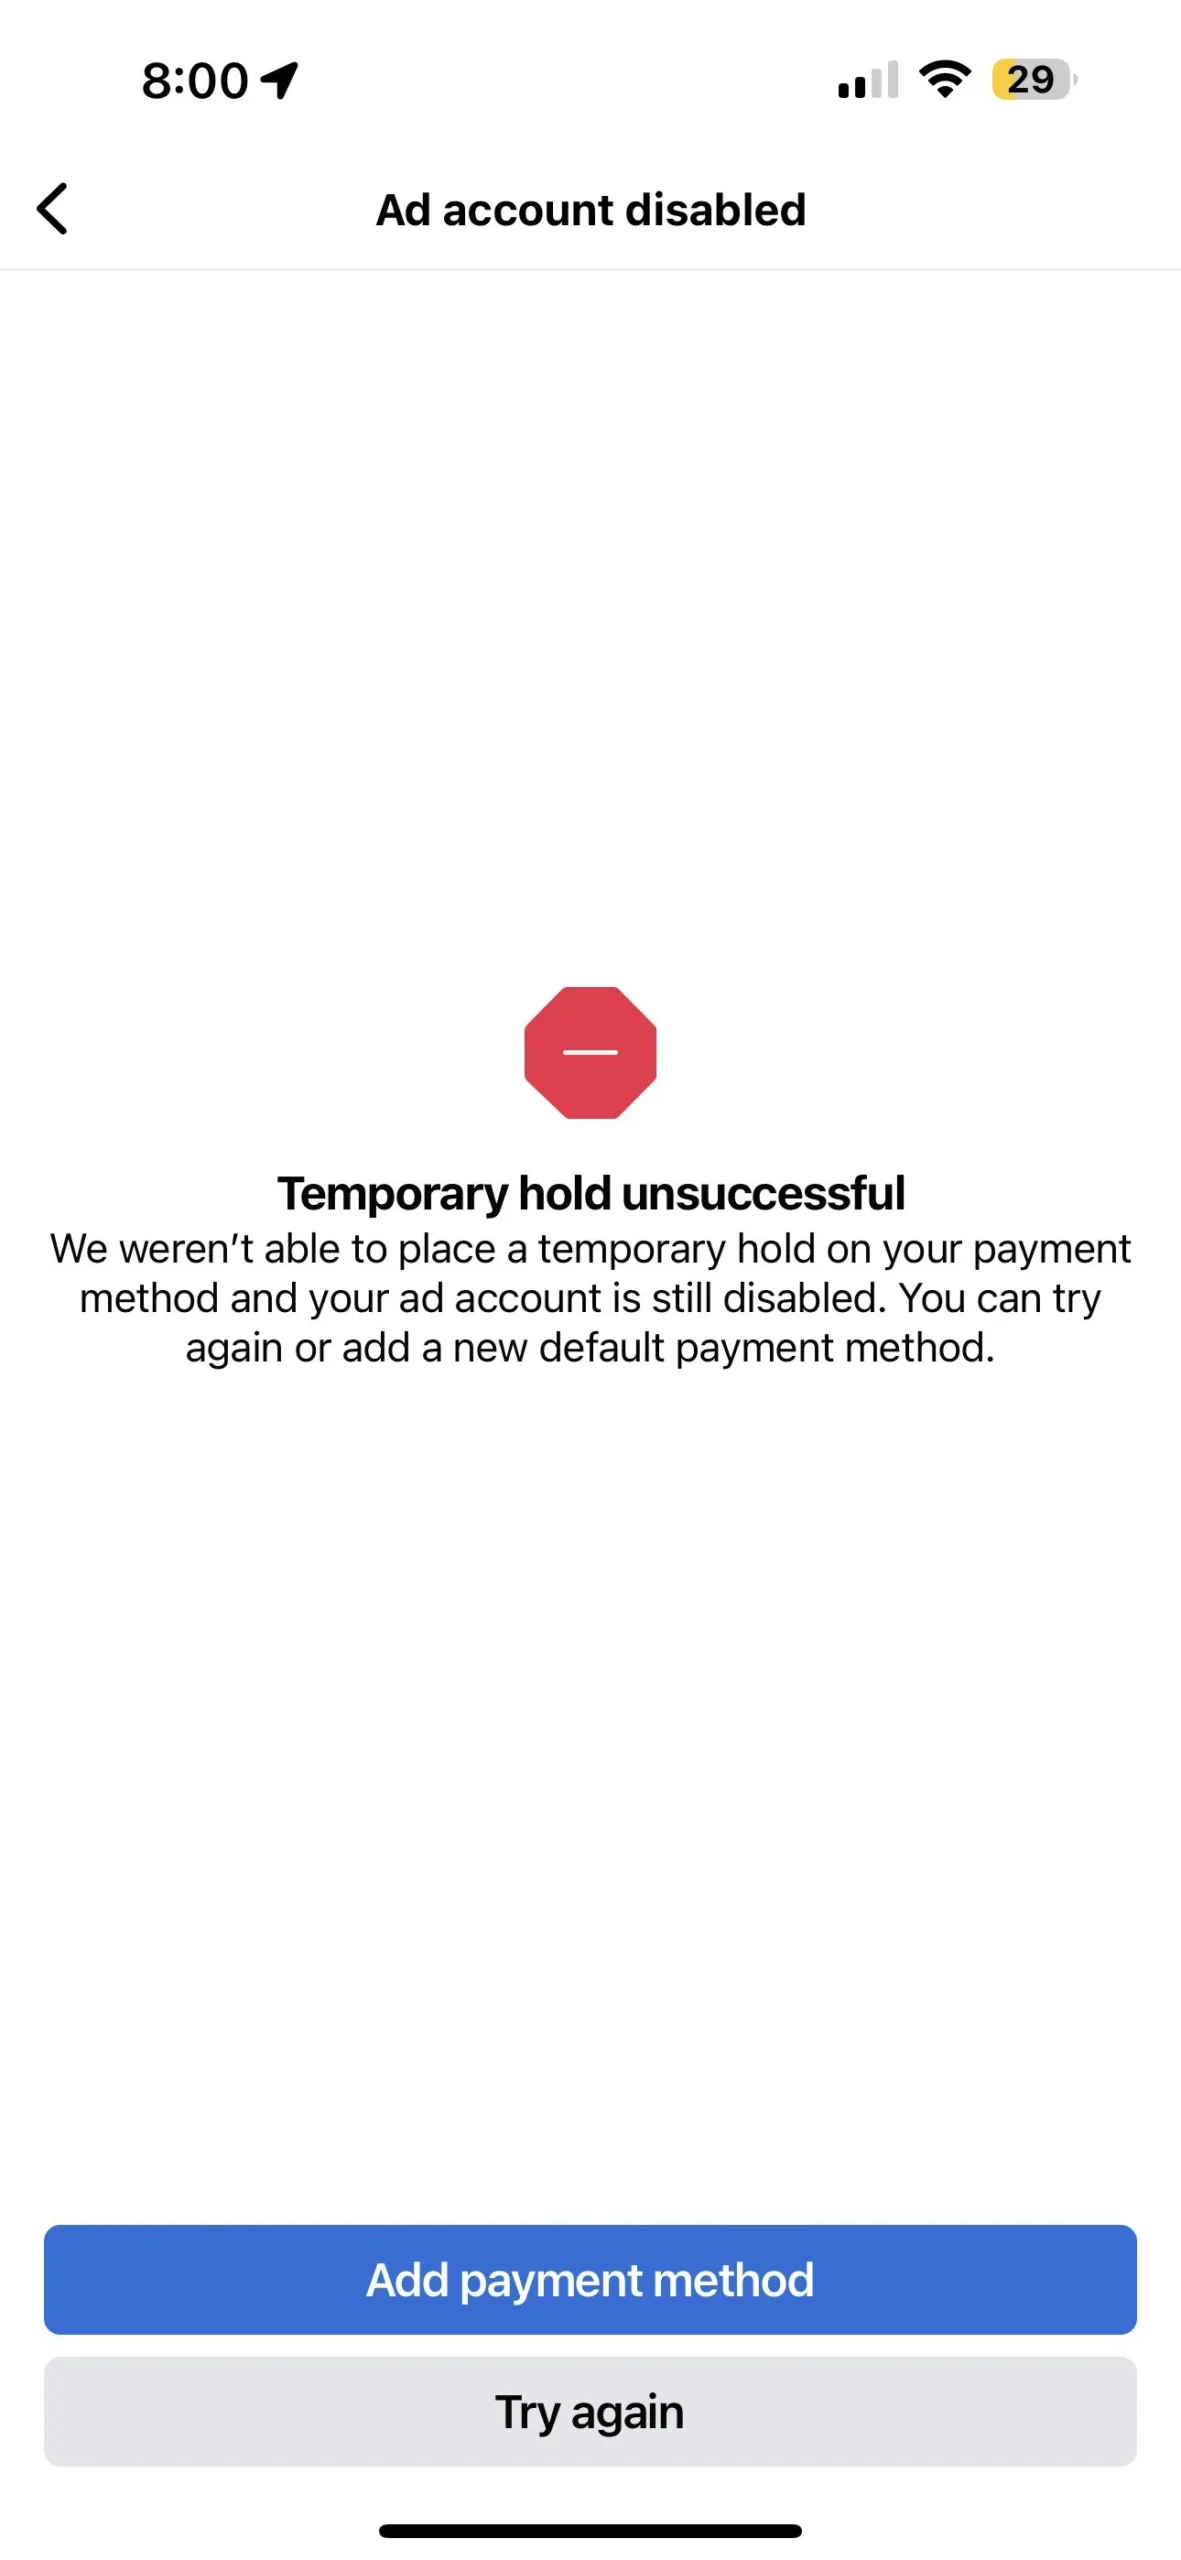
If you’ve encountered the frustrating situation of having your Facebook ad account disabled due to a temporary hold unsuccessful error, you’re not alone.
The full error message says-“Ad account disabled, Temporarily gold unsuccessful, We weren’t able to place a temporary hold on your payment method and your ad account is still disabled. You can try again or add a new default payment method.”
Many advertisers experience this issue, which can disrupt their marketing efforts and impact their business goals.
In this blog, we will delve into the common reasons behind ad account disablement, explore the specific error of “temporary hold unsuccessful,” and provide a comprehensive guide on effectively addressing and resolving this issue.

How To Fix Facebook Ad Account Disabled Temporary Hold Unsuccessful?
To fix a Facebook ad account that has been disabled due to a temporary hold being unsuccessful, you can check the payment method, repay the amount due, and verify sufficient funds. Moreover, you may also add a new payment method, and appeal if necessary.
Below is a detailed explanation of all the above-mentioned fixes:
1. Check Payment Method
Firstly, you need to make sure that the payment method linked to your ad account is valid and has sufficient funds.
For this, you can refer to Facebook’s official help page on how to fix a disabled ad account due to failed payment issues on Meta for detailed guidance on selecting a valid payment method.
2. Repay The Amount Due
If there is an outstanding amount due on your ad account, you can repay it by selecting the “Pay now” button.
To repay the amount due on your ad account, you can follow these steps:
- Access your ad account on the respective platform, such as Facebook Ads Manager or Google Ads.
- Look for the billing or payment settings section within your ad account dashboard.
- Check for any outstanding balance or amount due within the billing or payment settings.
- Look for an option to make a payment or repay the amount due. This may involve clicking on a “Pay Now” button.
- Select the payment method you want to use to repay the amount due. This could be a credit card, debit card, bank transfer, or any other accepted payment method.
- Follow the prompts to confirm the payment and complete the transaction.
- After making the payment, you will receive a confirmation message indicating that the payment was processed.
3. Verify You Have Sufficient Funds
If the temporary hold was unsuccessful due to insufficient funds, ensure that there is enough money in the linked payment account to cover the costs of your ad campaign.
You may need to check your payment account to ensure sufficient funds are available. To verify sufficient funds for your ad campaigns, you can follow these steps:
Check Your Account Balance: Log in to your bank account online or through your banking app to verify the available balance. Ensure that the balance is sufficient to cover the costs of your ad campaigns.
Review Credit Card Limit: If you are using a credit card, check the available credit limit to ensure that it is higher than the expected ad spend. This is important to prevent declined transactions due to reaching the credit limit.
Account for Pending Transactions: Take into account any pending transactions or holds on your account that may impact the available funds. Pending transactions can temporarily reduce the available balance until they are processed.
Monitor Payment Notifications: Keep an eye on any notifications or alerts from your bank regarding low balances, potential overdrafts, or declined transactions. This can help you stay informed about any issues with insufficient funds.
4. Add A New Payment Method
Look for the option to add a new payment method within the ad account settings. You can add, remove, or edit your Facebook ad account payment method.
To add a new payment method to your ad account, you can follow these steps:
- Log in to your ad account on the respective platform, such as Facebook Ads Manager or Google Ads, and navigate to the billing or payment settings section.
- Look for the option to add a new payment method within the payment settings. This may be labeled as “Add Payment Method,” or “Add New Card“.
- Follow the prompts to enter the necessary details for the new payment method, which may include credit card information, bank account details, or other accepted payment options.
- After adding the new payment method, review the details of the new payment method and confirm its addition to your ad account. You may receive a confirmation message or notification once the payment method has been successfully added.
5. Appeal If Necessary
If you believe that your ad account was disabled in error, you can submit an appeal through Facebook’s Ad Account Quality page.
To submit an appeal through Facebook’s Ad Account Quality page, you can follow these steps:
- Log in to your Facebook ad account and navigate to the Ad Account Quality page or the section related to ad account appeals.
- Look for an option to submit an appeal or request a review of the decision. This may be labeled as “Submit Appeal,” or “Request Review“.
- Follow the prompts to provide relevant details as part of your appeal. This may include explaining your position, addressing the issues raised, and presenting any supporting evidence if applicable.
- After providing the necessary information, submit your appeal through the designated process. This may involve clicking a “Submit” button.
