Sometimes we are on a trip and want to tell our friends where we are so that they take more interest in our posts or maybe we are having a problem with the music on Instagram, it shows an error that the music is not available in this region.
You want to send a different location to someone. You have shifted somewhere else now you want to update your region and there can be other regions to change your region on Instagram App.
Changing the region sometimes gives us exciting features available in different countries.
Here are some steps you need to follow to change the region on Instagram.
How To Change Region On Instagram?
Step 1: Open The Instagram App
First, open your Instagram and log in to your account using your credentials i.e Email-ID, UserId and password.
And if your account is linked with Facebook you need to log in with your Facebook ID. You will reach your home page.
Step 2: Click On Your Profile Icon
Tap on your profile icon that is present in the bottom right-hand corner. You’ll be directed to the main page of your profile.

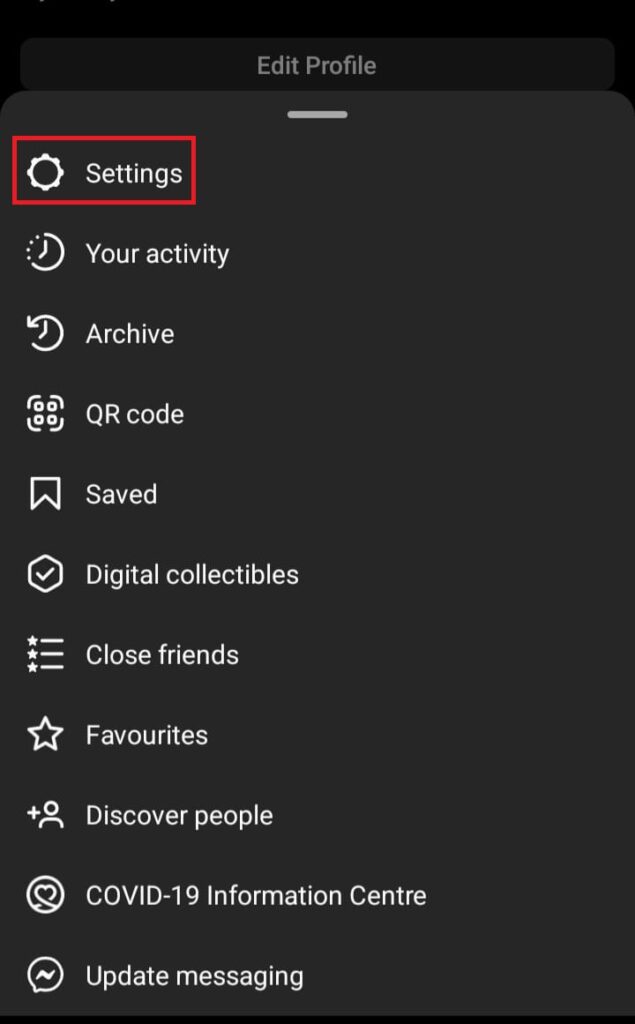
Step 3: Tap On The Three Horizontal Lines(Menu)
Tap on the three bars present in the upper right-hand corner. Here you get options like settings, your activity and many more.
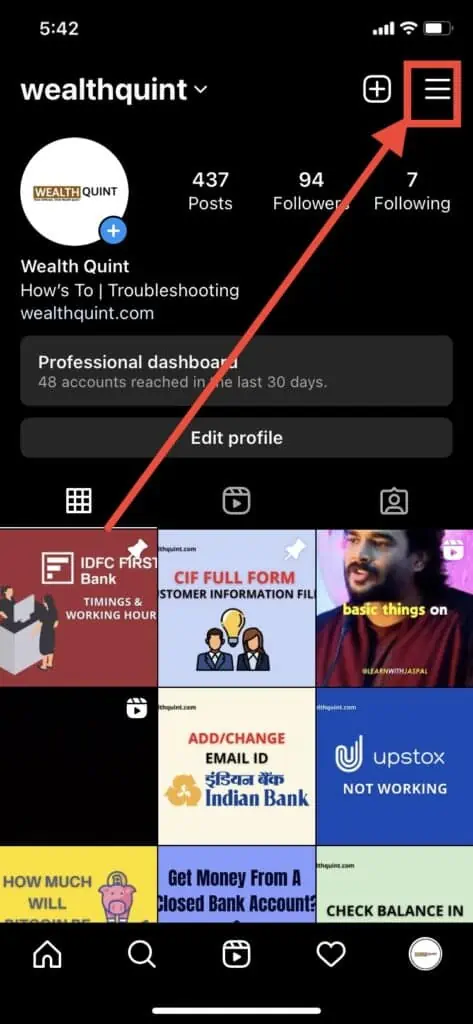
Step 4: Tap On Settings.
After clicking on the menu tap on settings and here you can set different things on your account according to your requirement,i.e privacy, security, notifications, and account………
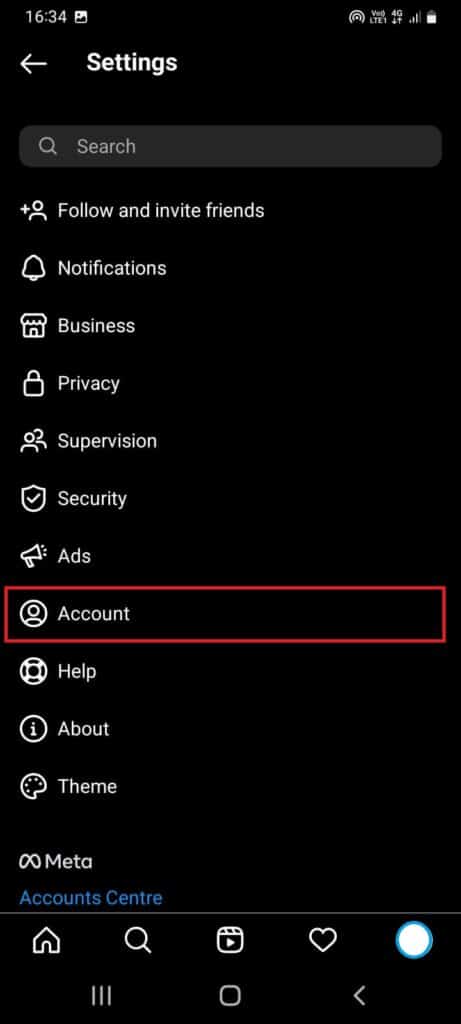
Step 5: Click On Account And Scroll Down To Switch To Professional Account.
Click on an account, you will get your account information then scroll down to switch to a professional account and Add a new professional account.
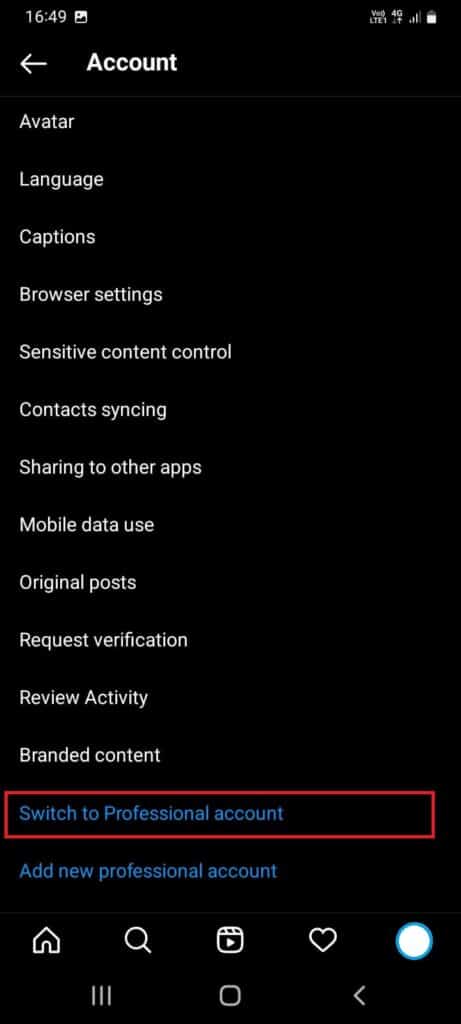
Step 6: Click On Switch To Professional Account.
Click on the switch to professional account and press on continue four times until you reach the option What best describes you?
Choose an option, Click on done, you get a pop-up “switch to a professional account, and click on Ok.
It will take a maximum of 30 seconds.
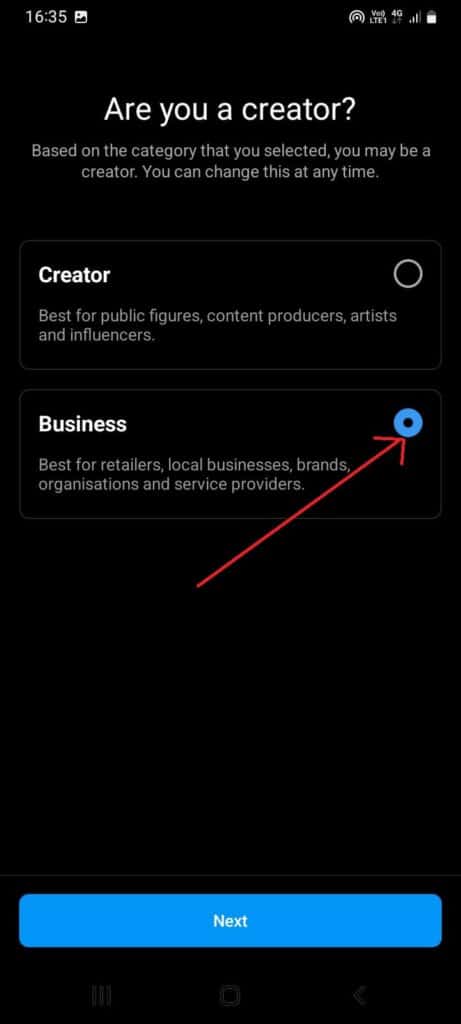
Step 7: Choose The Business Option.
You get the question” Are you a creator?” By default, the creator is chosen but you need to click on Business.
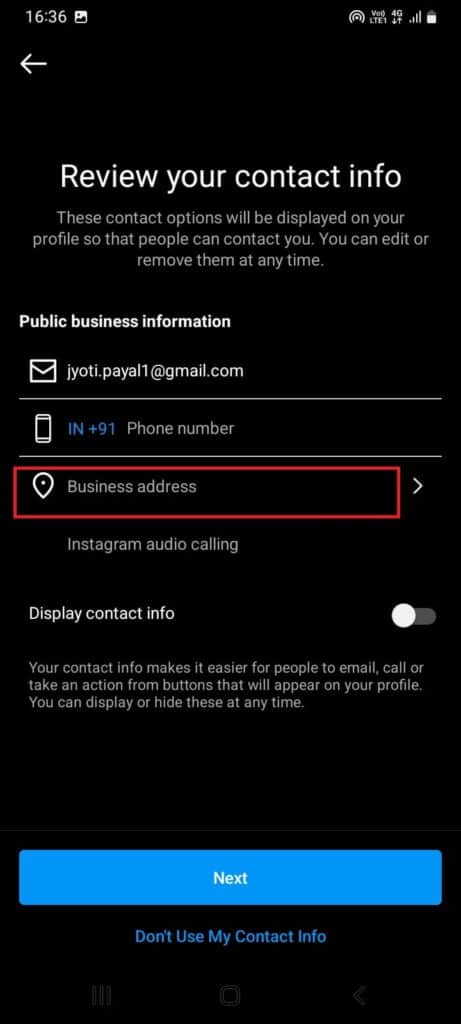
And then press Next. Here you have to review your contact info.
Step 8: Click On Business Address
Under review your contact info you will get public business information. I.e email-ID,phone no. Business address and instagram audio calling.
You need to click on the business address.
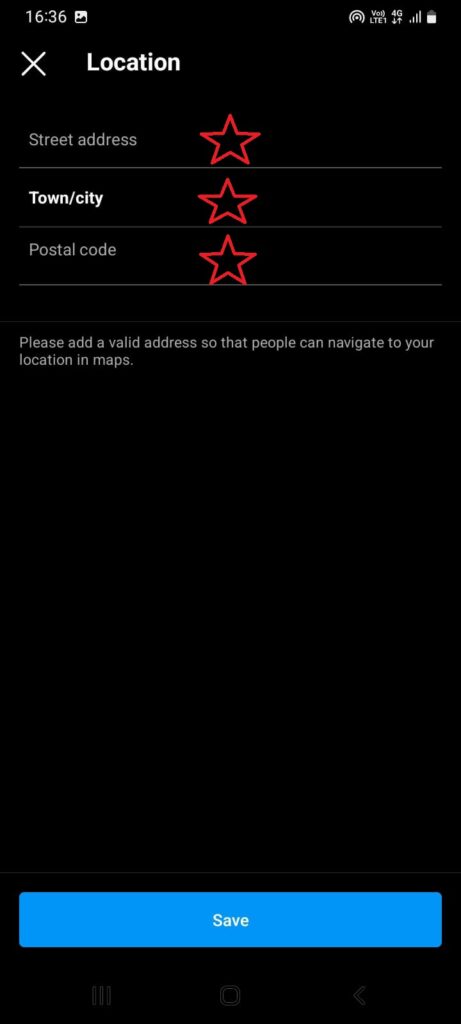
Step 9: Choose Your Location You Want To Change
Click on choose your location, you need to fill street address, town/city, and Postal code. And then click to save.
That’s all you need to change your region on Instagram App.
How To Show Live Location On Instagram?
To show the live location on Instagram you need to give permission to the app to access your live location and then the app will show your live location so that you can send it to anybody you want or you can show it through live videos.
How To Show Tag Location On Instagram?
Sometimes when posting photos and videos, you also want to tag the location that you can do easily.
All you need to do is add location with the post and you’re good to go.

