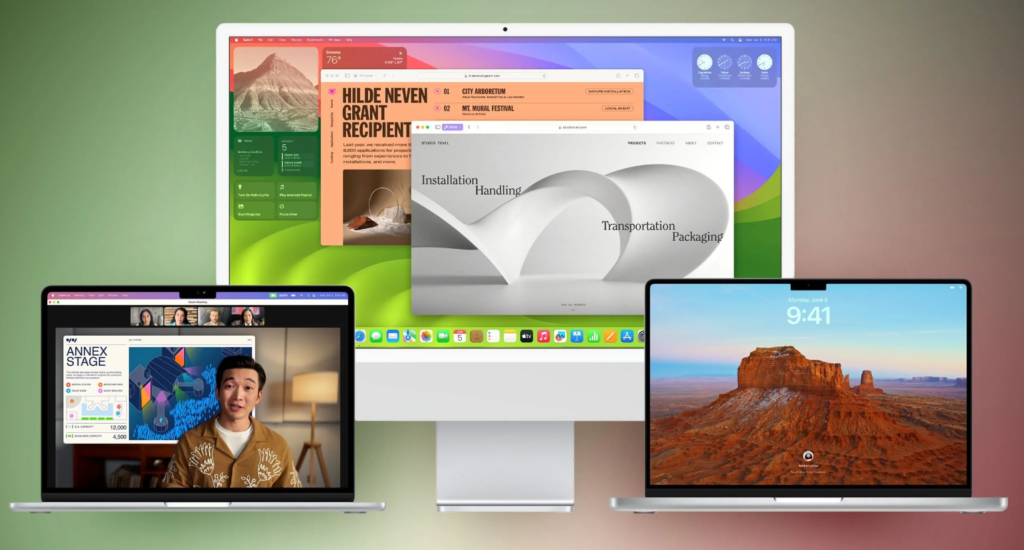
Are you a Mac enthusiast looking to enjoy Windows games on your macOS Sonoma-powered device?
With the introduction of Apple’s Game Porting Toolkit, it’s now easier than ever to bridge the gap between Windows gaming and your Mac.
Whether you’re using a MacBook, iMac, or Mac mini, this powerful suite of tools integrated into Xcode allows you to seamlessly run your favorite Windows games on macOS.
In this blog, we’ll walk you through the steps of how to install and utilize the Game Porting Toolkit, ensuring that you can dive into your gaming library with minimal fuss.
How To Use MacOS Sonoma Game Porting Toolkit?

Apple’s macOS Sonoma has brought a game-changer for Mac gamers – the Game Porting Toolkit. This innovative feature allows you to play Windows games on your Mac, broadening the horizons of your gaming library. To harness the full potential of this toolkit, follow this step-by-step guide:
Step 1: Verify Your MacOS Version
Ensure that your Mac is running the latest version of macOS Sonoma. This version includes the necessary features and tools, such as the Game Porting Toolkit, required for porting Windows games to macOS.
Step 2: Install Xcode
Xcode is Apple’s integrated development environment (IDE) that’s necessary for accessing the Game Porting Toolkit. Download and install the latest version of Xcode from the Mac App Store or the Apple Developer website.
Step 3: Install Rosetta 2
For Macs with Apple Silicon, install Rosetta 2, which enables Intel-based applications to run on your Mac. Open Terminal and execute the following command: softwareupdate –install-rosetta.
Step 4: Enter X86_64 Terminal Environment
After installing Rosetta 2, prepare your system for Intel-based operations by running the command: arch -x86_64 zsh.
This will switch your terminal environment to x86_64, allowing you to run commands and applications under Rosetta 2.
Step 5: Install And Configure Homebrew
Homebrew is a package manager that simplifies the installation of software on macOS.
Install Homebrew by following the instructions on the Homebrew website. Make sure that the brew command is accessible by ensuring it’s added to your PATH.
Step 6: Access The Game Porting Toolkit
With Homebrew installed, you can now tap into the Apple Homebrew repository to access the Game Porting Toolkit: brew tap apple/homebrew-tab.
Step 7: Install The Game Porting Toolkit
Install the Game Porting Toolkit via Homebrew with the following command: brew install –cask game-porting-toolkit.
Step 8: Create A Wine Prefix
The Game Porting Toolkit utilizes Wine, a compatibility layer for running Windows applications on macOS.
Create a Wine prefix, which acts as a virtual Windows environment, with the following command: WINEPREFIX=~/my-game-prefix winecfg.
This command sets up a new Wine prefix in your home directory and launches the Wine configuration tool, where you can set various options to emulate a Windows environment.
Step 9: Configure Wine For Your Game
After creating a Wine prefix, you may need to adjust settings within winecfg to ensure compatibility with your game. This could involve setting the Windows version, configuring graphics options, or enabling certain libraries.
Step 10: Install Your Game
With the Wine environment configured, you can now install your Windows game. Place the game installer within the Wine prefix you’ve created and run it using Wine: WINEPREFIX=~/my-game-prefix wine /path/to/game/installer.exe.
Follow the on-screen instructions to complete the installation of your game within the Wine prefix.
Step 11: Update Wine Registry (If Necessary)
Some games may require changes to the Wine registry to function correctly. You can edit the Wine registry by running the regedit command within your Wine prefix: WINEPREFIX=~/my-game-prefix wine regedit.
Make any necessary changes to emulate the required system settings for your game.
Step 12: Launch And Test Your Game
Once installed, you can launch your game using the following command: WINEPREFIX=~/my-game-prefix wine /path/to/game/executable.exe.
Test the game thoroughly to ensure it runs correctly on your Mac. Check for any performance issues or bugs that may need to be addressed.
