If you’re encountering the “Requesting Daily Login Status: MINOT MYER” error in Call of Duty: Modern Warfare 3 (COD MW3), this can be a frustrating issue that prevents you from accessing the game’s online features.
The error is related to the game’s ability to connect to the online servers for daily login verification.
the full error will read, “Status MINOT MYER Requesting Daily Login“.
In this article, we will be discussing all the fixes that will help you to solve the issue of “Requesting Daily Login Status MINOT MYER” in MW3 with ease.

How To Fix COD MW3 Requesting Daily Login Status Minot Myer?
To fix COD MW3 requesting daily login status minot myer, you can check the server status of MW3, restart it and verify the internet connection. Additionally, you can also update MW3 to the latest version to fix the issue.
1. Check The Server Status Of MW3
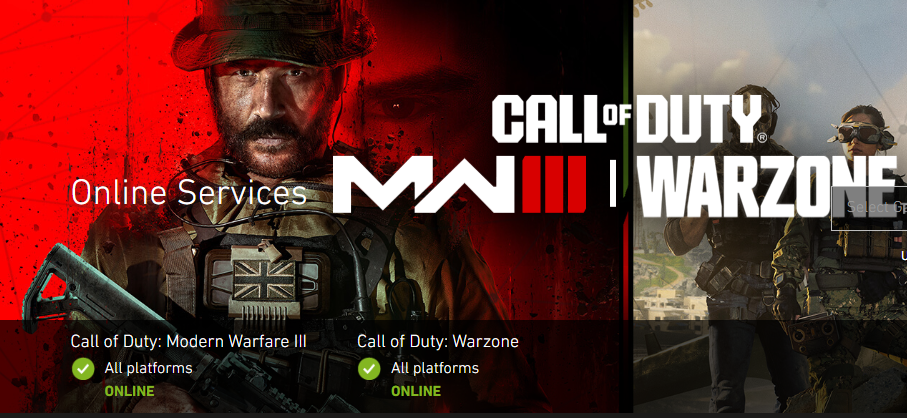
Before attempting any fixes, it’s important to check if the game’s servers are online and functioning properly. You can do this by visiting the official Activision server status page or checking the community forums for any announcements regarding server downtime.

2. Restart MW3
A simple restart can often resolve temporary glitches. Close the game completely and restart your gaming device. This can help reset the network connection and clear any temporary issues.
3. Verify Your Internet Connection
Make sure your internet connection is stable and fast enough for online gaming. Test other devices on your network or run a speed test to ensure your connection is reliable.
- Check the network icon on your computer or device to see if it indicates a connection.
- Ensure that your device is connected to the correct network.
- Visit a speed test website like Speedtest.net.
- Run the test to check your download and upload speeds against your internet service provider’s (ISP) promised speeds.
- Unplug both your router and modem from the power source. If they are combined into one unit, just unplug that device.
- Allow at least 30 seconds for the devices to completely power down. This clears the device’s memory and resets any temporary configurations.
- Plug your modem back into the power source. Wait for it to fully boot up, which might take a minute or two.
4. Update MW3
Ensure that your copy of COD MW3 is updated to the latest version. Game developers frequently release patches to fix bugs and connectivity issues.
5. Disable Firewall And Antivirus Temporarily
Your firewall or antivirus software might be blocking the game’s access to the internet. Temporarily disable these programs to see if it resolve the issue. However, remember to re-enable them after testing to maintain your system’s security.
Allow MW3 Through Firewall
- Open the Control Panel and go to “System and Security.”
- Click on “Windows Defender Firewall.”
- On the left-hand side, click on “Allow an app or feature through Windows Defender Firewall.”
- Click on “Change settings” (you may need administrative privileges).
- Click on “Allow another app,” find the MW3 executable file, and add it to the list.
- Ensure that the boxes for both “Private” and “Public” networks are checked for MW3.
Disable Antivirus Software
For Windows Security (formerly Microsoft Security Essentials):
- Click on the shield icon in the taskbar to open Windows Security.
- Click on “Virus & threat protection.”
- Under “Virus & threat protection settings,” click on “Manage settings.“
- Turn off “Real-time protection.”
6. Flush DNS Cache
Flushing your DNS cache can help resolve any IP conflicts or outdated DNS records that might be causing the connectivity issue.
For Windows:
- Open Command Prompt as an administrator.
- Type
ipconfig /flushdnsand press Enter.
For macOS:
- Open Terminal.
- Type
sudo killall -HUP mDNSResponderand press Enter, then enter your password when prompted.
7. Change DNS Servers
Sometimes, using a different DNS server can help improve connection stability. Consider switching to a public DNS server like Google DNS (8.8.8.8 and 8.8.4.4) or OpenDNS
(208.67.222.222 and 208.67.220.220). Here’s how to change your DNS settings:
For Windows:
- Open the Control Panel and go to “Network and Internet” > “Network and Sharing Center.”
- Click on “Change adapter settings.”
- Right-click on your active network connection and select “Properties.”
- Select “Internet Protocol Version 4 (TCP/IPv4)” and click “Properties.”
- Choose “Use the following DNS server addresses” and enter the new DNS servers.
- Click “OK” to save the changes.
For macOS:
- Open System Preferences and go to “Network.”
- Select your active network connection and click “Advanced.”
- Go to the “DNS” tab.
- Click the “+” button to add new DNS servers.
- Click “OK” and then “Apply” to save the changes.
8. Check For Software Conflicts
Sometimes, other software running on your system can interfere with your game’s ability to connect to the servers. Try performing a clean boot to start your system with a minimal set of drivers and startup programs:
For Windows:
- Type
msconfigin the Start search box and press Enter. - In the System Configuration window, go to the “Services” tab.
- Check “Hide all Microsoft services” and then click “Disable all.”
- Go to the “Startup” tab and click “Open Task Manager.”
- Disable all startup items, then close Task Manager and click “OK” in the System Configuration window.
- Restart your computer and try running COD MW3 again.
9. Contact Activision Customer Support

If none of the above steps work, reach out to Activision Customer Support for assistance. They can provide more specific troubleshooting steps and help determine if the issue is on their end.
