Modding Cyberpunk 2077 on Steam is a fun way to customize your game and explore new things in Night City.
It might sound complicated, but we’ll make it simple for you.
In this guide, we’ll show you how to mod Cyberpunk 2077 on Steam, step by step, from turning on mods to organizing your mods correctly.
How To Mod Cyberpunk 2077 On Steam?
Modding Cyberpunk 2077 on Steam offers numerous benefits, such as increased customization, improved gameplay quality, added challenges, extra content, and the chance to unleash your creativity.
In the end, it enhances your overall gaming experience, introducing fresh and thrilling ways to enjoy the game.

Here are the steps to mod Cyberpunk 2077 on Steam:
Step 1: Install The Red Mod DLC
To start, install the Red Mod, which you can get for free on Steam, GOG, and the Epic Games Store.
This DLC is crucial for enabling mods in Cyberpunk 2077.
Step 2: Enable Mods In Game Settings
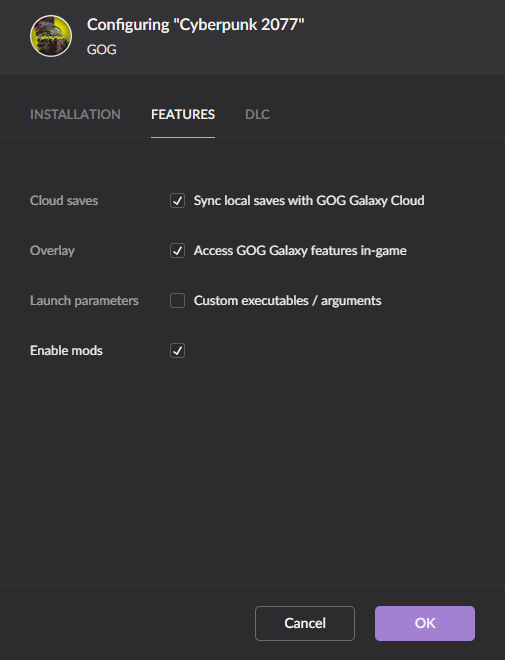
Launch Cyberpunk 2077 and click on the “Settings” button to access the game settings.
Inside the settings menu, find the “Enable mods” option and make sure it’s turned on.
This step is essential for the game to recognize and use mods.

Step 3: Download Your Desired Mods
Next, head over to websites like Nexus Mods or other trusted modding platforms to find the mods you want to install.
Make sure to check that the mods you select are compatible with your specific game version.
This ensures a smooth and trouble-free modding experience.
Step 4: Unzip And Organize Mod Files
Once you’ve downloaded a mod, unzip the folder containing the mod files and save it in a handy location, like your desktop or downloads folder.
This makes it simpler to access and organize your mod files for later use.
Step 5: Locate The Cyberpunk 2077 Game Folder
To locate the game folder, right-click on Cyberpunk 2077 in your Steam library. Then, select “Properties,” go to the “Local Files” tab, and click on “Browse Local Files.”
This action will take you directly to the game’s directory, simplifying the process.
Step 6: Create A “Mods” Folder
Inside the game directory, make sure to create a new folder called “mods” if it’s not already there.
The complete file path for this folder should be Steam\steamapps\common\Cyberpunk 2077\archive\pc\mods.
This is where you’ll place your mod files for the game to recognize them.
Step 7: Move Mod Files To The “Mods” Folder
Now, take the unzipped mod files from your desktop or downloads folder and move them into the recently created “mods” folder within your Cyberpunk 2077 directory.
This is a crucial step to ensure the game recognizes and uses the mods you’ve installed.
Step 8: Adjust The Load Order
For certain mods to work correctly and prevent conflicts, you might need to set a specific load order.
To handle this efficiently, think about using mod management tools like the WolvenKit Mod Manager.
It’s as easy as dragging and dropping mods in the manager to arrange their load order according to your requirements.
This helps ensure your mods work seamlessly together.
Step 9: Follow Mod-Specific Instructions
Remember that the installation process can differ from one mod to another, and mod creators usually include specific instructions in their mod descriptions or read-me files.
Take the time to read these instructions thoroughly to make sure you install and use the mod correctly. This ensures a smooth experience with your mods.

