Naraka Bladepoint” is a hot multiplayer battle royale game created by 24 Entertainment, making waves in the gaming world.
But, like any software, it can sometimes run into problems.
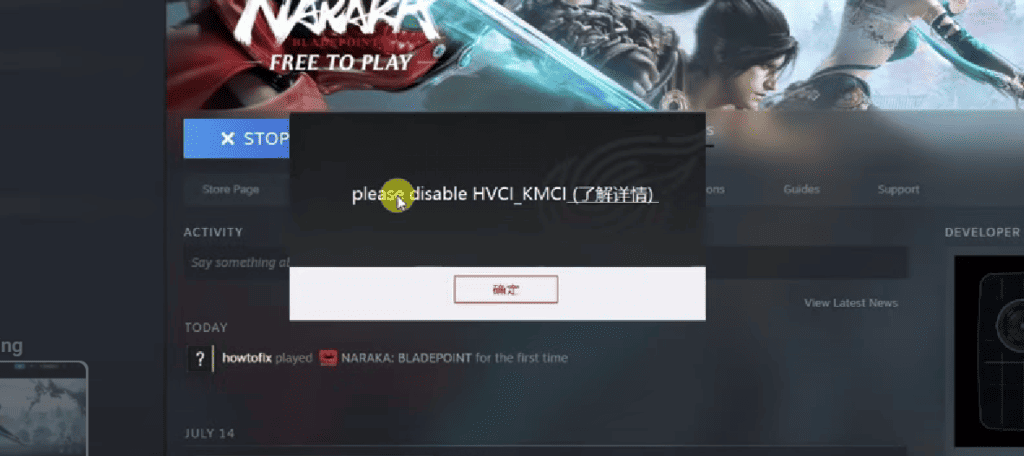
One common issue is the “Please Disable HVCI_KMCI” error message.
The full error message reads: “Please Disable HVCI_KMCI”.
In this article, we’ll explain why you might see this error in Naraka Bladepoint and guide you through the steps to fix it.
Why Is Naraka Bladepoint Saying “Please Disable HVCI_KMCI”?
The reason Naraka Bladepoint asks players to turn off HVCI_KMCI is because it can clash with the game’s anti-cheat software.
HVCI_KMCI is a Windows security feature guarding against malware targeting the Windows Kernel.
Disabling it may expose your system to malicious code.
However, disabling Memory Integrity lets Naraka Bladepoint access your system’s memory without problems, fixing the HVCI_KMCI error for gameplay.

Keep in mind, that turning off HVCI_KMCI can weaken your system’s security, so it’s best to re-enable it after playing the game.
How To Fix “Please Disable HVCI_KMCI” On Naraka Bladepoint?
Here are some fixes that might help you resolve this issue:
1. Disable Memory Integrity
To fix the “Please Disable HVCI_KMCI” problem in Naraka Bladepoint, simply turn off Memory Integrity (HVCI_KMCI) in your Windows settings.
After doing that, try launching the game again to see if the issue is resolved.
To disable HVCI_KMCI in Naraka Bladepoint, follow these steps:
- Open the start menu.
- Type “Windows Security” and open it.
- On the home tab, look for “Device Security” and then “Core Isolation.”
- Click on “Core Isolation details” and toggle off “Memory Integrity.”
2. Disable HVCI_KMCI Through The Command Prompt
If turning off Memory Integrity doesn’t fix the “Please Disable HVCI_KMCI” problem in Naraka Bladepoint, you can try disabling it using the command prompt.
Here are the steps to disable HVCI_KMCI through the command prompt:
- Open the Windows start menu.
- Type “cmd” in the search bar.
- Right-click on “Command Prompt” and select “Run as administrator.”
- Type “bcdedit /set hypervisorlaunchtype off” and press Enter.
- Restart your computer.
3. Run The Naraka Bladepoint As An Administrator
If you’re still facing the “Please Disable HVCI_KMCI” problem, try running Naraka Bladepoint as an administrator.
This gives the game the permissions it needs and might fix compatibility issues for a better gaming experience.
Here are the steps to run Naraka Bladepoint as an administrator:
- Locate the Naraka Bladepoint icon on your desktop or in your game library.
- Right-click on the icon.
- Select “Run as administrator” from the context menu.
- If prompted, click “Yes” to allow the game to make changes to your device.
4. Uninstall And Reinstall
Lastly, if none of the above solutions has worked for you, try uninstalling Naraka Bladepoint from your device and then reinstalling it from the official website or app store.

Here are the steps to uninstall and reinstall the Naraka Bladepoint on Windows:
- Press the Windows key + I to open the Settings menu.
- Go to Apps or Apps & Features in the Settings menu.
- In the search bar, type Naraka Bladepoint to locate the application.
- Once you find Naraka Bladepoint in the list, click on it to select it.
- Click on the three dots (or More options) button, usually located next to the app’s name.
- From the dropdown menu, choose Uninstall to remove Naraka Bladepoint from your PC.
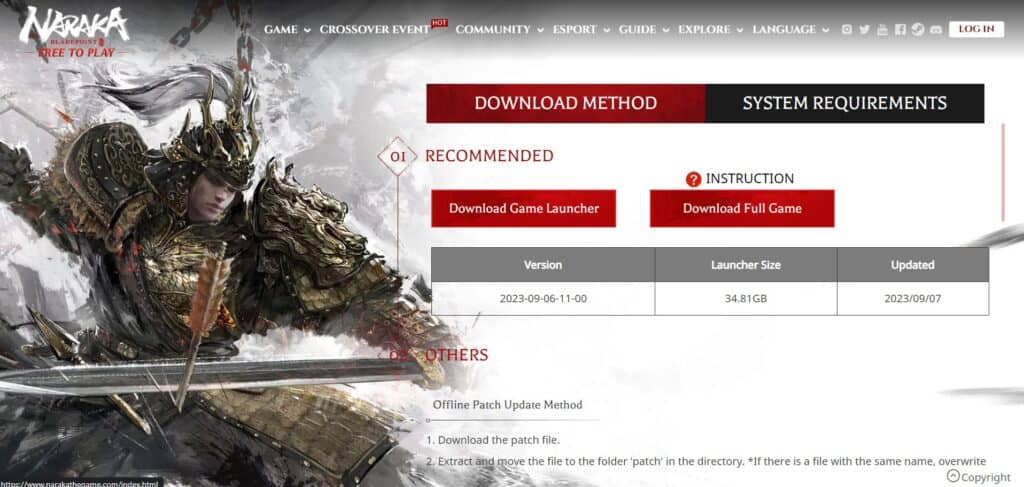
- Download the Naraka Bladepoint installation file from the official website.
- Once the download is complete, locate the file and run it to install Naraka Bladepoint on your PC.
5. Contact Naraka Bladepoint Support

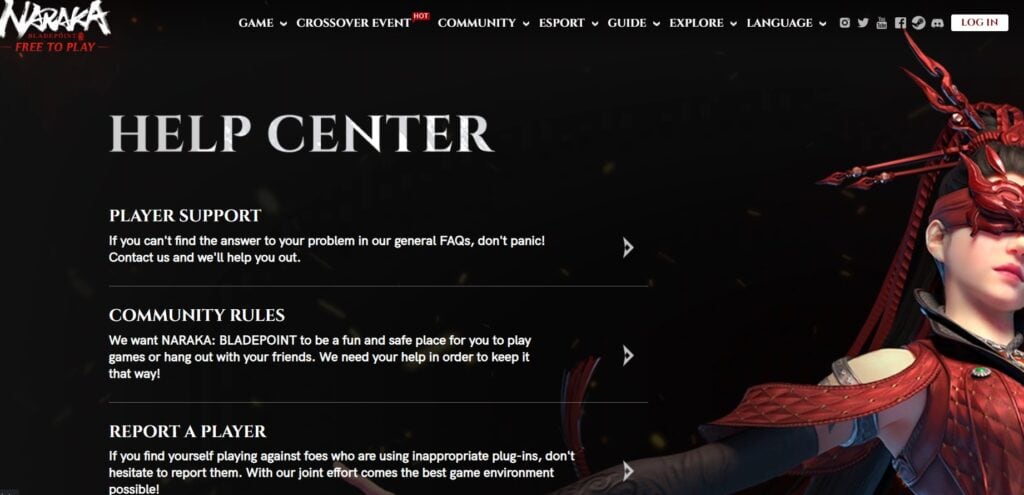
If the previous fixes didn’t work, contact Naraka Bladepoint support for more help.
They’re experts and can give you specific guidance to solve the issue.
