Dota 2 is a popular multiplayer online battle arena (MOBA) game that requires players to queue for matchmaking to play against others.
However, some players may encounter an issue where they are unable to queue for matchmaking when running Dota 2 as an administrator. This problem can be frustrating, but there is no need to worry anymore!
In this article, we will be showing you exactly how you can easily fix the issue of “Dota 2 Unable To Queue For Matchmaking When Running Dota As Administrator”.
What Is The Reason For Dota 2 Unable To Queue For Matchmaking When Running Dota As Administrator?
The error message “Unable to queue for matchmaking when running Dota 2 as an administrator” typically occurs when the game is launched with elevated permissions.

While running programs as an administrator can sometimes resolve compatibility and access issues, in the case of Dota 2, it can interfere with the game’s matchmaking system.
How To Fix Dota 2 Unable To Queue For Matchmaking When Running Dota As Administrator?
To fix “Dota 2 Unable to Queue for Matchmaking When Running Dota as Administrator”, you need to run Dota 2 without administration privileges, verify the integrity of the game files and delete the ‘bin’ folder. Additionally, you can also update your network drivers to fix the issue in Dota 2.
1. Run Dota 2 Without Administrator Privileges
The simplest solution is to ensure that Dota 2 is not set to run as an administrator. You can do this by:
- Right-clicking the Dota 2 executable or shortcut.
- Going to Properties.
- Clicking on the Compatibility tab.
- Unchecking the “Run this program as an administrator” option.
- Applying the changes and launching the game again.
2. Verify The Integrity Of Dota Game Files
Corrupted or missing game files can sometimes cause issues with matchmaking. To verify the integrity of Dota 2’s game files:
- Open the Steam client and navigate to the Library.
- Right-click on Dota 2 in your game list.
- Select Properties, then go to the Local Files tab.
- Click on “Verify integrity of game files” and allow the process to complete.
- Once done, try launching Dota 2 again.
3. Delete The ‘bin’ Folder
Some users have found that deleting the ‘bin’ folder within the Dota 2 directory and then verifying the integrity of game files (as described above) can fix the issue.
- To delete the ‘bin’ folder, navigate to your Dota 2 installation directory, typically located at
C:\Program Files (x86)\Steam\steamapps\common\dota 2 beta\. - Locate and delete the ‘bin’ folder.
- After deletion, verify the integrity of the game files through Steam to allow the client to redownload the necessary files.
4. Update Your Network Drivers
Outdated network drivers may cause issues with connecting to Dota 2’s servers. Ensure that your network drivers are up to date by visiting the manufacturer’s website or using a driver update tool.
5. Disable Full-Screen Optimizations
Disabling fullscreen optimizations can sometimes resolve compatibility issues with games:
- Right-click the Dota 2 executable or shortcut.
- Go to Properties and then to the Compatibility tab.
- Check the “Disable fullscreen optimizations” option.
- Apply the changes and launch Dota 2 again.
6. Remove Any Custom Launch Options
Custom launch options can sometimes interfere with the game. To remove them:
- Open Steam and go to your game library.
- Right-click on Dota 2 and select Properties.
- Under the General tab, find the “Launch Options” field and clear any text that is present.
- Close the Properties window and launch Dota 2.
7. Change Steam’s Compatibility Settings
If Steam itself is running with administrator privileges, it could cause issues with Dota 2:
- Right-click the Steam executable or shortcut and select Properties.
- Go to the Compatibility tab.
- Uncheck “Run this program as an administrator.“
- Apply the changes and restart Steam.
8. Contact Steam Support

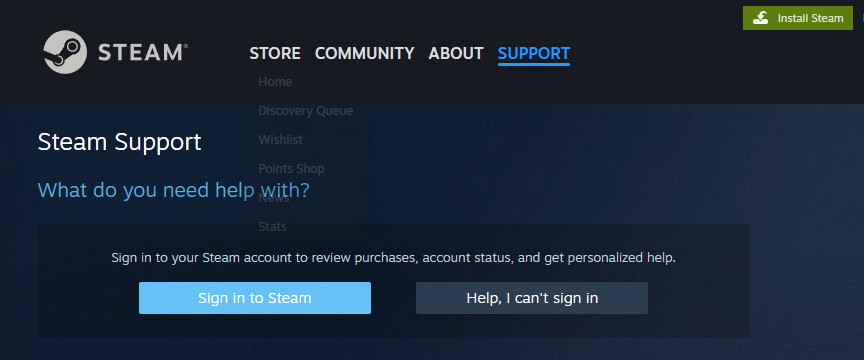
If none of the above solutions work, it might be a more complex issue with your account or the game’s servers. In this case, reaching out to Steam Support for assistance would be the next step.
