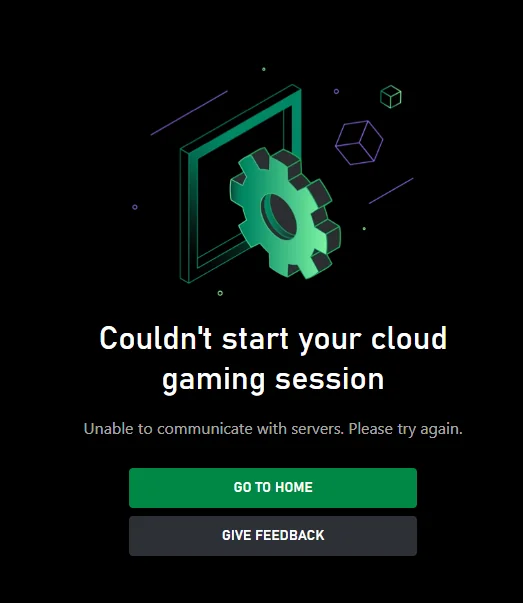
Are you ready to elevate your Xbox Cloud Gaming experience, but finding yourself frustrated by the “Unable to Communicate with Servers” error? Don’t worry, we’ve got you covered.
The full error message says, “Couldn’t start your cloud gaming session. Unable to communicate with servers. Please try again.“
In this blog, we’ll explore effective solutions to troubleshoot and resolve this issue, ensuring that you can dive into your favourite games hassle-free.
How To Fix Xbox Cloud Gaming Unable To Communicate With Servers?

To fix Xbox Cloud Gaming unable to communicate with servers, you can check the network connection, restart your device, and check Xbox server status. Additionally, you can update your device, and change your DNS settings.
1. Check Network Connection
When Xbox Cloud Gaming cannot communicate with the servers, it’s often a network-related issue.
Ensuring a stable and strong network connection can resolve server communication problems, allowing you to start cloud gaming sessions successfully.
- Verify that your device is connected to the internet.
- Perform a network speed test to check the stability and speed of your connection.
- Restart your router or modem by unplugging it for at least 30 seconds and then plugging it back in.
2. Restart Your Device
Temporary glitches or software bugs in your device may prevent Xbox Cloud Gaming from connecting to the servers.
Restarting your device can clear these issues and restore server communication.
PC:
- Click on the Start menu.
- Select the Power icon.
- Click “Restart.“
Android:
- Press and hold the Power button.
- Tap “Restart” or “Reboot.“
iOS:
- Press and hold the Side button and either Volume button until the power off slider appears.
- Drag the slider to turn off the device.
- After the device turns off, press and hold the Side button again until you see the Apple logo.
3. Check Xbox Server Status

Sometimes the problem might not be on your end but with the Xbox servers themselves.
Checking the server status can clarify if the issue is widespread and if you need to wait for a resolution from Xbox’s side.
- Visit the official Xbox status webpage to see if there are any known issues.
- If there are server problems, monitor the page for updates on when they will be resolved.
4. Update Your Device
Outdated software can cause compatibility issues with the servers.
Keeping your app and device updated ensures that you have the latest fixes and improvements that can solve server communication issues.
PC:
- Click on the Start menu and go to Settings.
- Select “Update & Security.“
- Click “Check for updates.“
Android:
- Open Settings.
- Scroll down and tap “System.“
- Tap “System update” or “Software update.“
iOS:
- Open Settings.
- Tap “General.“
- Tap “Software Update.“
5. Change Your DNS Settings
Incorrect or slow Domain Name System (DNS) settings can lead to connectivity issues with Xbox Cloud Gaming.
Changing your DNS to a faster or more reliable service like Google DNS or Cloudflare can improve your connection.
- Open the Windows Control Panel and navigate to Network and Internet > Network and Sharing Center > Change adapter settings.
- Right-click on your active network connection (either Ethernet or Wi-Fi) and select ‘Properties‘.
- Scroll down to ‘Internet Protocol Version 4 (TCP/IPv4)‘ and click ‘Properties‘.
- Select ‘Use the following DNS server addresses‘ and enter the new DNS server addresses.
- For Google DNS, use 8.8.8.8 as the preferred DNS server and 8.8.4.4 as the alternate DNS server.
- For Cloudflare, use 1.1.1.1 as the preferred DNS server and 1.0.0.1 as the alternate DNS server.
- Click ‘OK‘ to save the changes and close out of all other windows.
- Restart your device to ensure the new DNS settings take effect.
6. Disable VPN Or Proxy
Using a VPN or proxy can cause issues with server communication due to rerouting your connection, which can lead to increased latency or the blocking of certain services.
Disabling these can help establish a direct and unobstructed connection to Xbox Cloud Gaming servers.
- Go to Settings by clicking the Start menu and selecting the gear icon.
- Click on Network & Internet.
- Select VPN from the menu on the left if you’re using a VPN, then select the VPN connection and click on Disconnect or Remove.
- If you’re using a proxy, still in the Network & Internet settings, scroll down and select Proxy on the left-hand side.
- In the Manual proxy setup section, turn off ‘Use a proxy server‘.
- Restart your device to ensure all changes take effect and try connecting to Xbox Cloud Gaming again.
7. Adjust Firewall Settings
Strict firewall settings may allow the necessary ports or protocols used by Xbox Cloud Gaming.
- Open the Start menu and type “firewall.“
- Click on “Windows Defender Firewall.“
- In the left pane, click on “Allow an app or feature through Windows Defender Firewall.“
- Click the “Change settings” button (you may need administrator permission).
- Find “Xbox” related entries and check both “Private” and “Public” boxes for each.
- Click “OK” to save your changes.
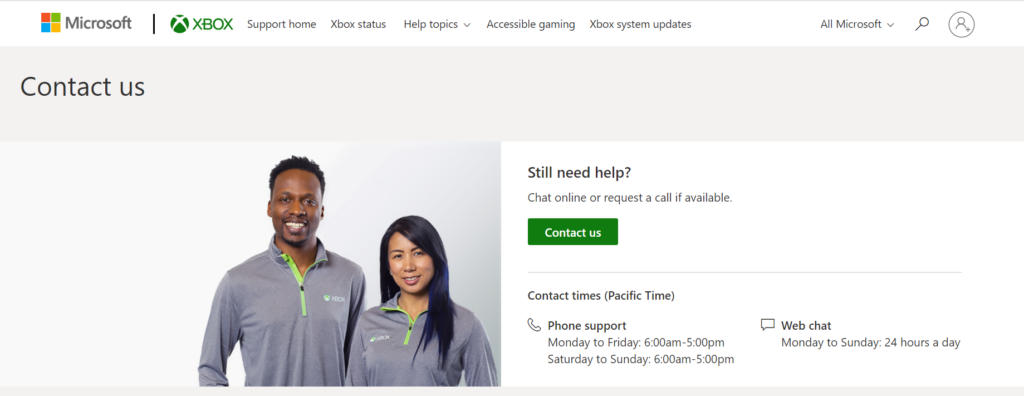
8. Contact Xbox Support

If none of the above solutions work, there may be a more complex issue at play. Contacting Xbox Support can provide you with personalized assistance and potential solutions.
- Visit the Xbox Support website and navigate to the ‘Contact Us‘ section.
- Choose the option that best describes your issue and follow the prompts to get in touch with a support representative.

