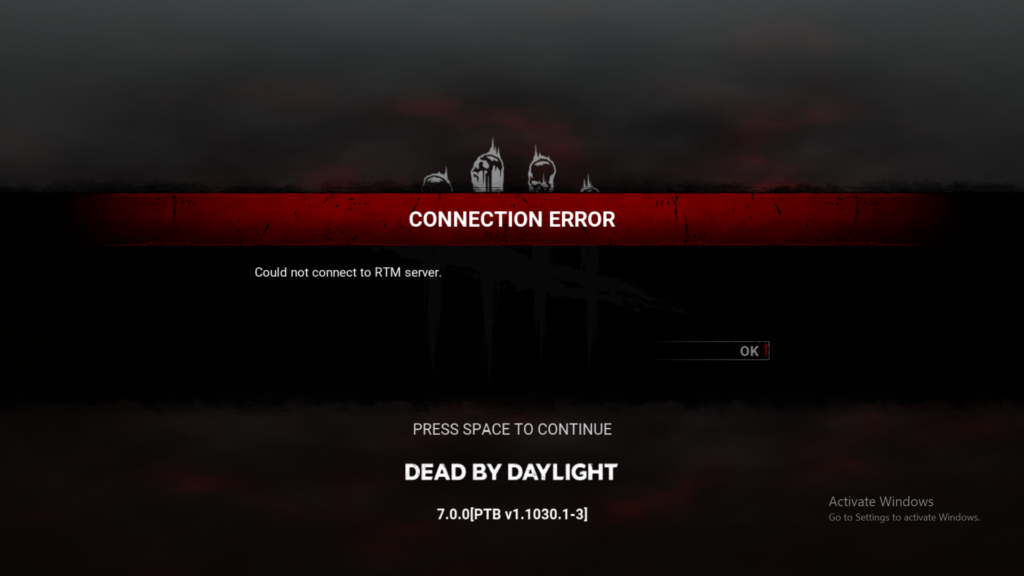
If you’re an avid Dead by Daylight player, you may have encountered the frustrating “Could not connect to RTM server” error message while trying to join a game.
The full error message says-“CONNECTION ERROR, Could not connect to RTM server.”
This issue can be a major buzzkill, but fear not – there are solutions available to get you back into the action.
In this blog, we’ll explore effective methods to troubleshoot and resolve the “Could not connect to RTM server” error in Dead by Daylight, ensuring that you can dive back into the thrilling gameplay without any hindrances.

How To Fix Dead By Daylight Connection Error Could Not Connect To RTM Server?
To fix the “Dead By Daylight Connection Error: Could Not Connect To RTM Server,” you can check system date and time settings, verify your network connection, and adjust the DNS settings. Moreover, you may also restart the game and platform, and check server status.
Below is a detailed explanation of all the above-mentioned fixes:
1. Check System Date And Time Settings
Ensure that your system’s date and time settings are correct, as an incorrect date and time setting can cause an RTM error.
To check and adjust the system date and time settings on your PC, follow these steps:
Windows Operating System:
- Click on the clock in the taskbar to open the calendar and time panel.
- Select “Date and time settings” to access the settings.
- Ensure that the “Set time automatically” option is toggled on to sync with the Internet time server.
- If needed, you can manually adjust the date and time by clicking on “Change” under “Set the date and time manually“.
PlayStation 4 (PS4):
- Navigate to the Settings menu on your PS4.
- Select “Date and Time” from the options.
- Here, you can manually adjust the date and time settings on your PS42.
Mobile Phones:
- For mobile devices, the time is usually updated automatically through the network.
- You can verify and adjust the date and time settings in the device’s settings menu under “Date & Time” or similar options
2. Verify Network Connection
Confirm that your device has a stable and active network connection. If you are using a wired connection, ensure that the Ethernet cable is properly connected and functional.
If you are using a wireless connection, check that your Wi-Fi signal is strong and stable. You can also try restarting your router. These are the steps to follow in restarting the WiFi router:
- Simply switch off the router and unplug it from all the devices and power supply.
- Wait for 3 minutes and then plug it in again.
- Now wait for the signal to come back and connect to the internet through it.
3. Adjust The DNS Settings
Some users have reported resolving the issue by adjusting the DNS settings on their gaming console.
For example, on PS4, changing the DNS settings to use a specific primary and secondary DNS server such as 8.8.8.8 may help resolve the RTM server connection issue.
This process varies slightly depending on whether you use a PC or a Playstation 4 (PS4). Here are the steps for both platforms:
For PC:
- Open the Control Panel.
- Go to “Network and Internet.“
- Choose “Network and Sharing Center.“
- From there, select “Change adapter settings.”
- Right-click on the active network connection and choose “Properties.”
- In the properties window, scroll down until you see “Internet Protocol Version 4 (TCP/IPv4)” and double-click on it.
- A new window will appear where you need to change the IP Address settings.
- Under “Use the following DNS server addresses,” enter the primary and secondary DNS server addresses provided by your ISP or any other preferred provider.
- Save changes and close all windows.
For PS4:
- Navigate to the Settings menu on your PS4.
- Scroll down to find “Network.”
- Select “Setup Internet Connection.”
- Follow the prompts to configure your network connection type.
- When asked about the DHCP Host Name, select “Do not specify.”
- Next, when prompted for DNS Settings, select “Manual.”
- Enter the Primary and Secondary DNS server addresses provided by your ISP or any other preferred provider.
- Finish the setup wizard and reboot your console.
4. Restart Game And Platform
Try restarting the Dead by Daylight game and the gaming platform you are using. Sometimes, a simple restart can resolve connectivity issues by refreshing the network connection and game data.
To restart Dead by Daylight on your platform, whether it’s a PC or a gaming console like PS4, follow these steps:
- Close the Game:
- Exit Dead by Daylight completely. Ensure it is not running in the background.
- Restart the Platform:
- For PC: Restart your computer to refresh all system processes.
- For PS4: Power off your console completely and then turn it back on.
- Relaunch Dead by Daylight:
- Once your platform has restarted, launch Dead by Daylight again.
5. Check For Server Status Of Dead By Daylight

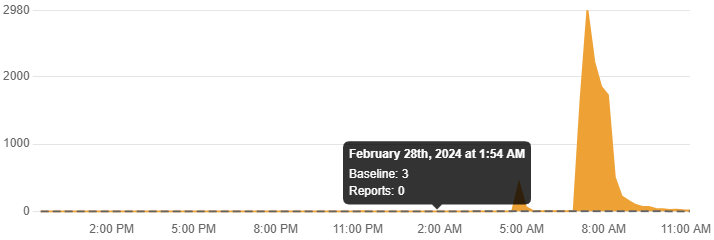
Visit the official Dead by Daylight website or social media channels to check for any reported server outages or maintenance periods.
If the RTM server is undergoing maintenance or experiencing issues, the problem may not be on your end. You can also check the server status by clicking here.
6. Delete And Reinstall Dead By Daylight
If none of the above steps work, you might need to uninstall and then reinstall the game. This can help fix any issues caused by corrupted game data.
To delete and reinstall Dead by Daylight on your PC, you can follow these steps:
Delete Dead By Daylight:
- Uninstall via Steam:
- Open the Steam app on your PC.
- Navigate to the Library tab and locate Dead by Daylight.
- Click on Settings and choose “Uninstall Dead by Daylight.”
- Wait for the uninstallation process to complete.
- Uninstall via Control Panel:
- Click on the Start menu and go to Settings (Control Panel).
- Select the Apps menu and search for Dead by Daylight in the list of installed programs.
- Click on Uninstall to remove the game completely.
- Delete Residual Files:
- After uninstalling, navigate to the installation directory of Dead by Daylight.
- Delete any remaining folders or files associated with the game to ensure a clean removal.
Reinstall Dead By Daylight:
- Reinstall from Steam:
- Open the Steam app.
- Visit the Store section and search for Dead by Daylight.
- Click on “Install” to download and reinstall the game.
7. Contact Dead By Daylight Support

If the issue persists after attempting the above steps, consider reaching out to Dead by Daylight’s official support channels for further assistance.
They may provide specific troubleshooting steps tailored to your platform and network setup.
