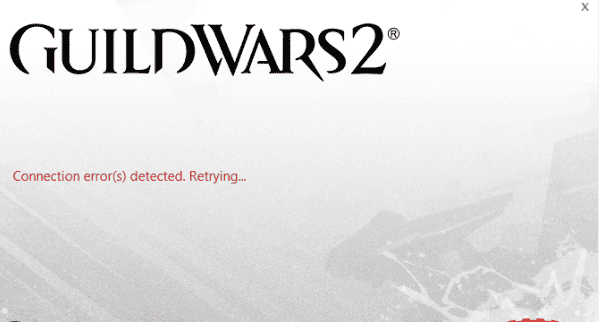
Are you getting error “Connection Error Detected Retrying” in Guild Wars 2?
Guild Wars 2, a highly popular online multiplayer game, has captivated the hearts of millions of gamers worldwide.
Despite its remarkable features, players may occasionally encounter a frustrating error message: “Connection Error Detected Retrying.”
In this article will provide a detailed guide on the reasons behind this error and the various steps you can take to resolve it, ensuring a seamless gaming experience.
What Causes “Connection Error Detected Retrying” On Guild Wars 2
The “Connection Error Detected Retrying” error in Guild Wars 2 arises due to network communication issues or obstacles blocking data retrieval from the patch server.
Some common factors contributing to this error include:

- Unstable network connection
- Inadequate network settings
- Antivirus or Windows Firewall interference
- VPN or proxy usage
- Outdated Guild Wars 2 or device operating system
- Corrupted game files or server issues
How To Fix “Connection Error Detected Retrying” On Guild Wars 2
1. Restart Your Router Or Modem
The first thing you should do is restart your modem or router.
- Unplug the power cable from your router or modem.
- Wait for about 30 seconds to allow the device to fully power down.
- Plug the power cable back into your router or modem.
- Wait for the device to power up completely and establish an internet connection.
- Launch Guild Wars 2 and check if the “Connection Error Detected Retrying” issue is resolved.
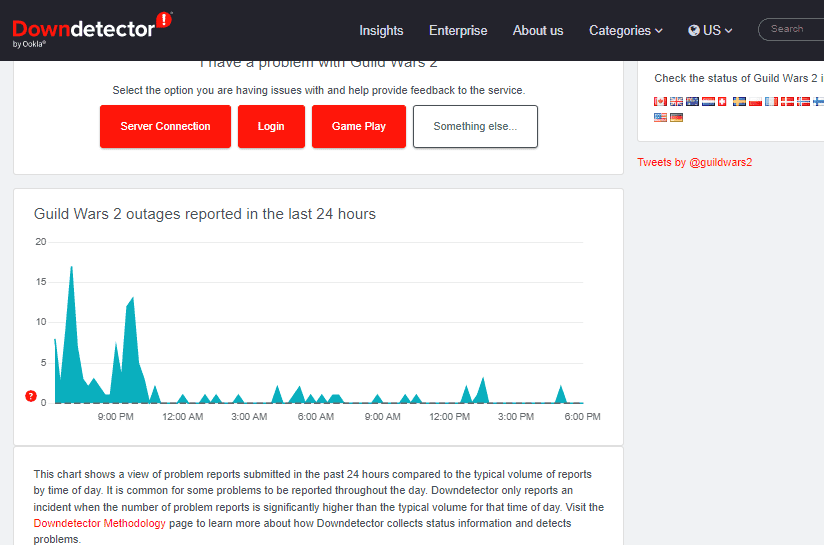
2. Check The Guild Wars 2 Server Status

Confirm if there are any server issues or ongoing maintenance:
- Visit the official Guild Wars 2 forums or social media or third party website channels for updates.
- Check community platforms, like Reddit or Twitter, to see if other players are experiencing similar issues.
3. Unblock The Game’s Executable
Ensure that the game’s executable file is not blocked by Windows:
- Locate the Guild Wars 2 executable file (GW2.exe) and right-click on it.
- Select “Properties” and navigate to the “General” tab.
- Click the “Unblock” button, apply the changes, and close the properties window.
4. Clear Guild Wars 2 App Data
Remove any corrupted files stored in the game’s app data folders:
- Press
Win + Ron your keyboard to open the Run dialog. - Type
%appdata%and press Enter to open the AppData folder. - Locate the Guild Wars 2 folder and delete it.
- Repeat the process with
%localappdata%.
5. Disable Antivirus And VPN
Temporarily disable your antivirus software and VPN:
- Locate your antivirus software icon in the system tray and right-click on it.
- Select the option to disable or pause the antivirus protection.
- If you have a VPN enabled, disable it and check if the error persists.
6. Allow Guild Wars 2 In Windows Firewall
Add Guild Wars 2 to the list of allowed applications in Windows Firewall:
- Type “Firewall and network protection” in the search box and open it.
- Scroll down and click on “Allow an app through the firewall.”
- Click on “Change settings” to enable editing.
- Locate Guild Wars 2, and check the boxes under both “Public” and “Private” network columns.
7. Modify DNS Settings
Change your DNS settings to use Google’s public DNS servers:
- Type “Ethernet settings” in the search box and open it.
- Click on “Change adapter settings.”
- Right-click on the connected Ethernet and click on “Properties.”
- Double-click on “Internet Protocol Version 4 (TCP/IPv4).”
- Select “Use the following DNS server addresses” and enter 8.8.8.8 and 8.8.4.4.
8. Create An Inbound Rule For Ports
Allow necessary ports for Guild Wars 2 in Windows Firewall:
- Open “Windows Defender Firewall with Advanced Security.”
- Click on “Inbound Rules” from the left menu, then click on “New Rule.”
- Select “Port” for the Rule Type, then click Next.
- Choose “TCP,” select “Specific local ports,” and enter port numbers 80 and 443.
- Select “Allow the connection” and complete the process by naming and applying the new rule.
9. Clear DNS Cache In Windows
Flush the DNS cache to remove any conflicting data:
- Type “CMD” in the search box, right-click on Command Prompt, and select “Run as administrator.”
- Enter the following command to clear the DNS cache:
ipconfig /flushdns - Restart your computer and check if the error is resolved.
10. Reinstall Guild Wars 2
If all else fails, reinstall the game:
- Type “Add or Remove Programs” in the search box and open it.
- Locate Guild Wars 2, right-click on it, and select “Uninstall.”
- Restart your computer and download Guild Wars 2 from the official website.
- Install the game and check if the error is resolved.
