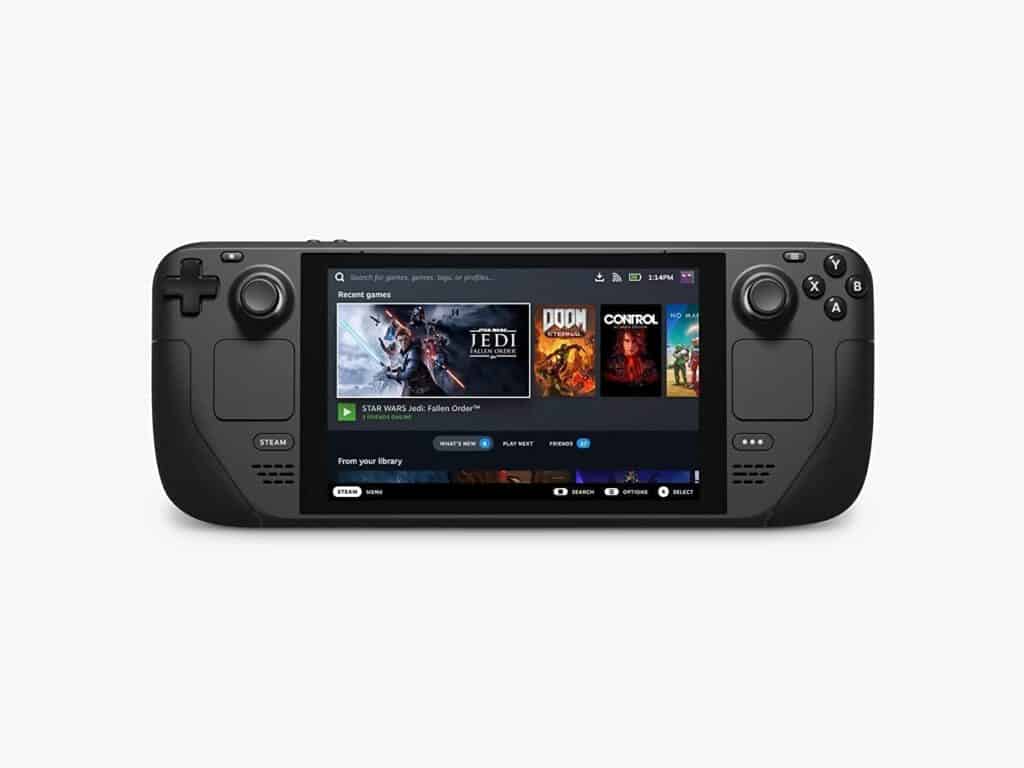
Since its initial announcement, the Steam Deck has garnered significant attention in the gaming community as a portable gaming device that allows users to play their favorite games on the go, thanks to its touchscreen feature.
Nevertheless, a number of users have expressed concerns regarding the touch screen malfunctioning.
In this article, we will delve into the underlying causes of this issue and propose potential solutions.
Why Is Steam Deck Touch Screen Not Working?

The Steam Deck’s touchscreen may not function properly due to several reasons.
One of the primary reasons is a software glitch or bug in the operating system, which may occur when there is a conflict between the device’s hardware and software components.

Another possible cause could be a hardware-related problem, such as a damaged or defective touchscreen.
How To Fix Steam Deck Touch Screen Not Working?
Below are some possible solutions that you can attempt to troubleshoot and address the issue of the Steam Deck’s touch screen not functioning properly:
1. Restart The Device
One of the initial and easiest steps to take when encountering any problem with your device is to perform a restart.
To do this, hold down the power button for a few seconds until the device powers off.
Wait for a brief period and then press the power button again to turn the device back on.
2. Instal System Updates And Restart The Steam Deck
Installing system updates and restarting the Steam Deck can potentially resolve the issue of the touch screen not working properly.
This is because system updates often contain bug fixes and improvements that can address any software-related issues that may be causing the problem.
3. Factory Reset The Device
Performing a factory reset on the Steam Deck can potentially resolve the issue of the touch screen not working correctly.
In case the touchscreen problem is due to a software glitch or conflict, a factory reset can potentially resolve the issue by erasing all troublesome data and settings.
4. Reinstalling SteamOS Using A USB
Reinstalling SteamOS using a USB drive essentially wipes out any previous installation of the operating system and provides a fresh start.
This can potentially fix any conflicts or glitches that might have been causing the touch screen to malfunction, as well as other issues.
5. Reimaging The Steam Deck From A USB Drive
Reimaging the Steam Deck from a USB drive involves wiping the device and reinstalling the entire operating system along with all the software and firmware components.
Here are the general steps for reimaging the Steam Deck from a USB drive:
- Create a bootable USB drive with the SteamOS image. You can download the latest version of SteamOS from the official Steam website.
- Insert the USB drive into your Steam Deck.
- Power off your Steam Deck if it isn’t already off.
- Press and hold the ‘Volume Down’ button and click the Power Button. When you hear the chime, let go of the Volume Down button, and you’ll be booted into the Boot Manager.
- Use the D-pad to select the ‘Boot from USB’ option, then press the A button to confirm.
- Follow the prompts to start the reimaging process. This will wipe out all the data on the device, so make sure to back up any important files before proceeding.
- Wait for the process to complete, which may take several minutes.
- Once the process is complete, follow the prompts to set up the device and reinstall any necessary software or games.
6. Enable The Touchscreen In The BIOS
If the issue is related to the settings of the device, enabling the touchscreen in the BIOS can potentially resolve the problem.
Checking and confirming the status of the touchscreen in the BIOS and enabling it if it is disabled may help fix the issue.
7. Put The Steam Deck Into Battery Storage Mode And Then Plug It In
To potentially resolve the issue, the Steam Deck can be put into Battery Storage Mode, which effectively resets the touchscreen and clears out any problematic data that may be causing it to malfunction.
After turning off the device, it can be booted into Battery Storage Mode by holding down the Volume+ button and then pressing the power button.
From there, the Power Menu can be accessed in the BIOS, and Battery Storage Mode can be selected and confirmed.
Once the device is powered off, it can be plugged in and turned on again.
8. Contact Steam Support
If none of the above solutions work, you may need to contact Steam support.
They can provide additional assistance and help you troubleshoot the issue further.
To contact Steam support, go to the Steam support page and submit a support ticket.
Here is the link to Steam Support:https://help.steampowered.com/en/


